Setting Up Gated Content
Warning!
Proceed with extreme caution. Setting up gated content this way requires customizing your contact forms, which involves editing the code directly. We are not responsible for broken code or undesirable layout shifts. Please follow the directions below carefully and thoroughly test your forms after making any customizations to ensure they are still working correctly.
Gated content is any content where the website visitor must provide information to access it. This could be a name, email address, or demographic information. Potential clients are incentivized to provide this information because they receive something helpful, such as an eBook, webinar recording, or PDF download.
Create a Landing Page for your Gated Content
Step 1
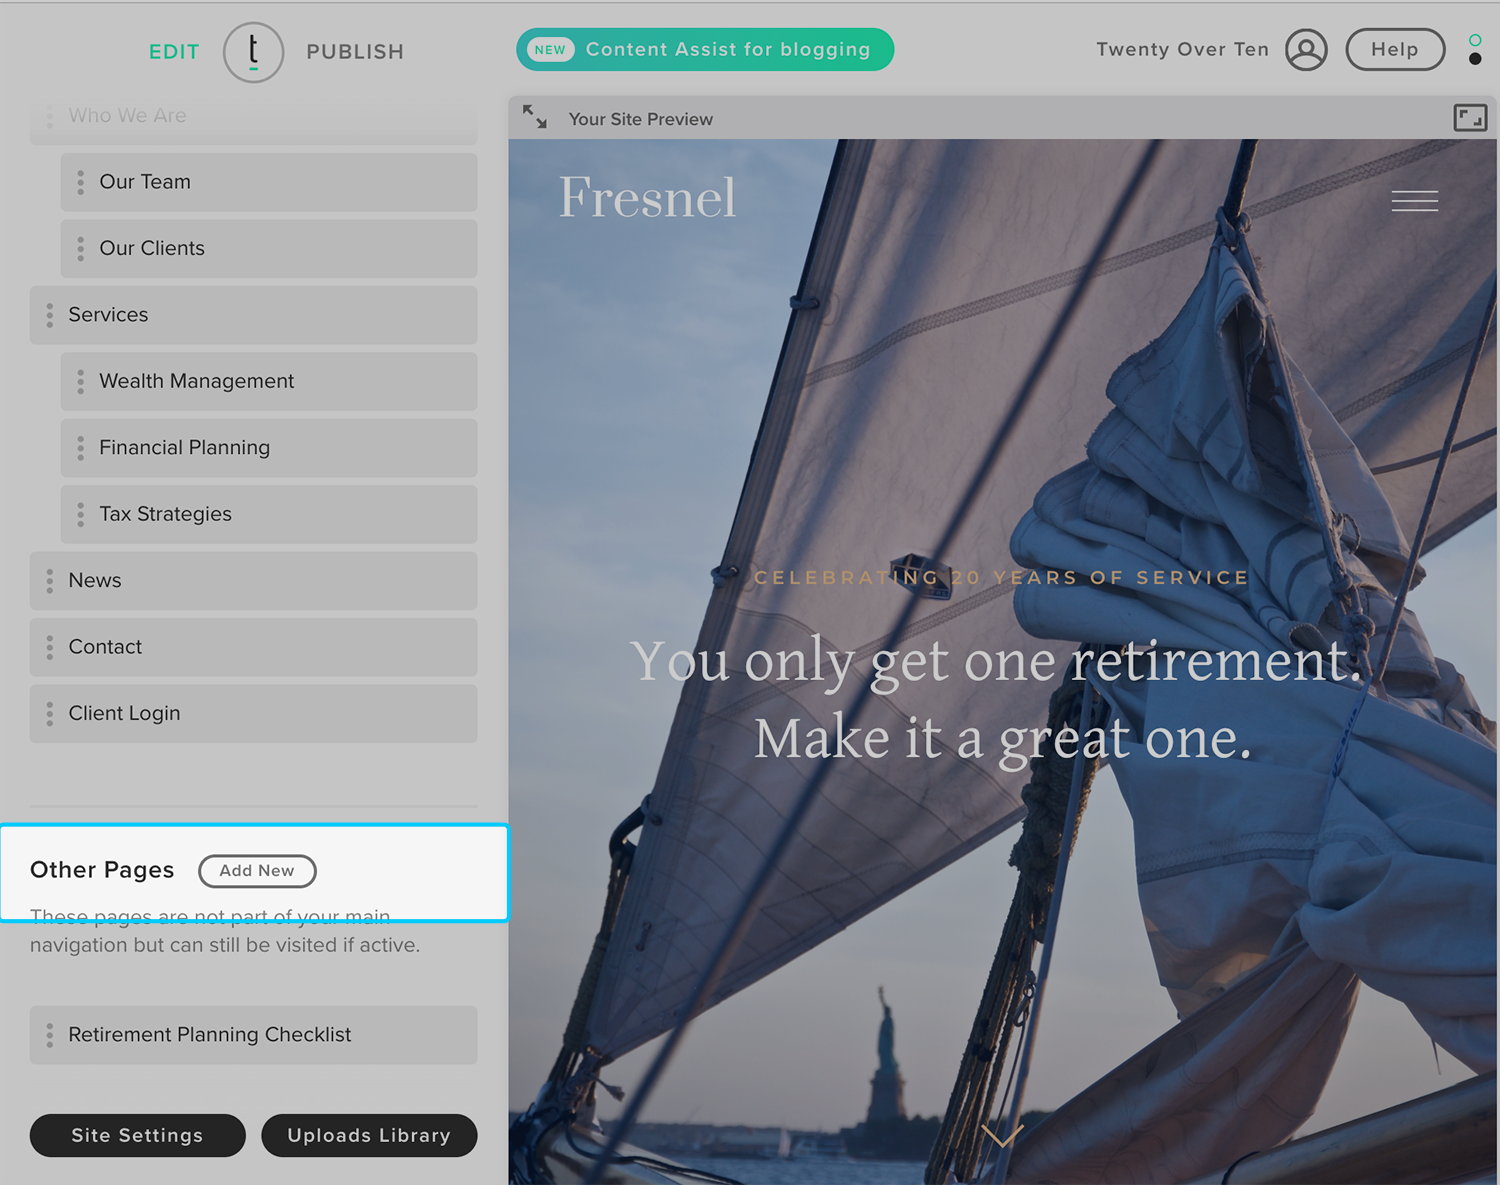
On the left of your dashboard, you will see the pages in your main navigation listed and then a section for “Other Pages.” The Other Pages section is for pages on your website that are not linked in your navigation bar, which you can send up to act as landing pages for various purposes!
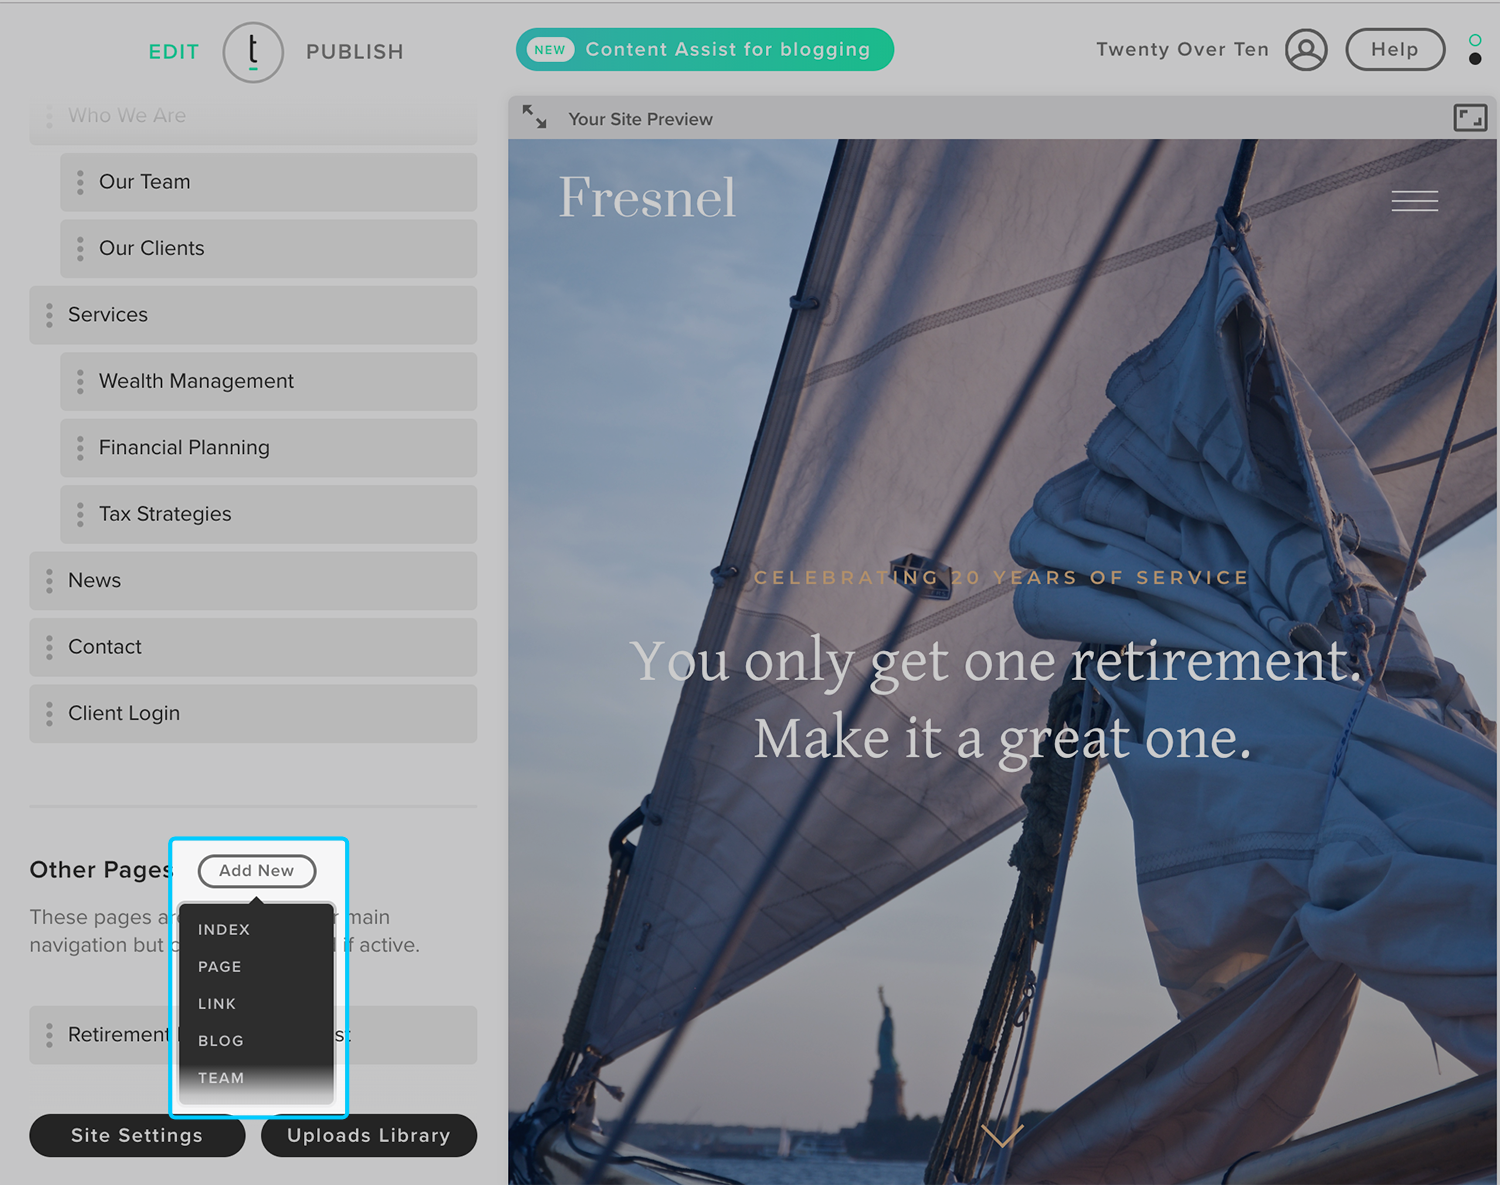
Click ‘add new’ to add a page with the desired functionality for your landing page. We recommend using the “Page” style for gated content, such as downloadable PDFs. We recommend using the “Blog” page style if your gated content involves blog posts.


Step 2
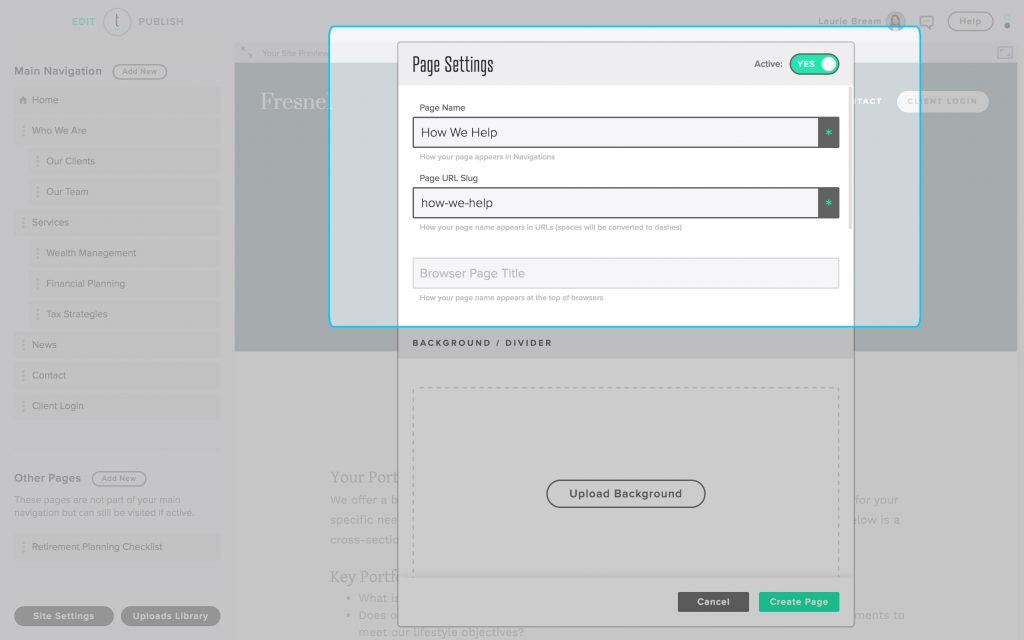
Add the appropriate information in the overlay, including a page title. Note: Your page URL for this page is what you will use in a later step to direct users to this page after they provide their contact information.

Step 3
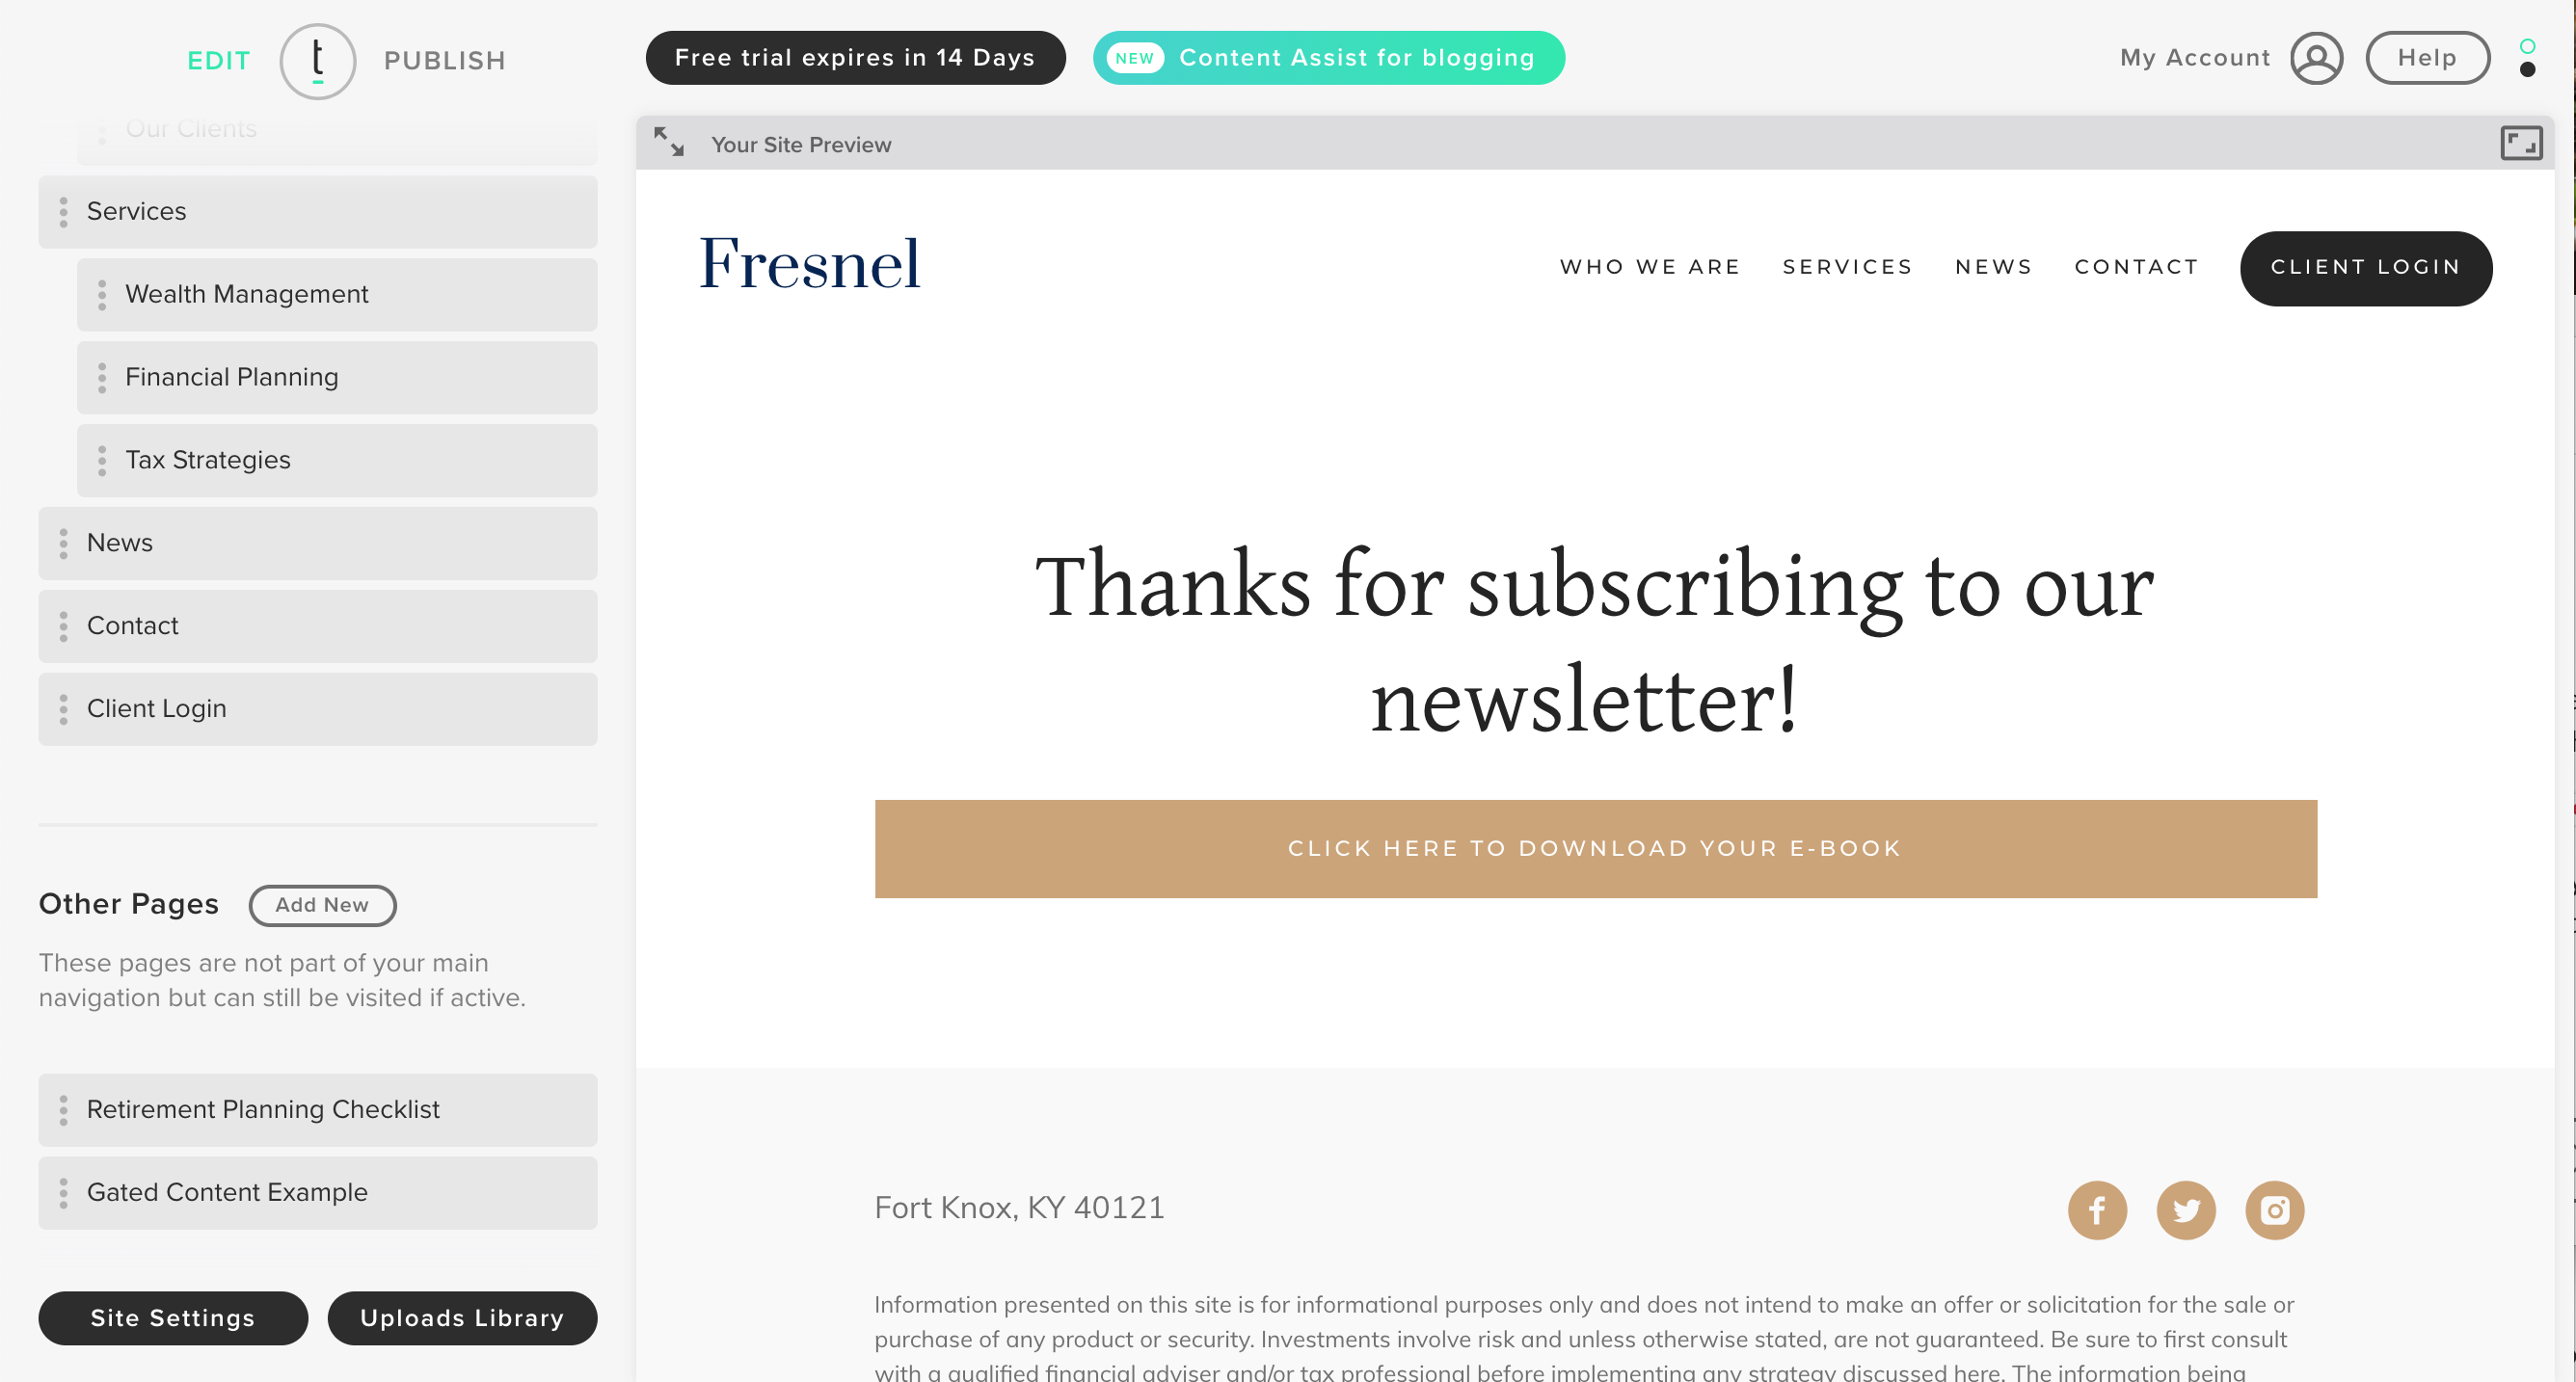
You can add the content that you want your site visitors to be able to access to your landing page. PDFs, such as e-books or special reports, are popular for gated content. Adding PDFs to your landing page is quick and easy to do. Your landing page may end up looking something like this:

Set Up the “Gate” to Your Content
Step 1
Identify where you want the call-to-action for access to your gated content to live on your main site. Adding the CTA to the home page is a great way to get many site visitors to see it quickly. Alternatively, adding the CTA to the footer area of your site will guarantee that the CTA can be seen on every page of your site. For example, we have added our CTA to the home page:
Step 2
You can add a contact form to go with your CTA. We have a full tutorial on inserting contact forms here. In this example, we’re using a minimal-style contact form:
Step 3
Please edit the form code so users are taken to your gated content landing page after they submit their information to your contact form.
-
Click below your contact form to open the editor toolbar.
-
Click the Code View button to toggle open the source code for the page.
-
Identify your form code. Form code starts with the opening <form> and ends with </form>
-
Place your cursor directly after the opening form-wrapper tag, which looks like this:
<div class="form-wrapper">
-
Paste the below code in the form wrapper:
<input name="success_redirect" type="hidden" value="YOUR_CUSTOM_URL" />
Your form code should now look something like the following:
<form class="form contact-form" novalidate="novalidate"> <div class="form-wrapper"><input name="success_redirect" type="hidden" value="YOUR_CUSTOM_URL" /> <div class="form-item">... ...</div> </div> </form>
-
Change the text YOUR_CUSTOM_URL in the code to the page URL slug for your gated content landing page. The page URL slug can be copied from the page settings. For example, the page URL slug for our example landing page, “Gated Content Example,” is shown below. Click “Copy URL” to automatically copy the page URL slug.
Editing the code to link to the page URL slug will cause the final version of the code to look like this:
<div class="form-wrapper"><input name="success_redirect" type="hidden" value="/gated-content-example" /> ... ...</div> </div>
-
Toggle back to the page view by clicking the source code button in the top right.
-
Save your changes.
Test your gated content form
You can only test that your form redirects to your landing page after you publish your site. After publishing, we recommend testing your form by submitting a fake form submission. If set up correctly, your form should redirect you to the landing page via the page slug URL link that you added to the form code!