Overview of blog page settings
Note: This is an overview of your blog page settings, not your individual blog posts.
Watch A Video
Accessing Your Page Settings
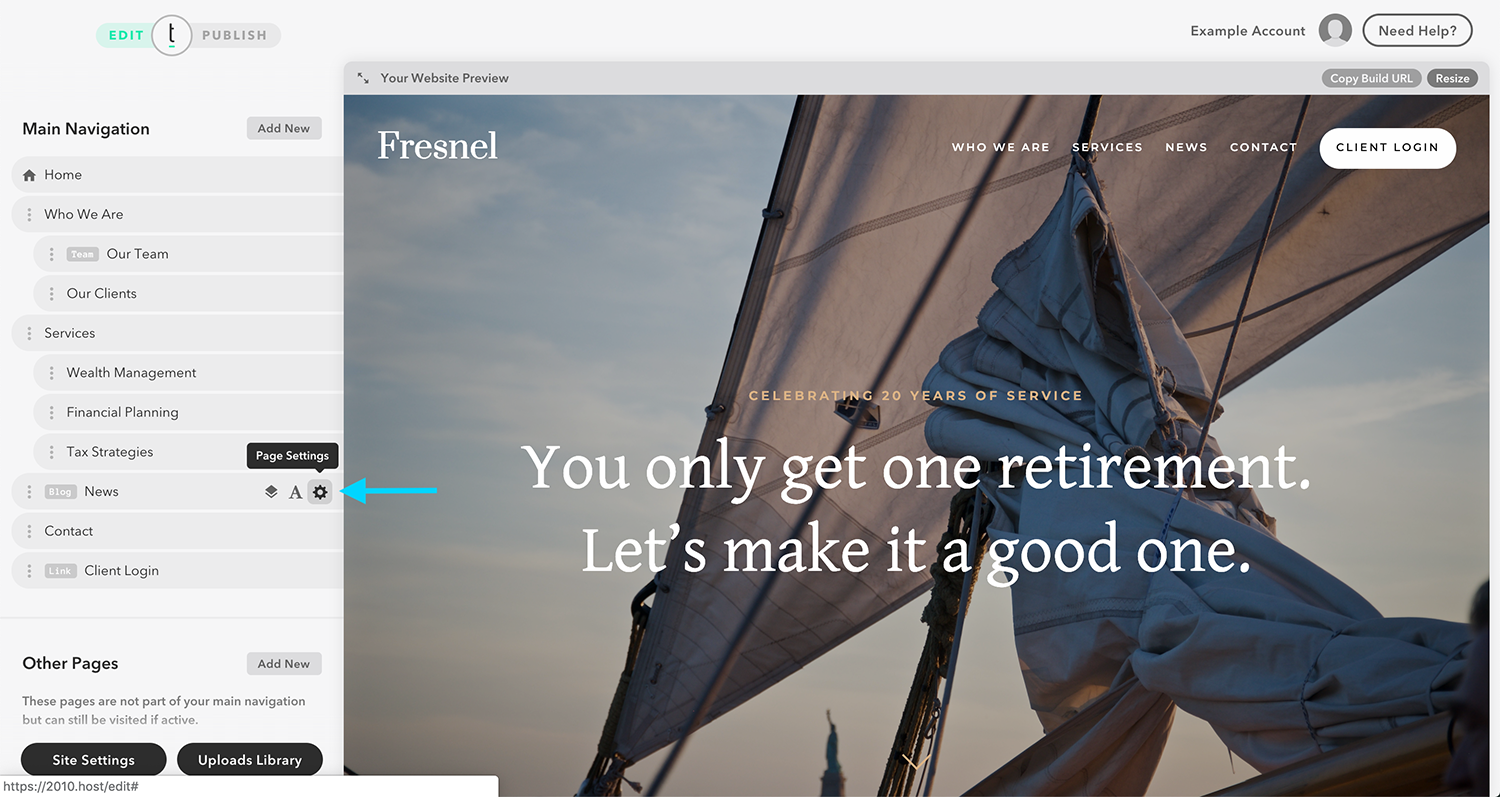
To access the blog page settings, hover over the page that contains your blog. Click on the ‘page settings’ icon (the cog).
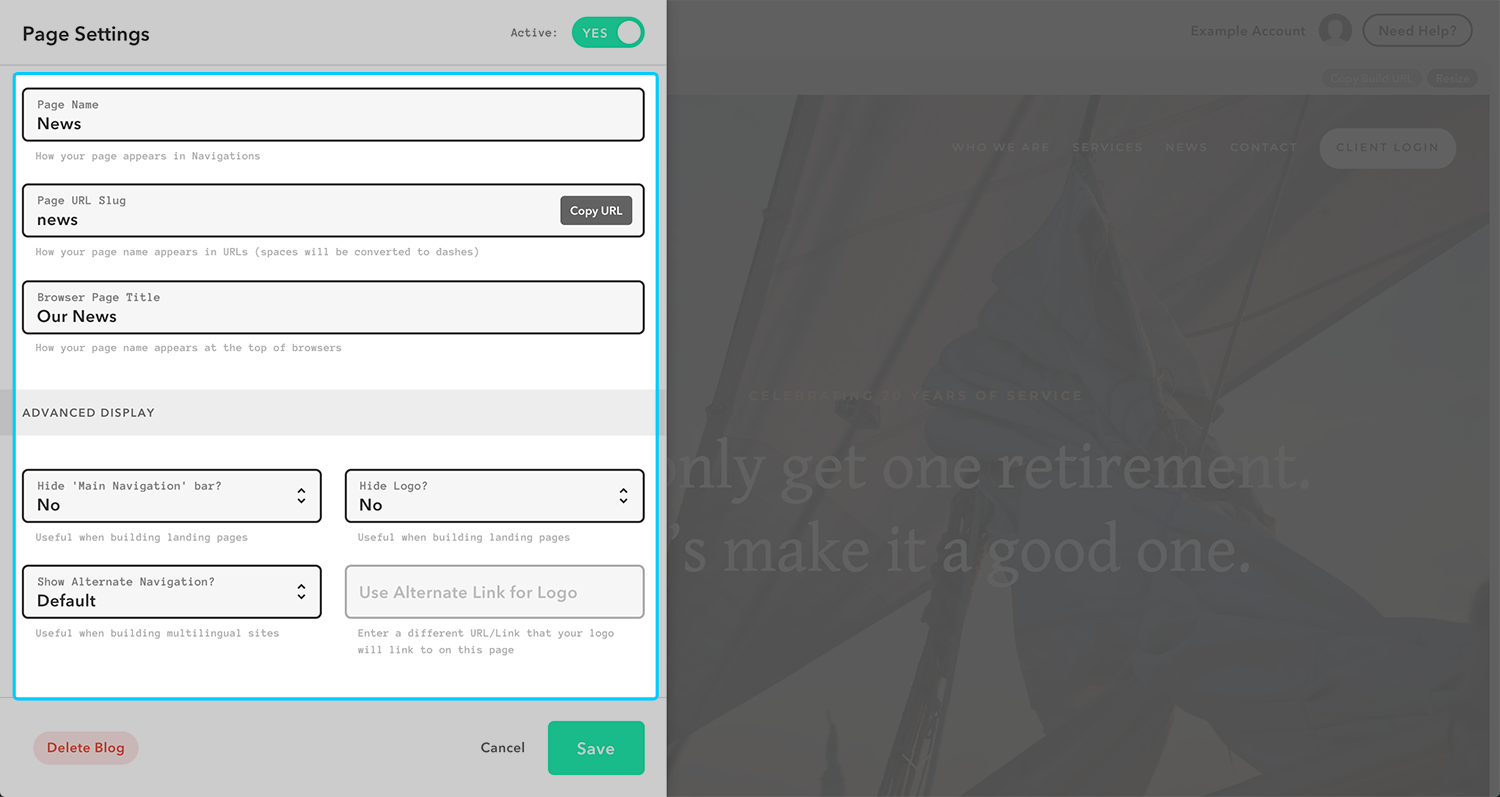
Page Name / Page URL / Page Title / Advanced Display Options
Once you are on the page settings, you can change the page name, change the page’s URL slug, and change the title that appears on the top of web browsers.
Hero Image
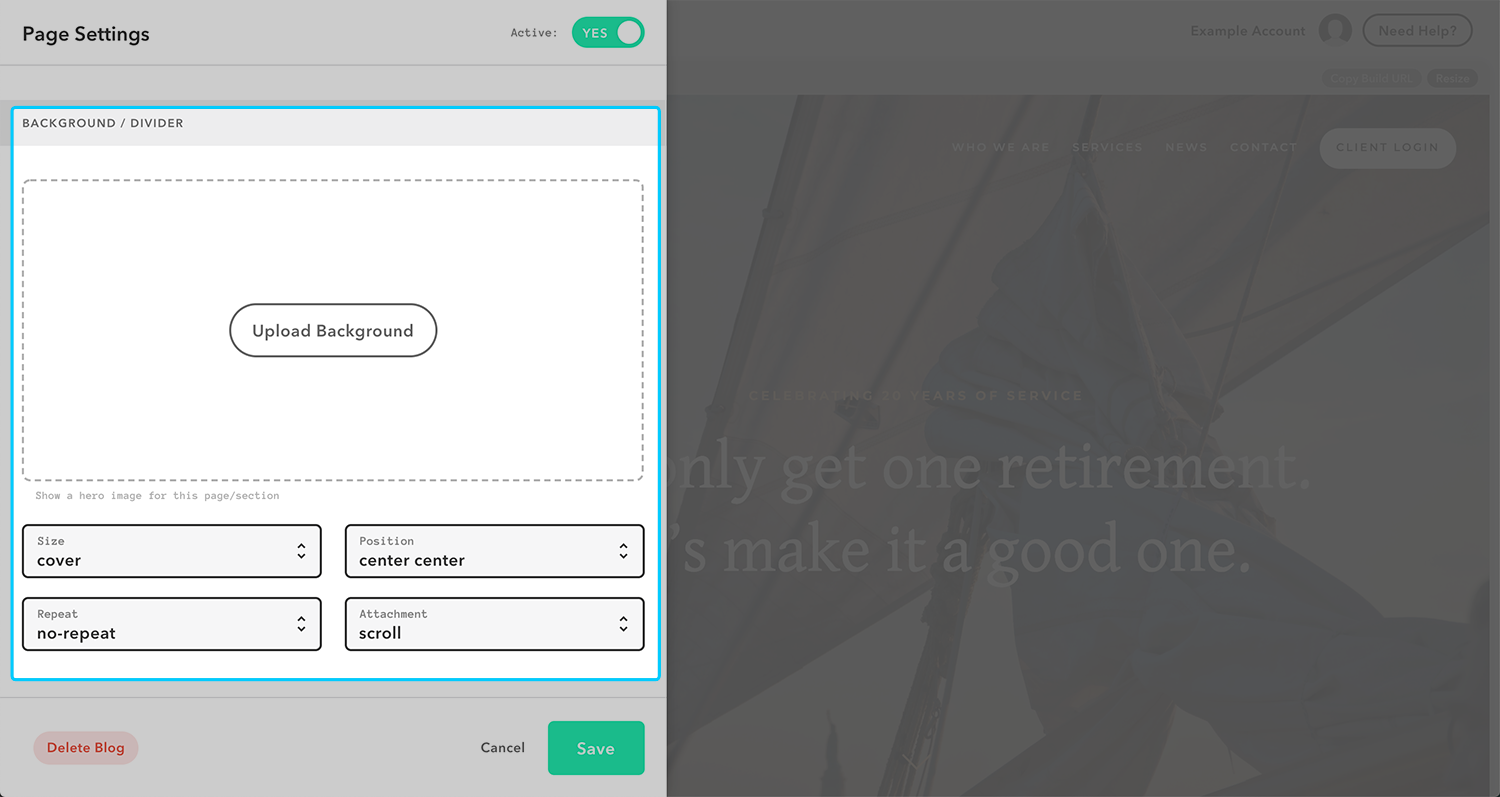
If you scroll further down, the option to change the background/divider image appears. After you have added a background image, hover over the image, and two buttons will appear, giving you the option of either adding/changing an image or deleting the image.
Page background options
Use these options to change the location and behavior of your background image.
-
Position: This sets the starting position of the background/divider image
-
Size: The ‘cover’ option corrects the image to fit the container, while the ‘auto’ option uses the original image size
-
Repeat: This decides whether or not the image will be repeated, and if so, how it repeats
-
Attachment: Determines if the image is fixed or scrolls with the page
Categories
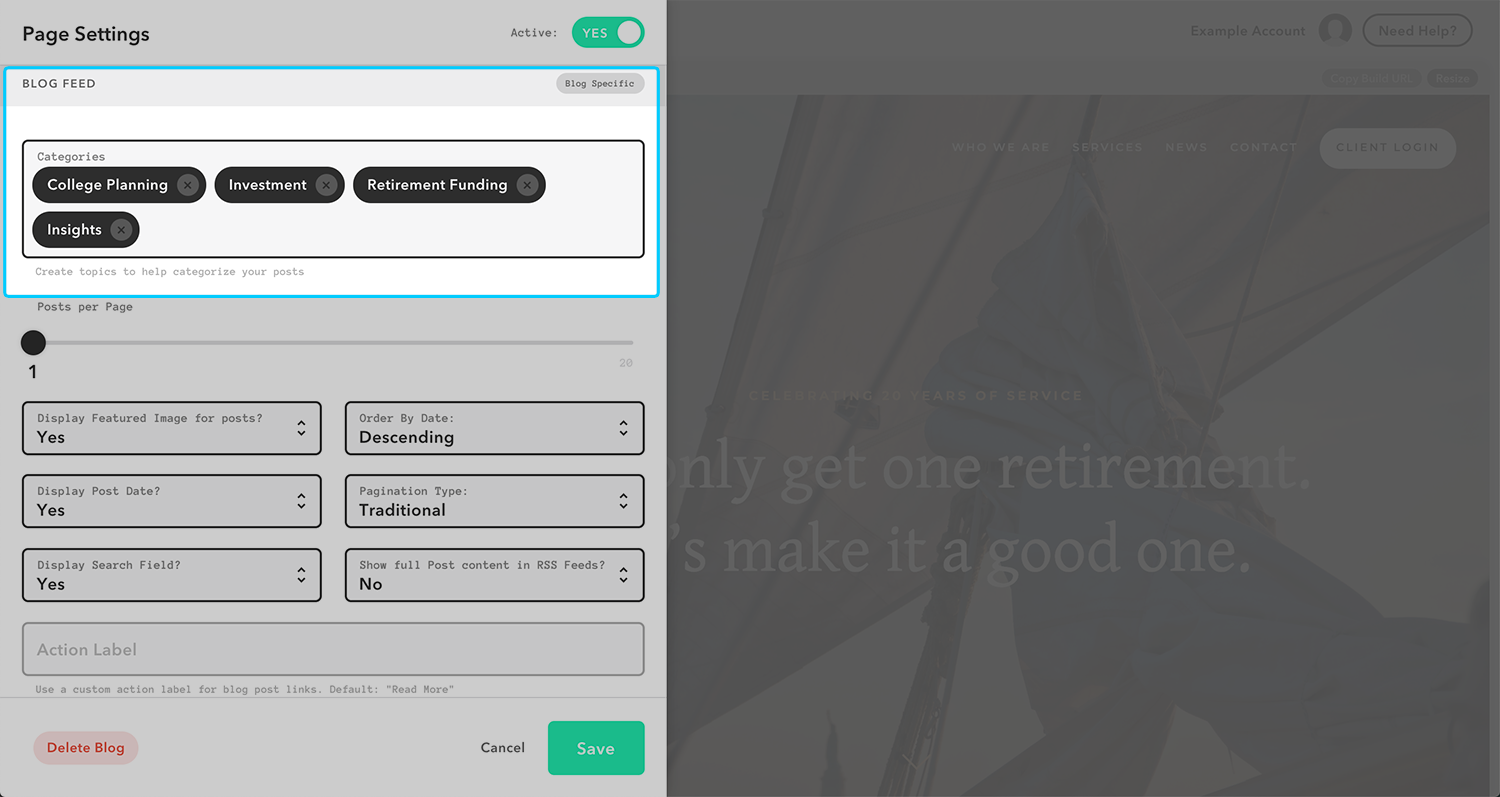
In the blog feed section, you will find a box for adding categories. These are used to categorize posts. To add a new category, click on the text box, type in your new category, and click enter. If you would like to remove a category, you can click on the ‘x’ button next to the category you wish to delete. A confirmation window will pop up. Click ‘Confirm.’
Posts per Page / Featured Images / Post Display / RSS Feeds
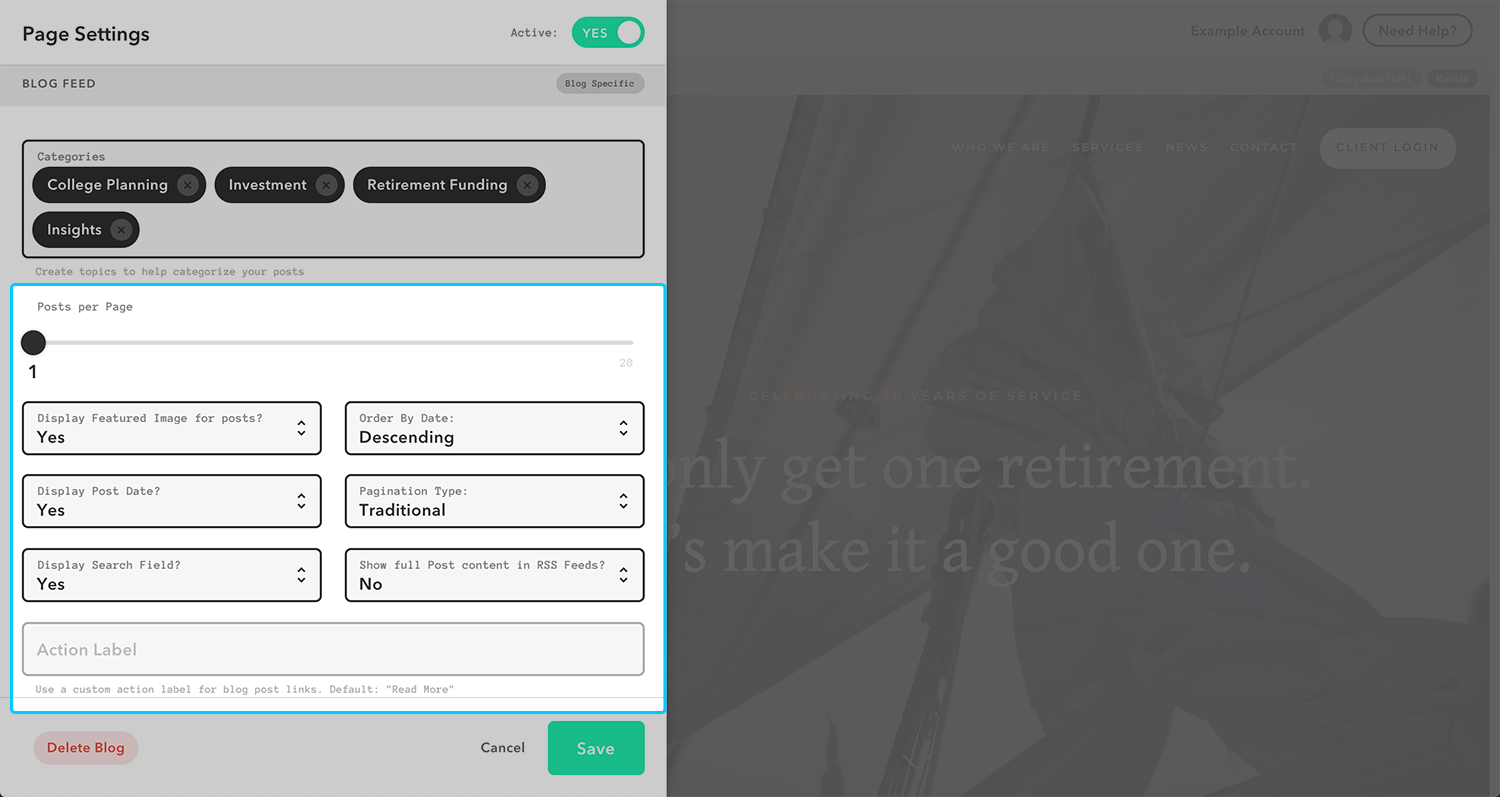
Underneath categories, there are several other options to customize your blog page. You can select the number of posts per page on your blog by dragging and dropping the posts per page slider. The other options are used to decide if you would like to display featured images for posts, how you would like to order and paginate your posts if you would like your blog page to include a search bar, and if you would want to show the full post content in RSS Feeds. Finally, you can set a custom action label, which is useful if you are using your blog page for a purpose other than posting blog posts (Note: This feature is only available on framework versions 3.0 and above.)
Social Sharing
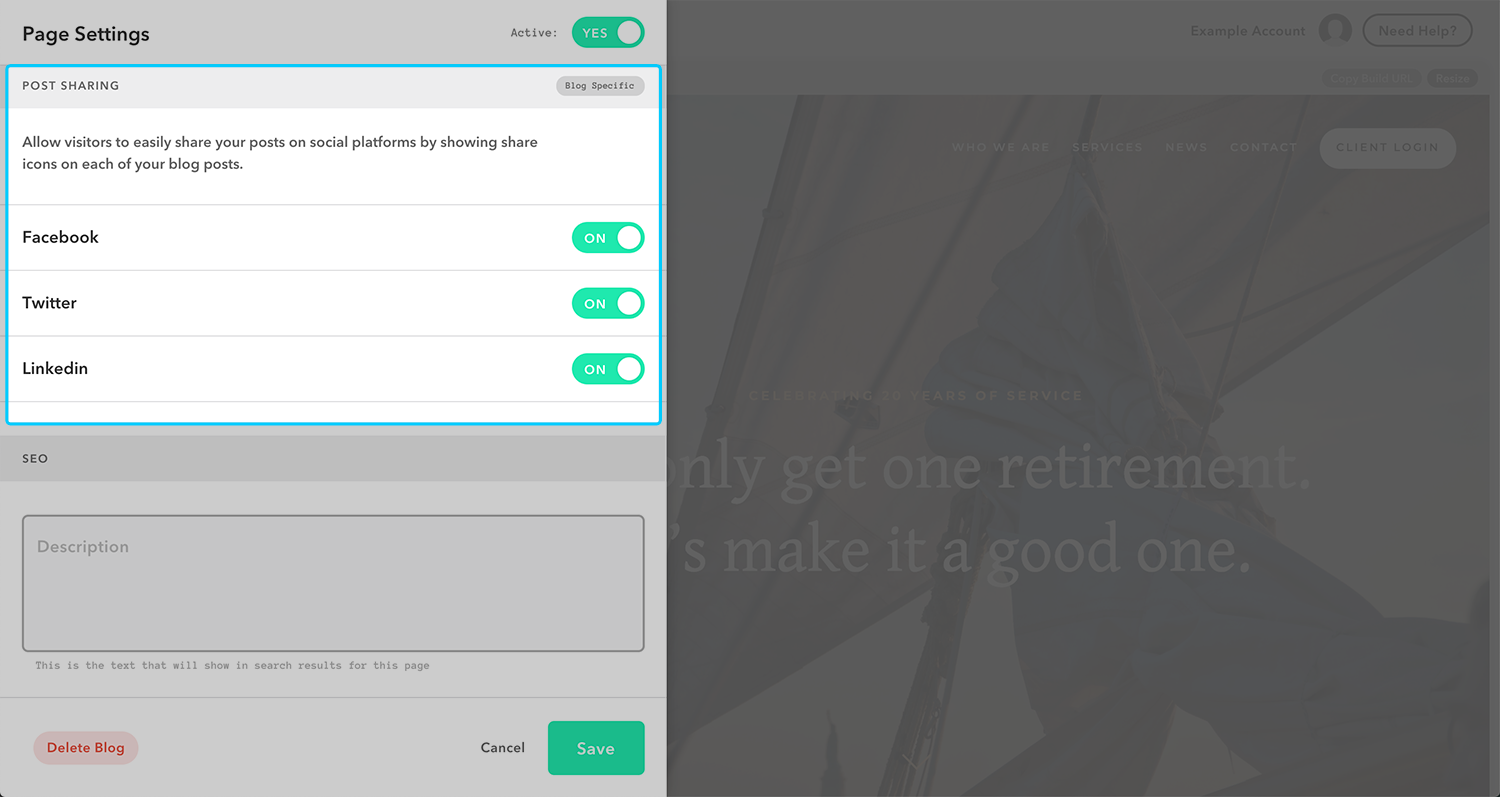
Post Sharing allows you to decide what social media sites visitors are allowed to share blog posts to.
SEO (Search Engine Optimization)
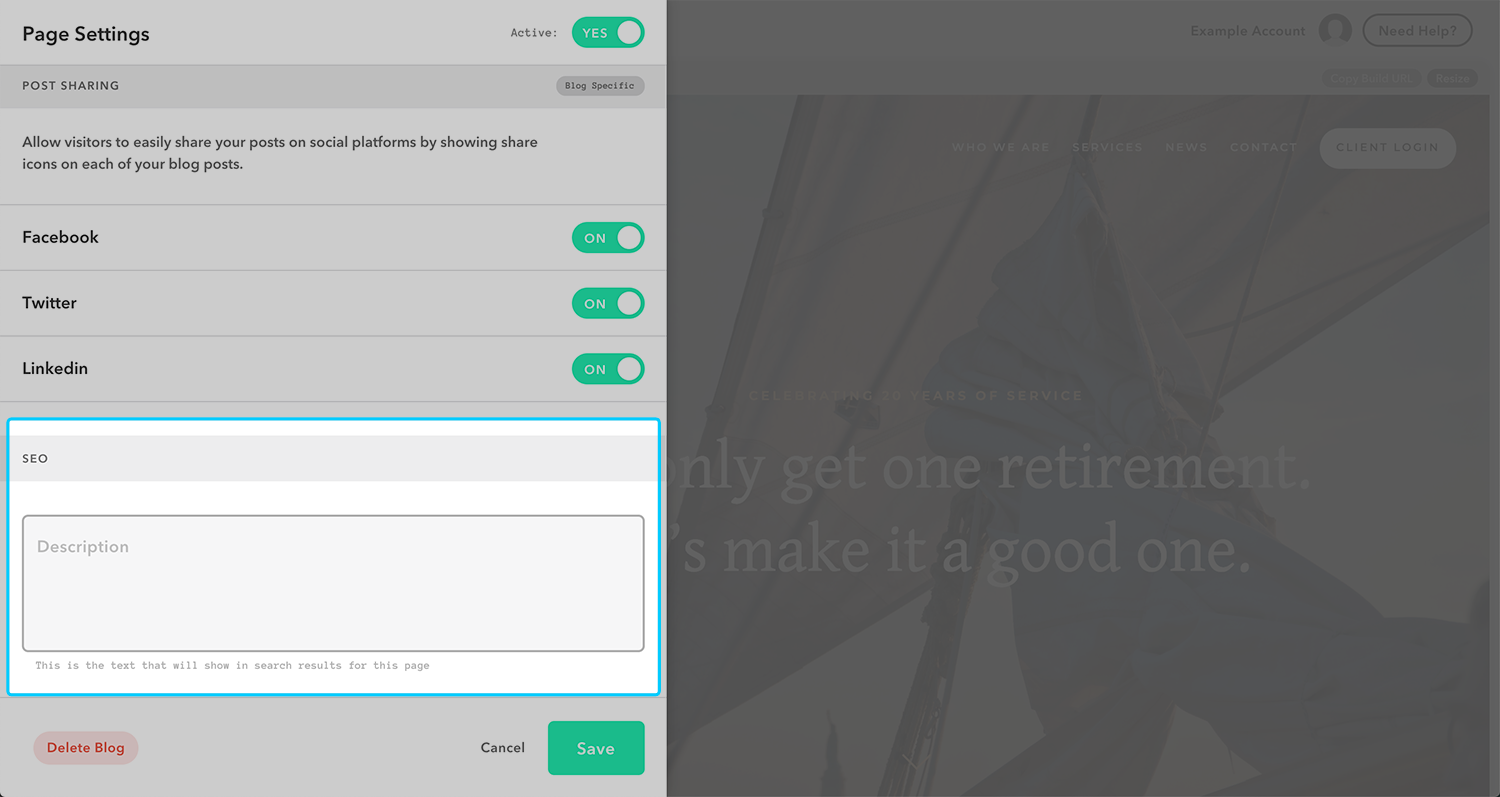
SEO is the text that will show in the search results for the page.
Social Media Image Thumbnails and Descriptions
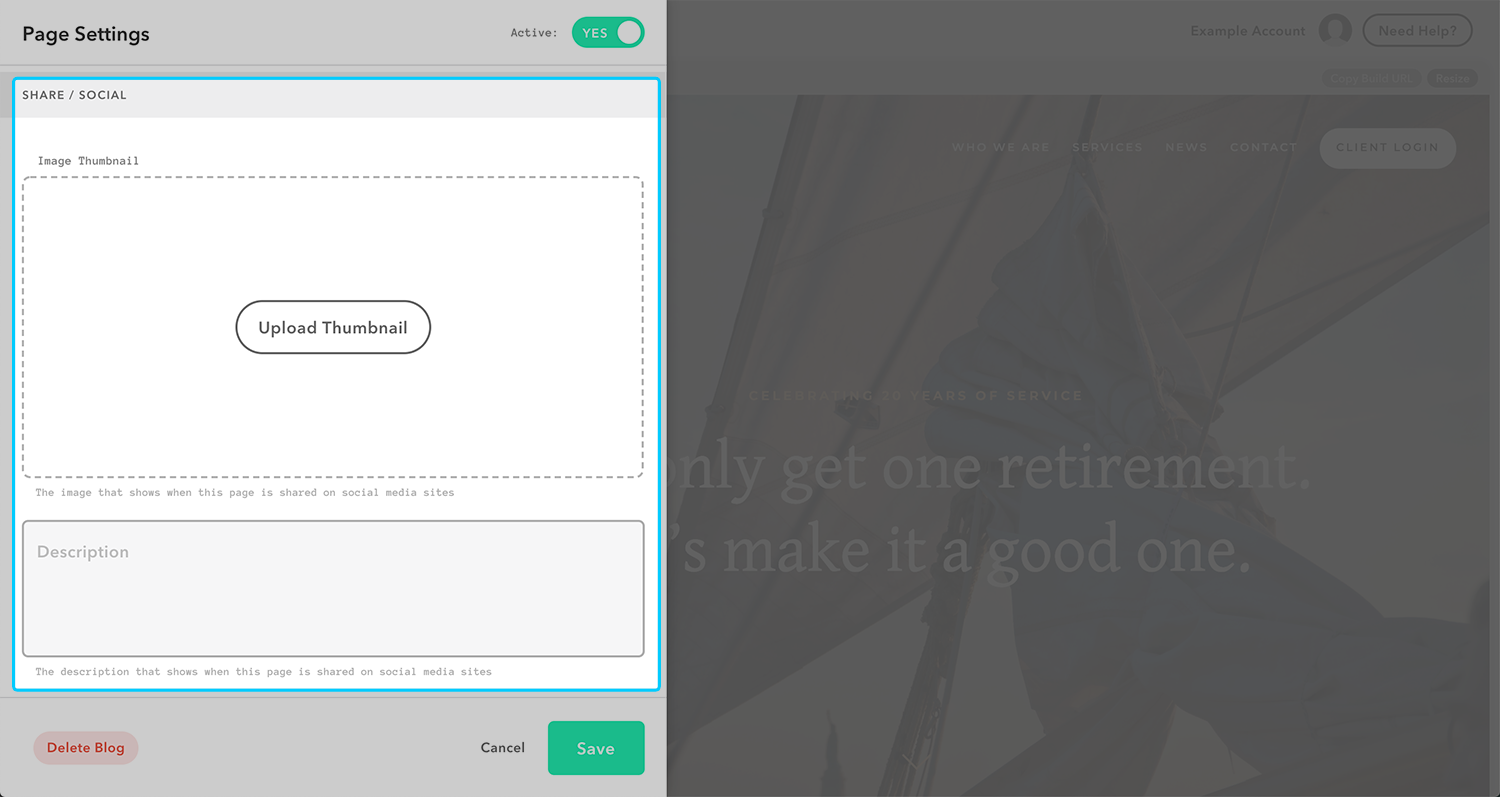
Towards the bottom of the Page Settings window, there will be options to Upload an Image Thumbnail (the image that shows when the page is shared on social media sites) and to edit a Description (the description that shows when the page is shared on social media sites).
Advanced Settings
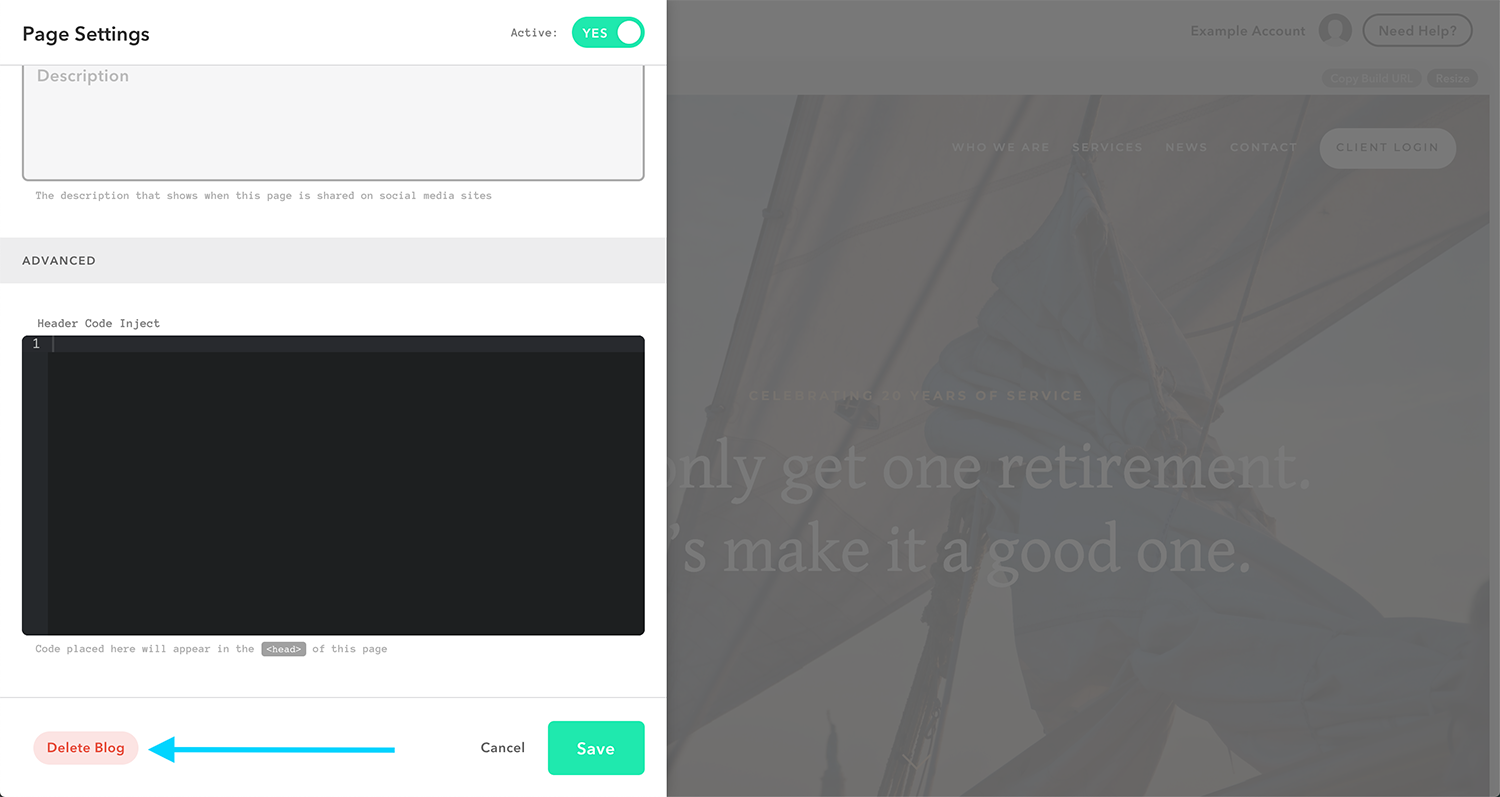
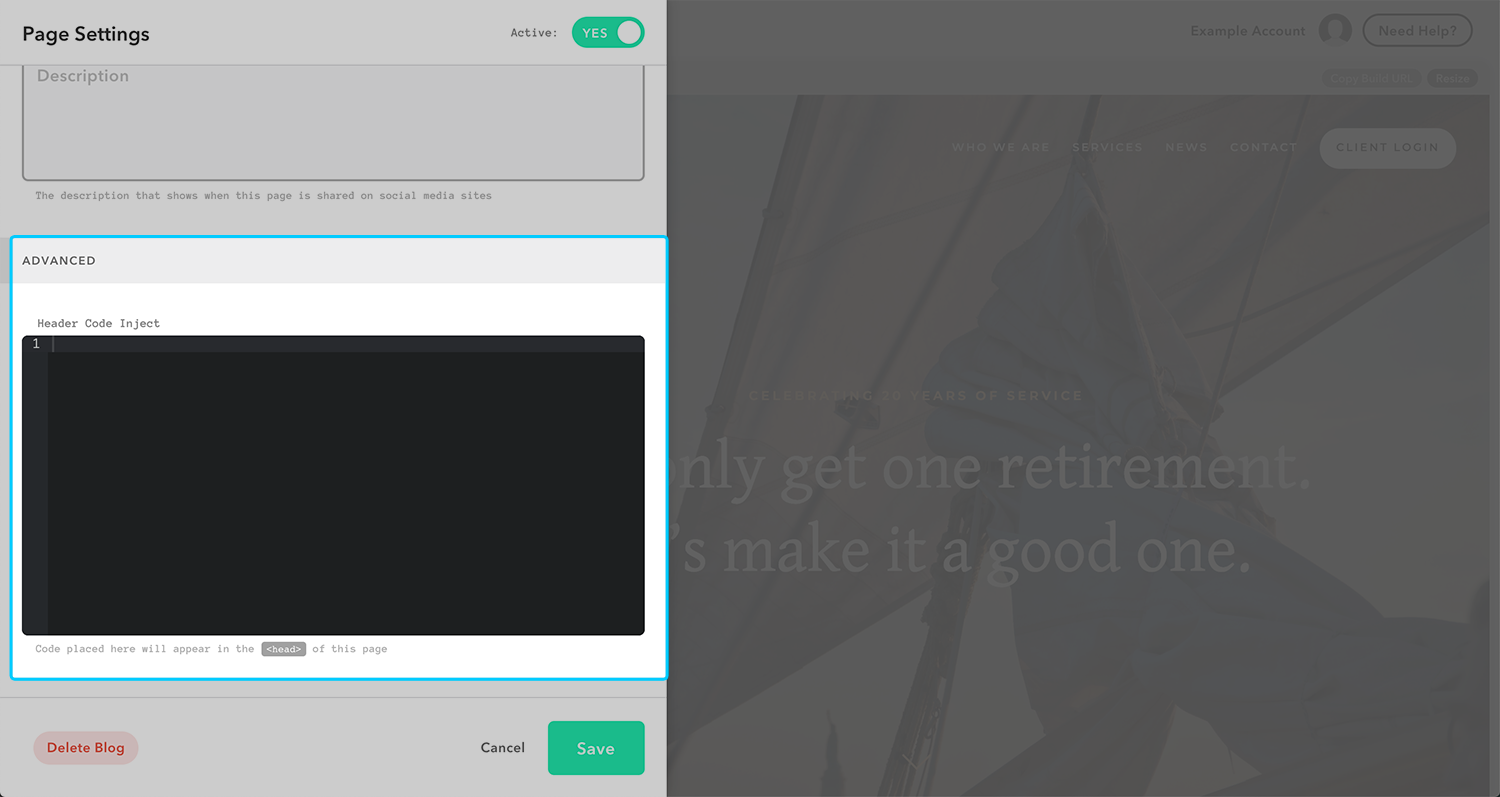
Use the header code inject box on your blog’s page settings to install code specifically into the header area of your blog page.
Saving Changes
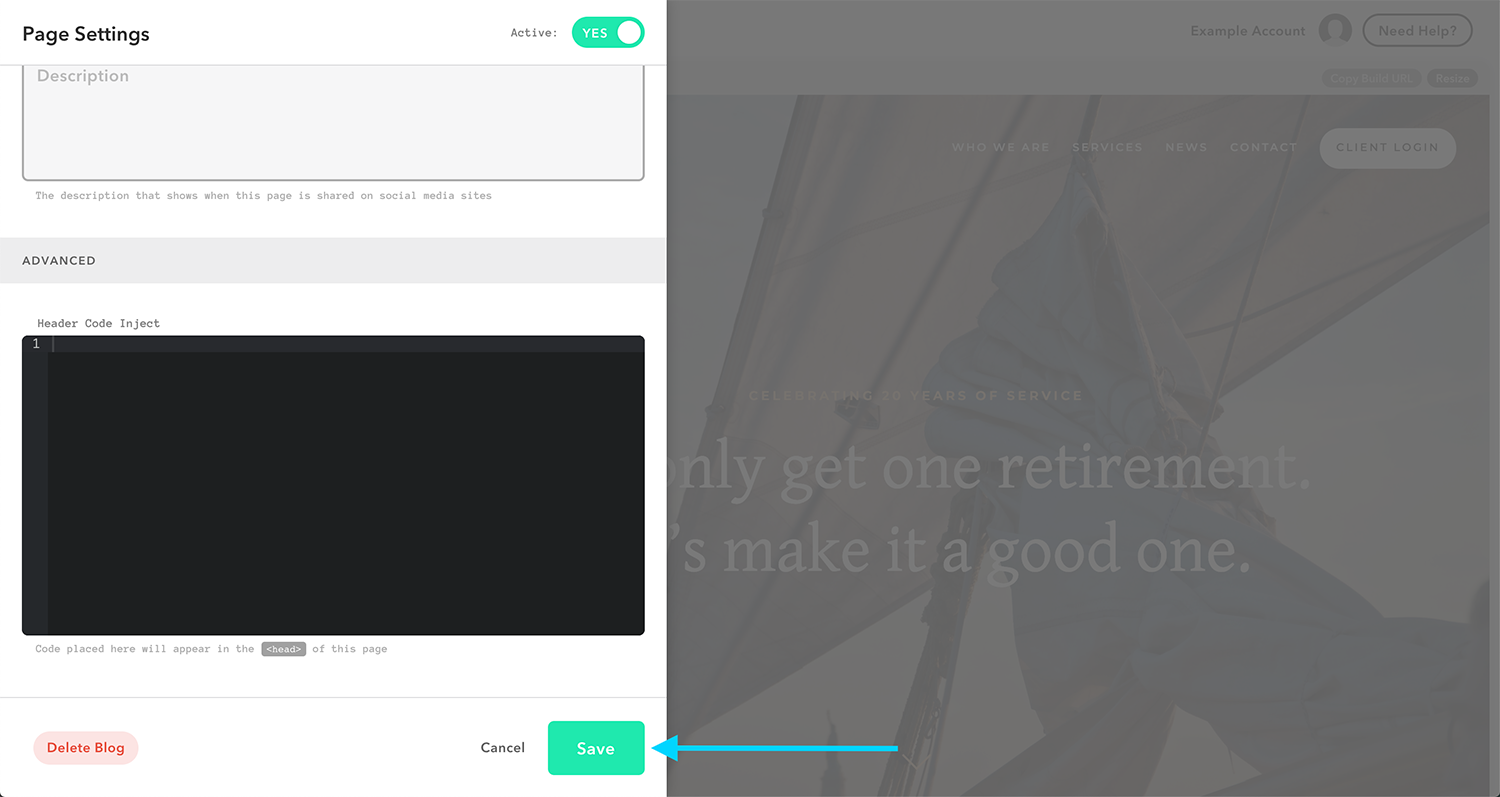
Once you are finished changing your Blog Page Settings, click Save.
Deleting Your Blog
If you would like to delete the blog page altogether, you can click on the ‘Delete Blog’ button at the bottom, left-hand side of the window. A confirmation window will pop up. Click ‘Confirm.’
Important: If you delete your blog, all of your posts associated with that blog will be permanently deleted. We strongly encourage you to consider the impact of this before removing a blog with published posts.
