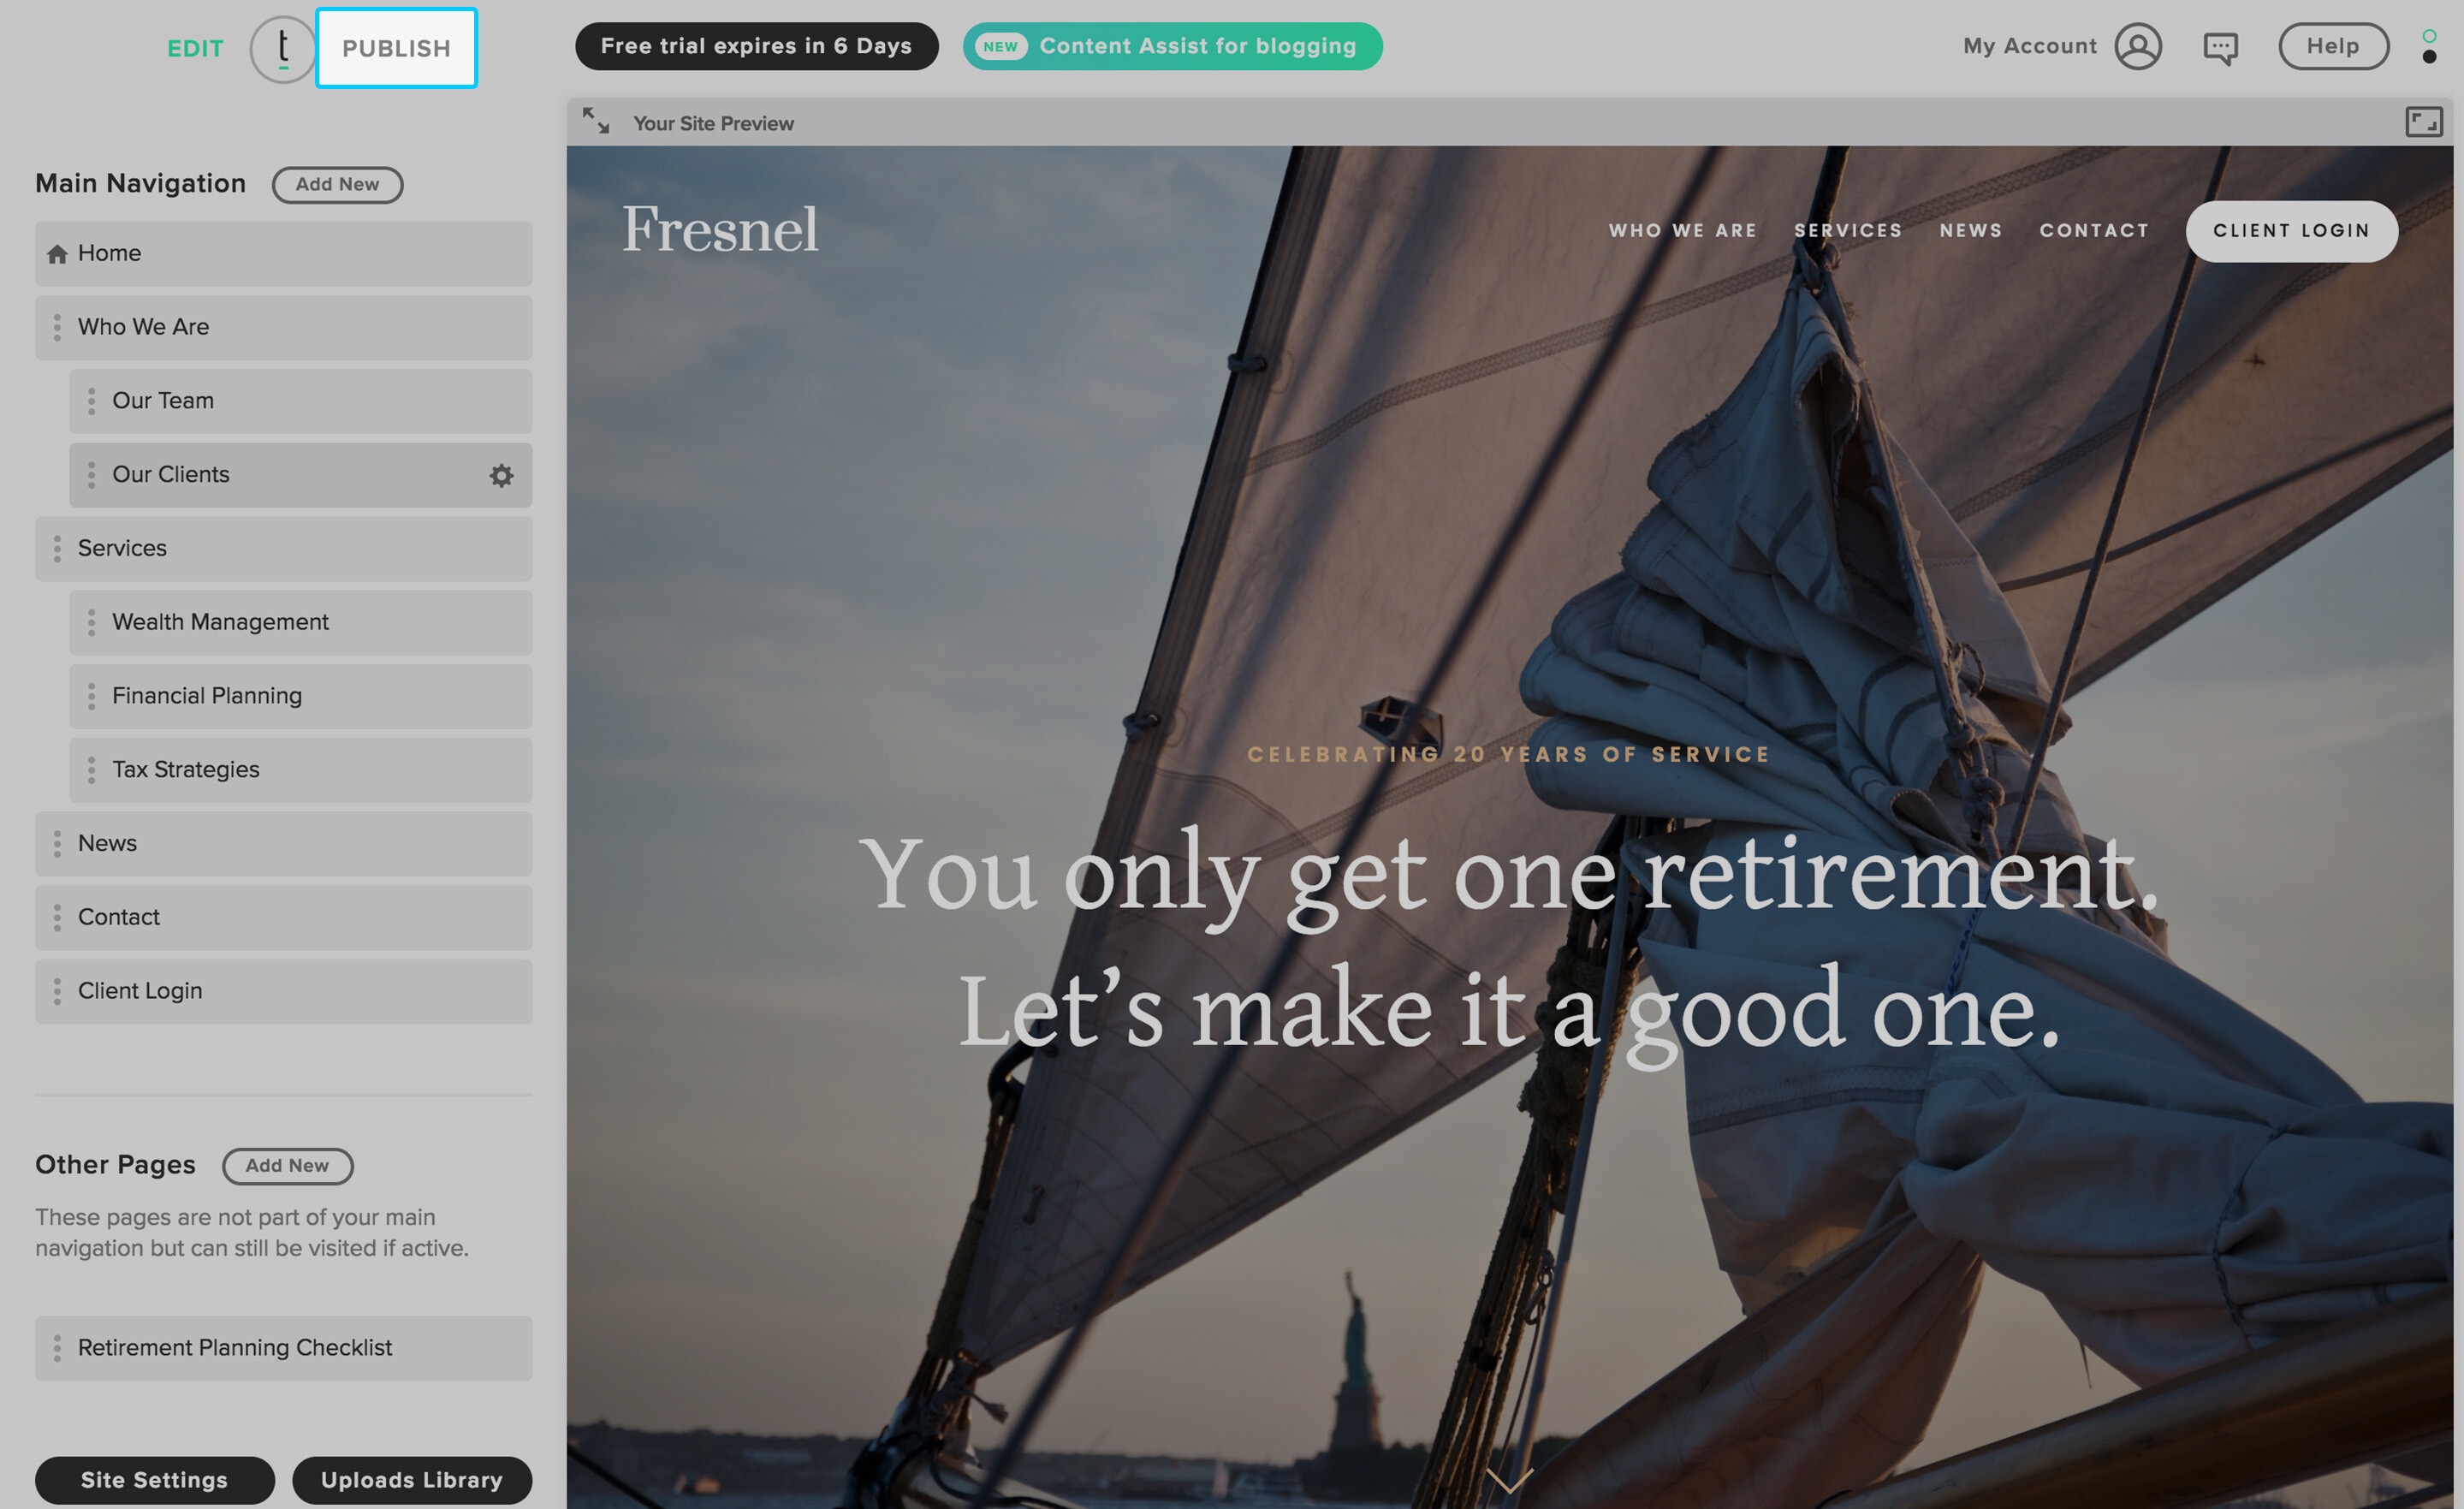
How do I unlock Content Assist from my account?
Update: April 8, 2019
Accounts created on or after April 8, 2019, will have Content Assist automatically included with their subscription fee (unless otherwise noted). Accounts created before this date still have the option to unlock Content Assist, as described below.
Log into your Twenty Over Ten account.
Step 1
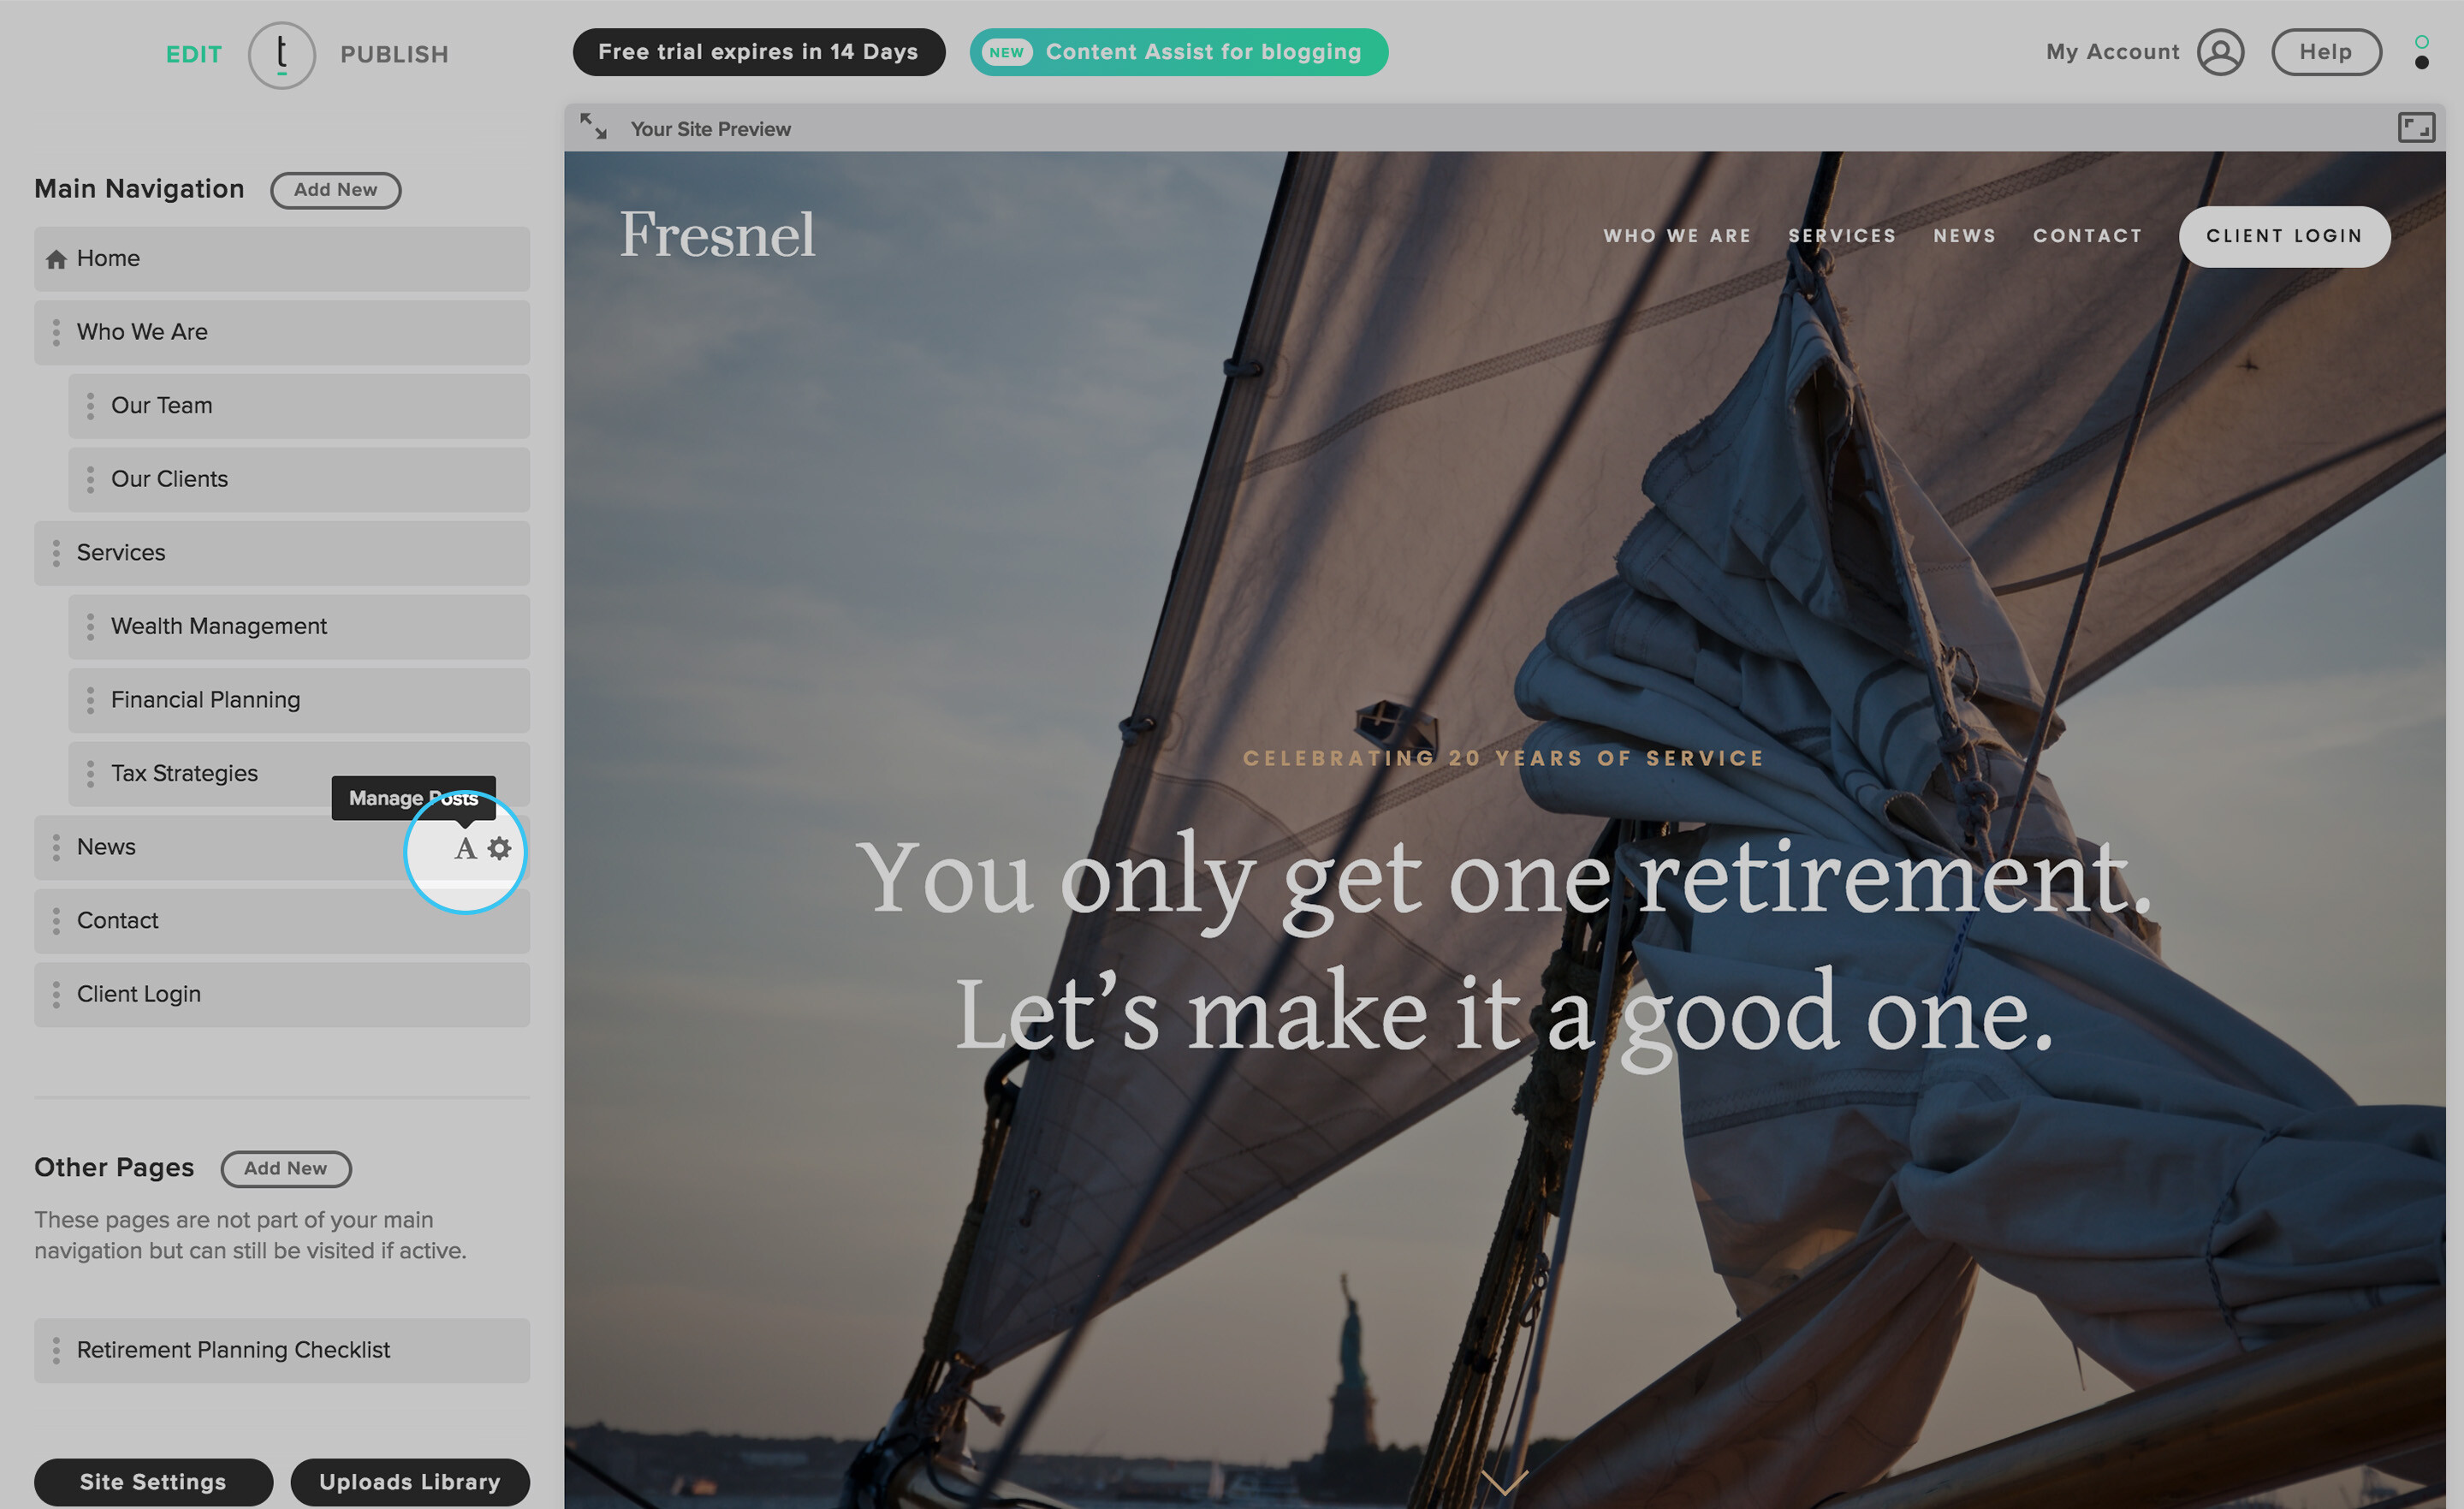
From your dashboard, hover over any blog-style page in your navigation list and click the ‘manage posts’ icon.
Step 2
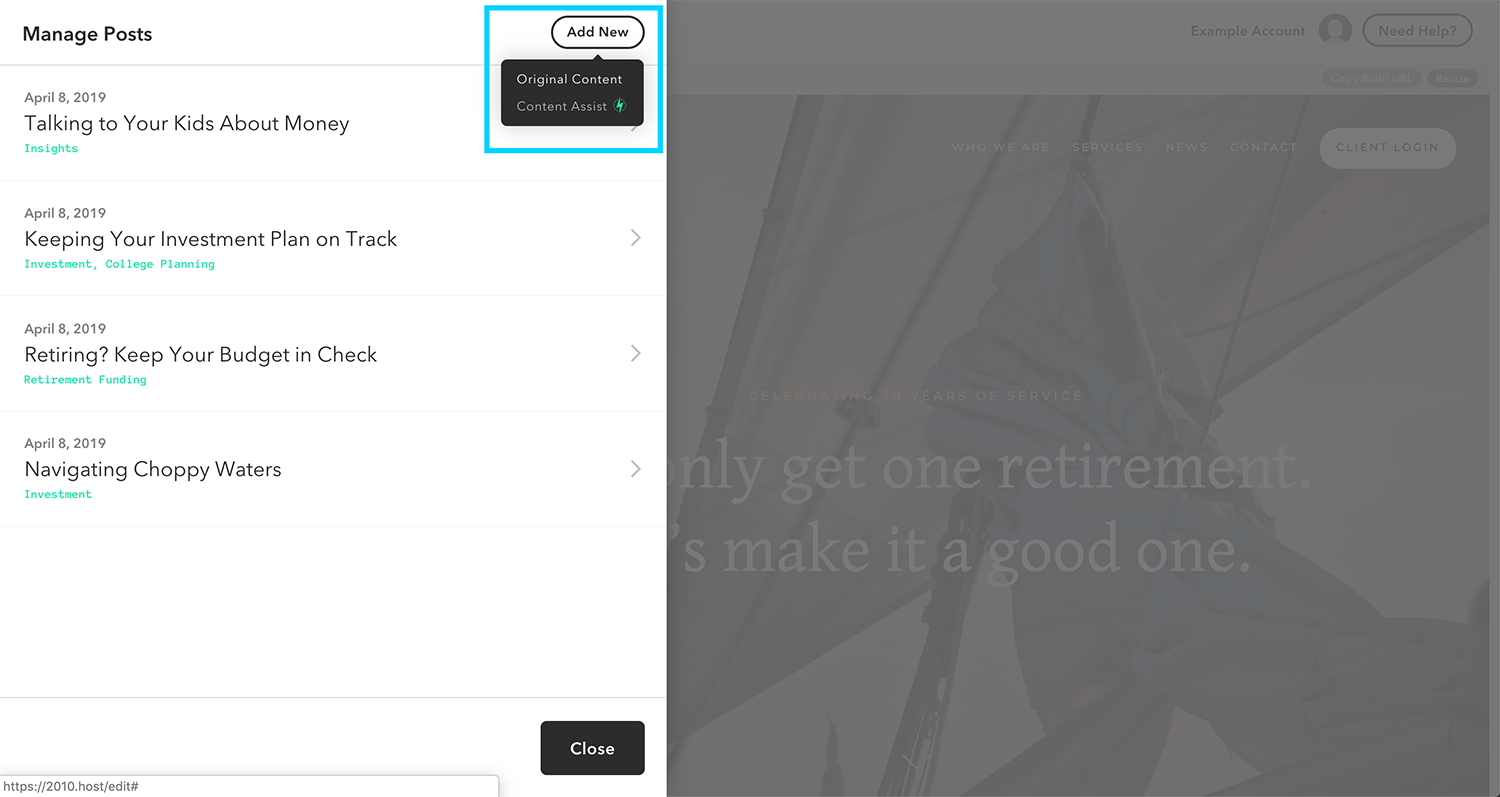
Click ‘Add New’ and select ‘Content Assist’ from the dropdown.
Step 3
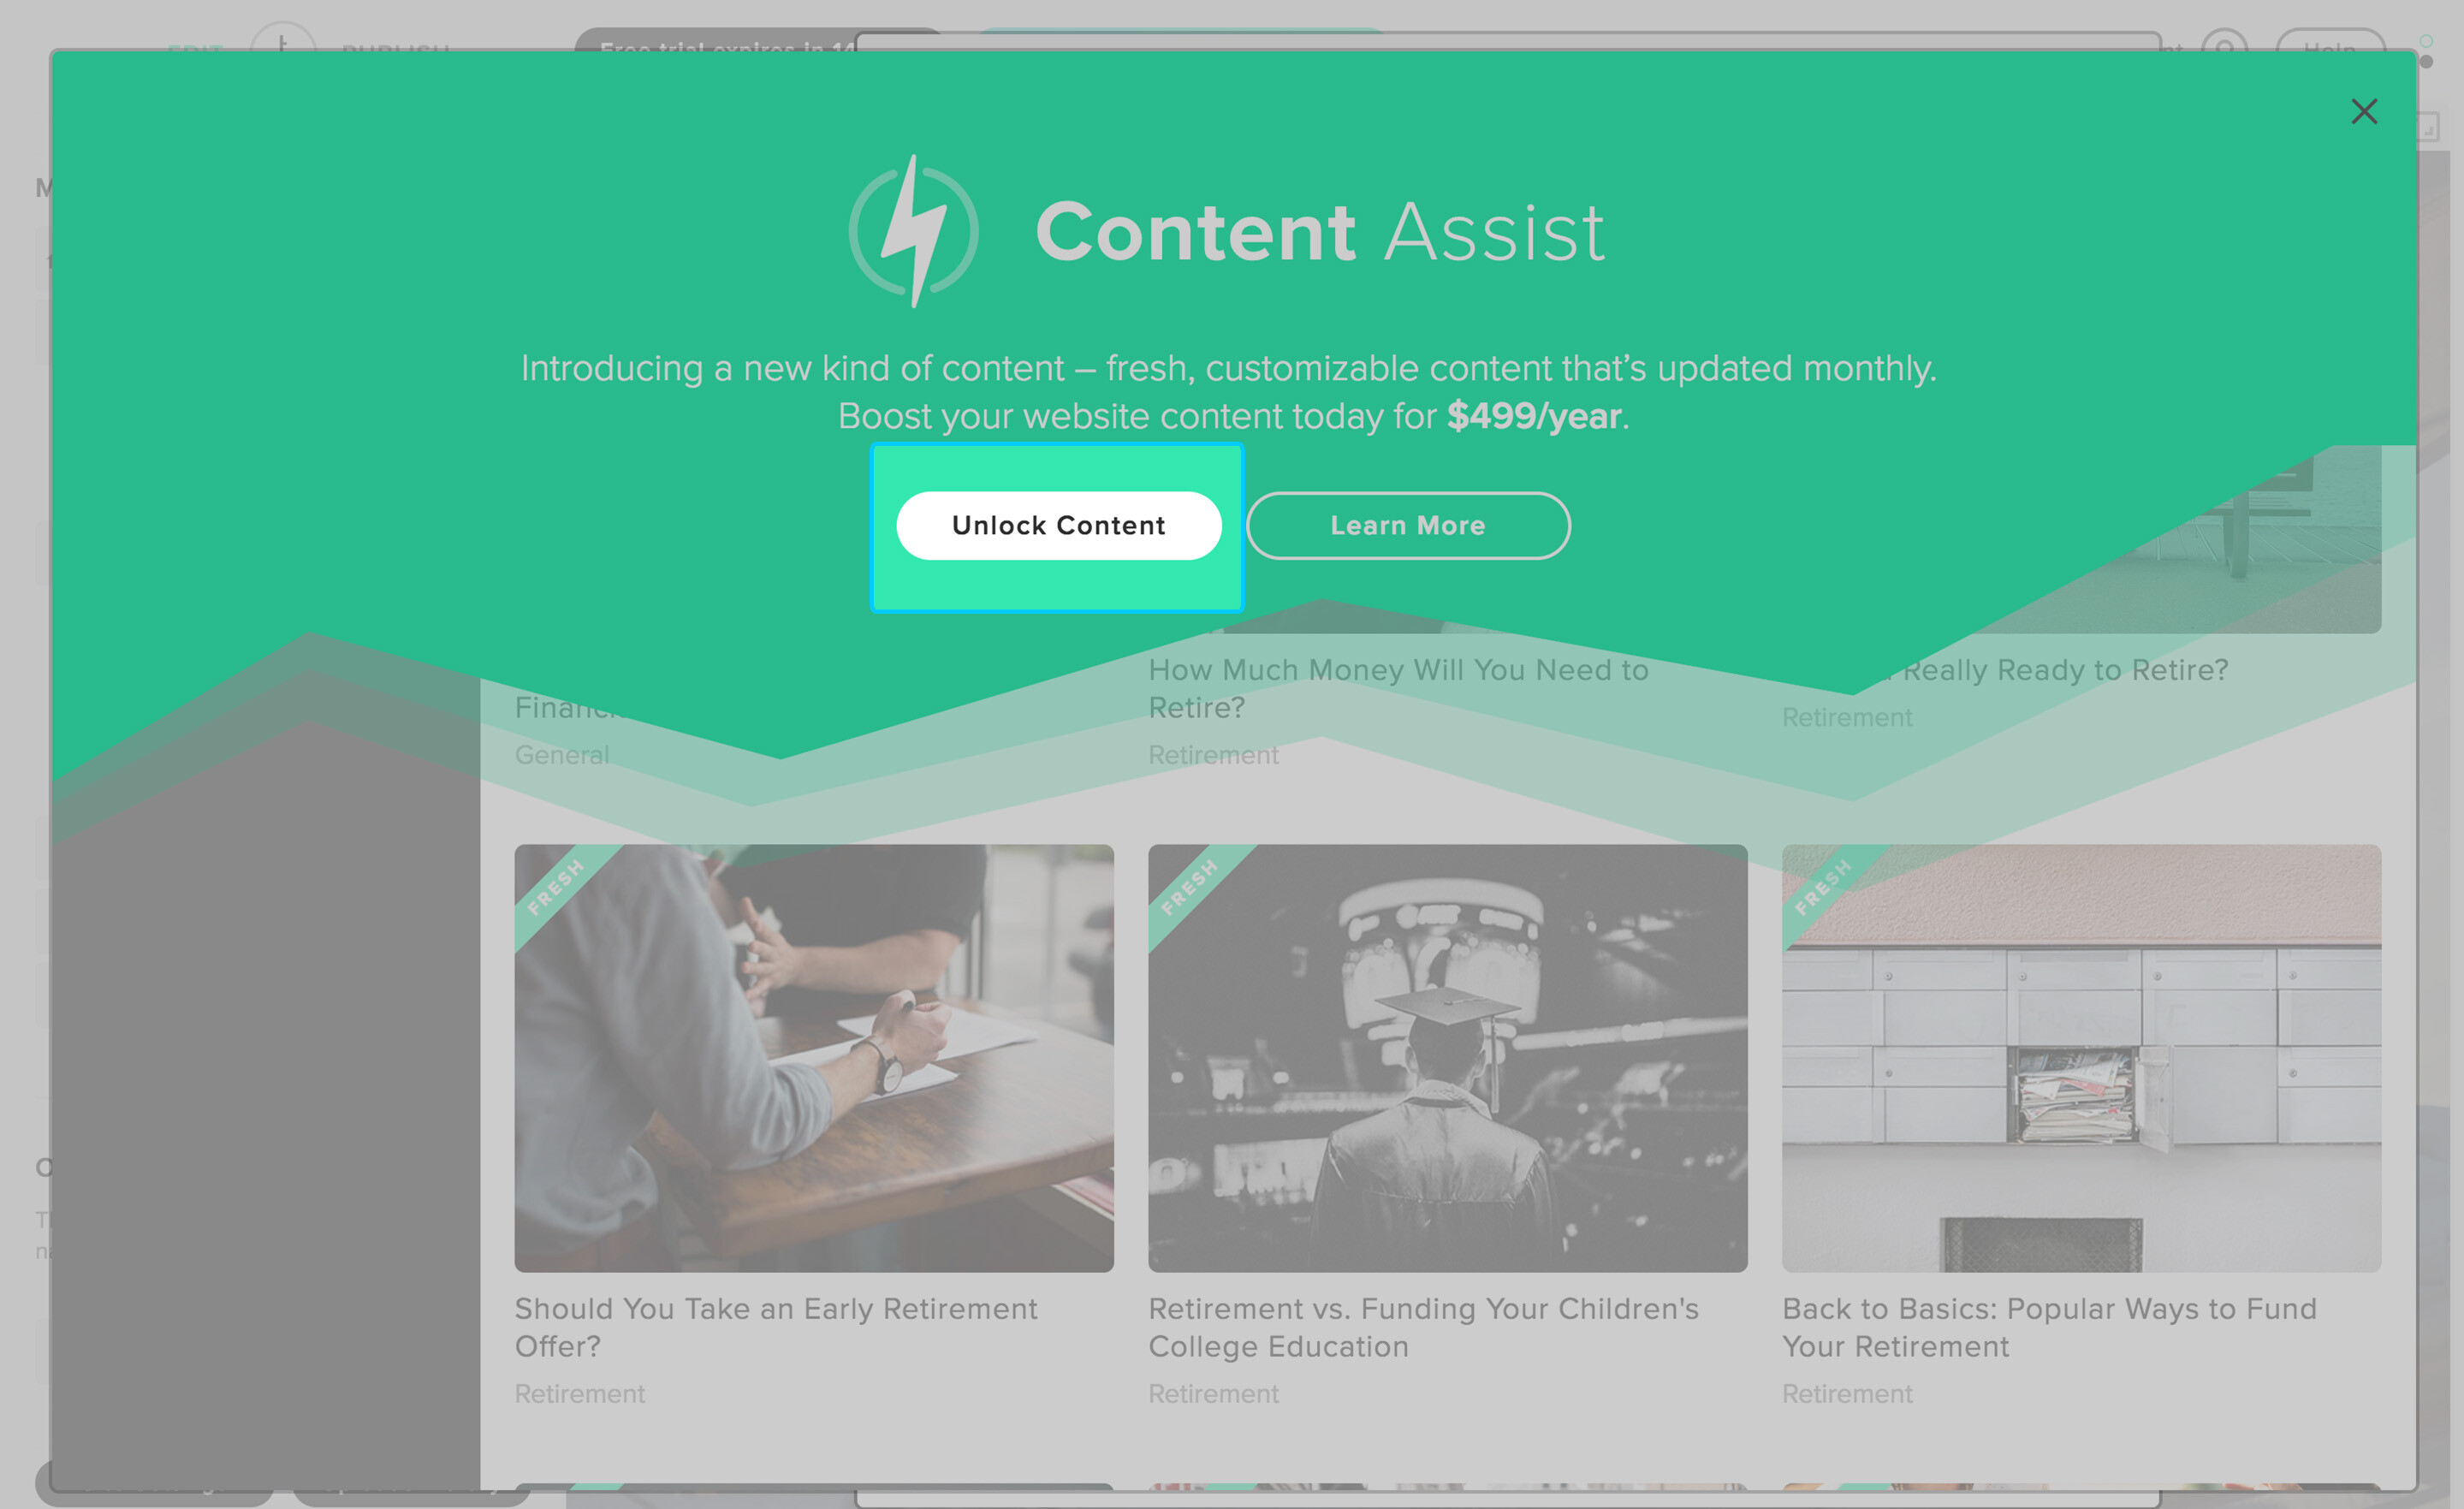
If you are not already subscribed to Content Assist, select ‘Unlock Content’ to gain access to our library for 12 months.
A credit card is required to activate your Content Assist subscription. If you do not have a credit card added under your billings tab in account settings, please add your credit card to proceed.
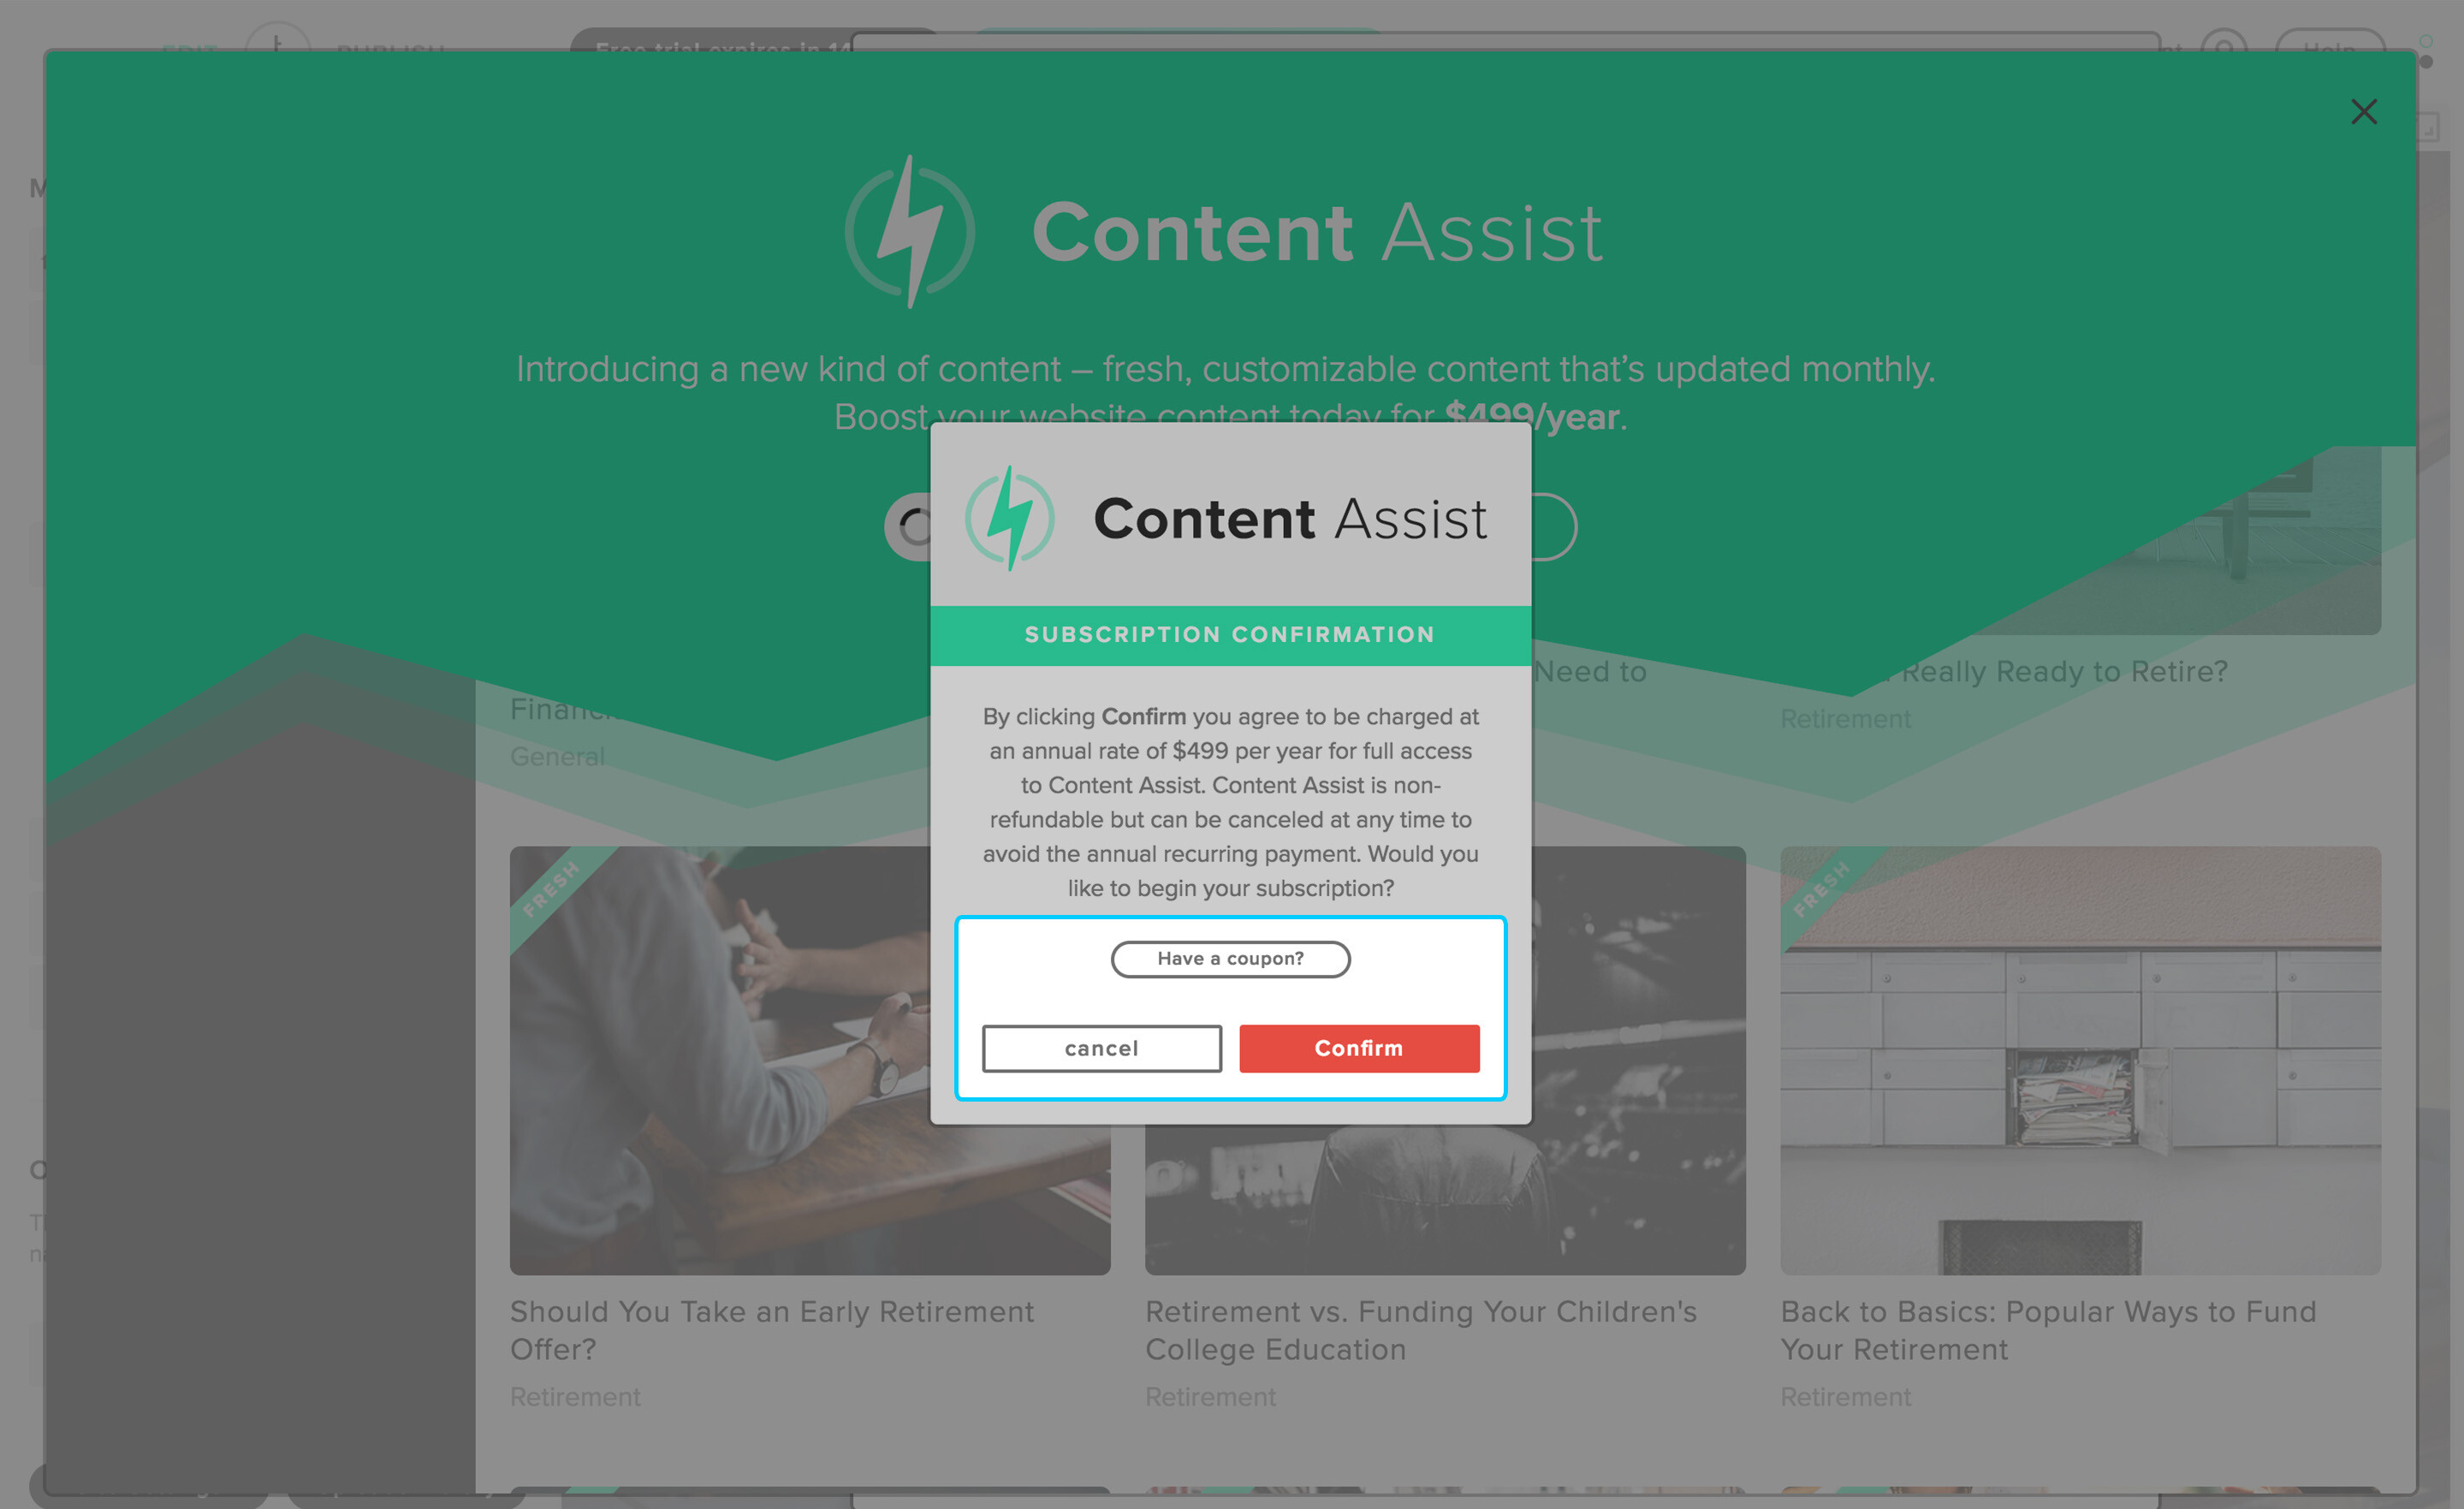
Step 4
Peruse the library of posts via categories or article titles. Click ‘preview’ to review any article before adding it to your blog.
The newest content (added within the last 30 days) is always labeled ‘fresh.’
If your Twenty Over Ten account is connected to your Broker Dealer and they have preapproved content, it will be marked as such and can therefore be added to your website without review (as long as you do not make any changes to the preapproved content). If you decide to edit any preapproved content, or if you select an article that is marked with the ‘requires approval‘ tag, your broker-dealer will still be required to review your changes before publishing.
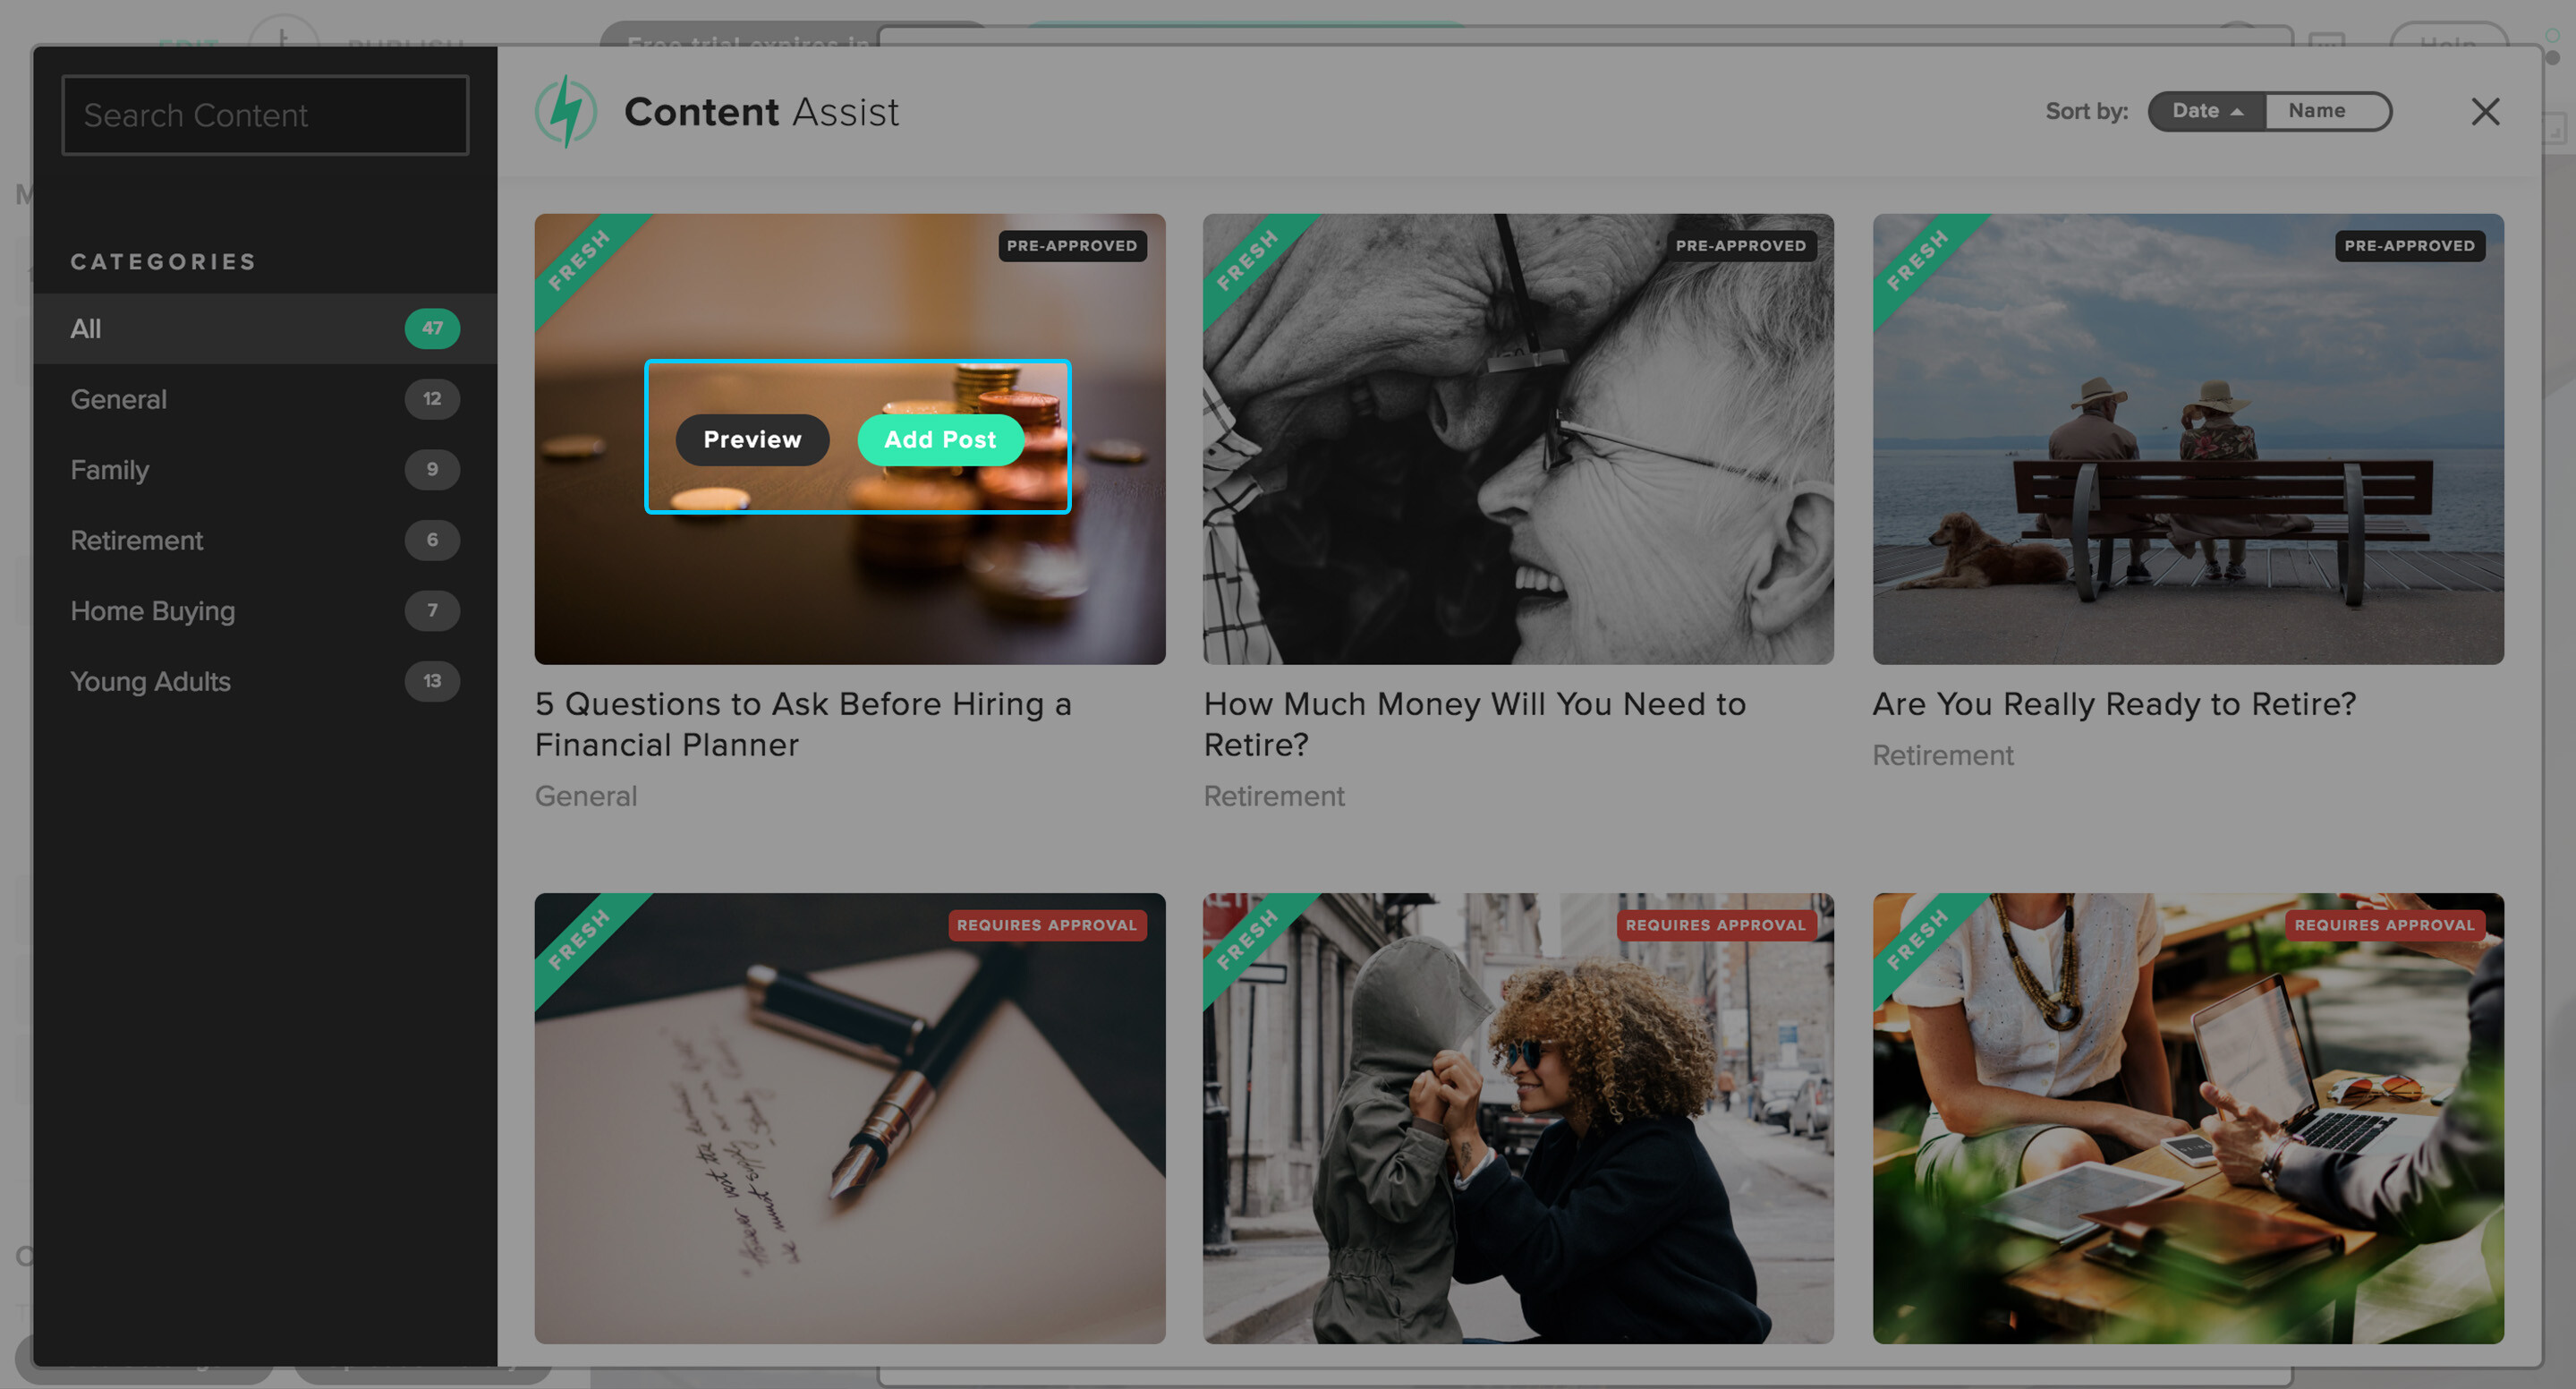
Step 5
Click ‘Add Post.’ You are welcome to use each post as-is. However, we HIGHLY encourage you to use the content as a starting point and add your own flavor to it. Customize content for your particular niche, geographic location, or for your audience and search engines like Google. Click “save post” when you’re finished customizing the post.
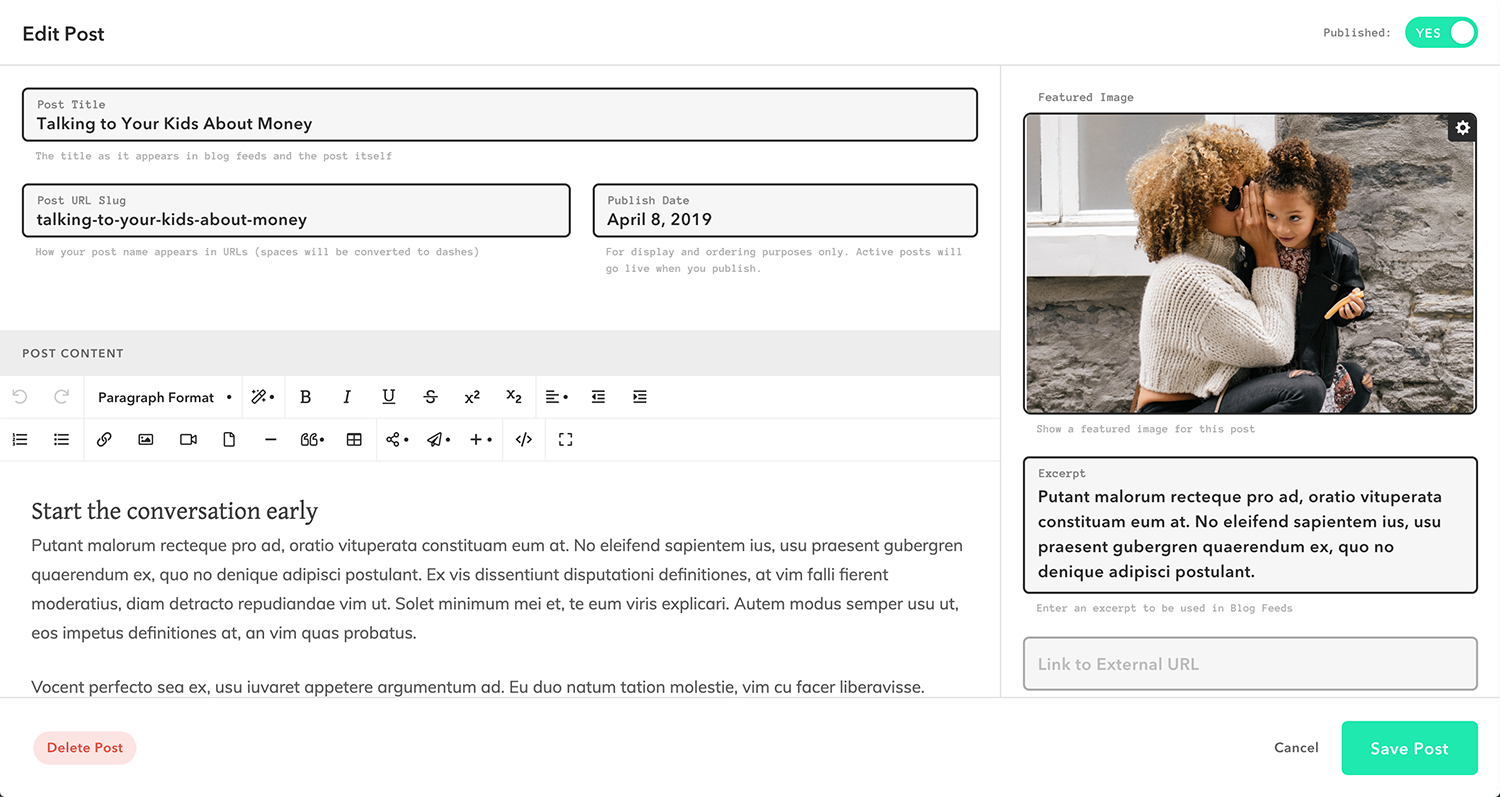
Step 6
Once you have added your new content assist post (and edited it for your audience), proceed through the publish step.
