Step 1
Grab your Calendly event links from your Calendly account. Calendly has a step-by-step tutorial for locating your event links on their support page here.
Step 2
Log into your Twenty Over Ten account.
Step 3
Add your Calendly event links to your site. We have a tutorial for adding links and styling links as buttons here.
Step 4
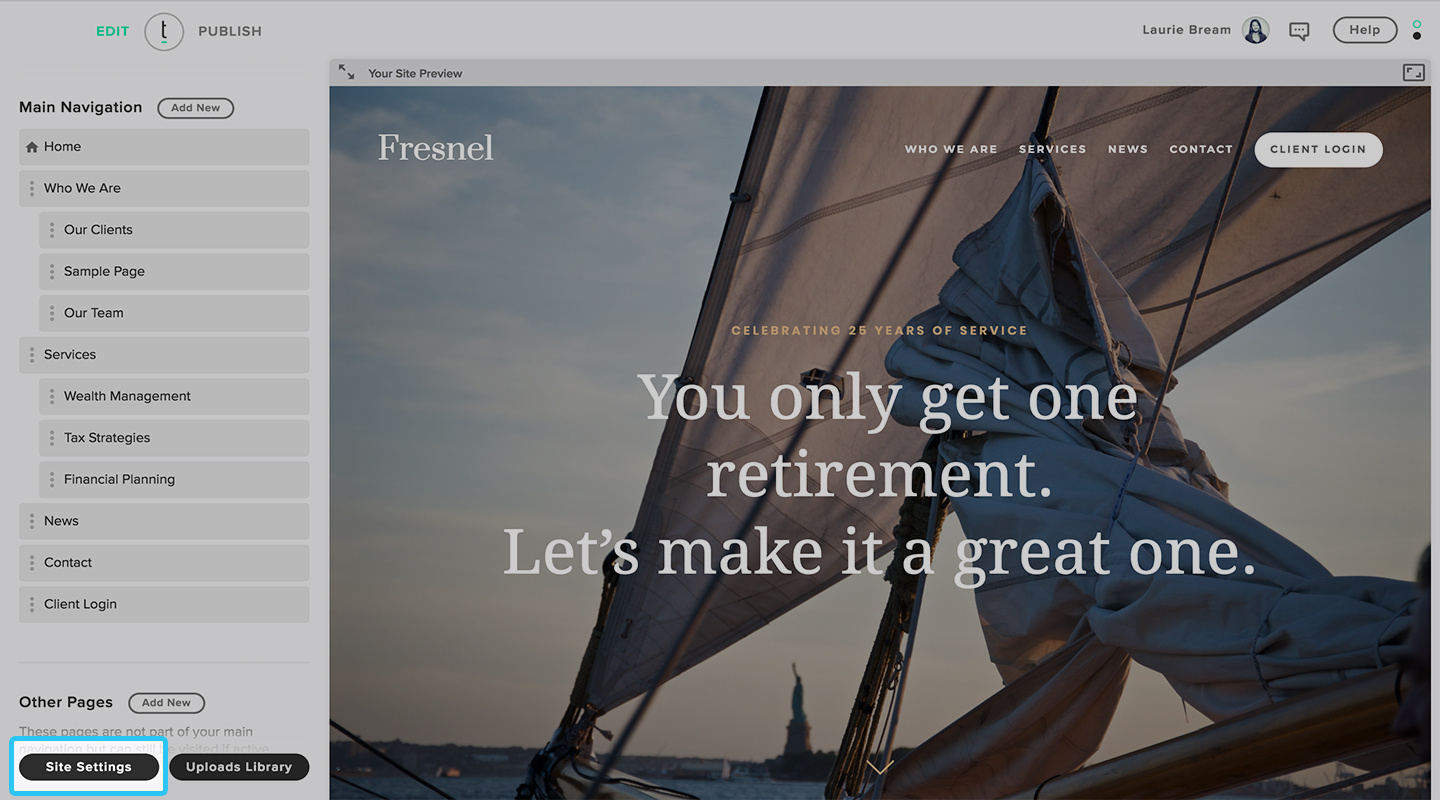
Go into “Site Settings”
Step 5
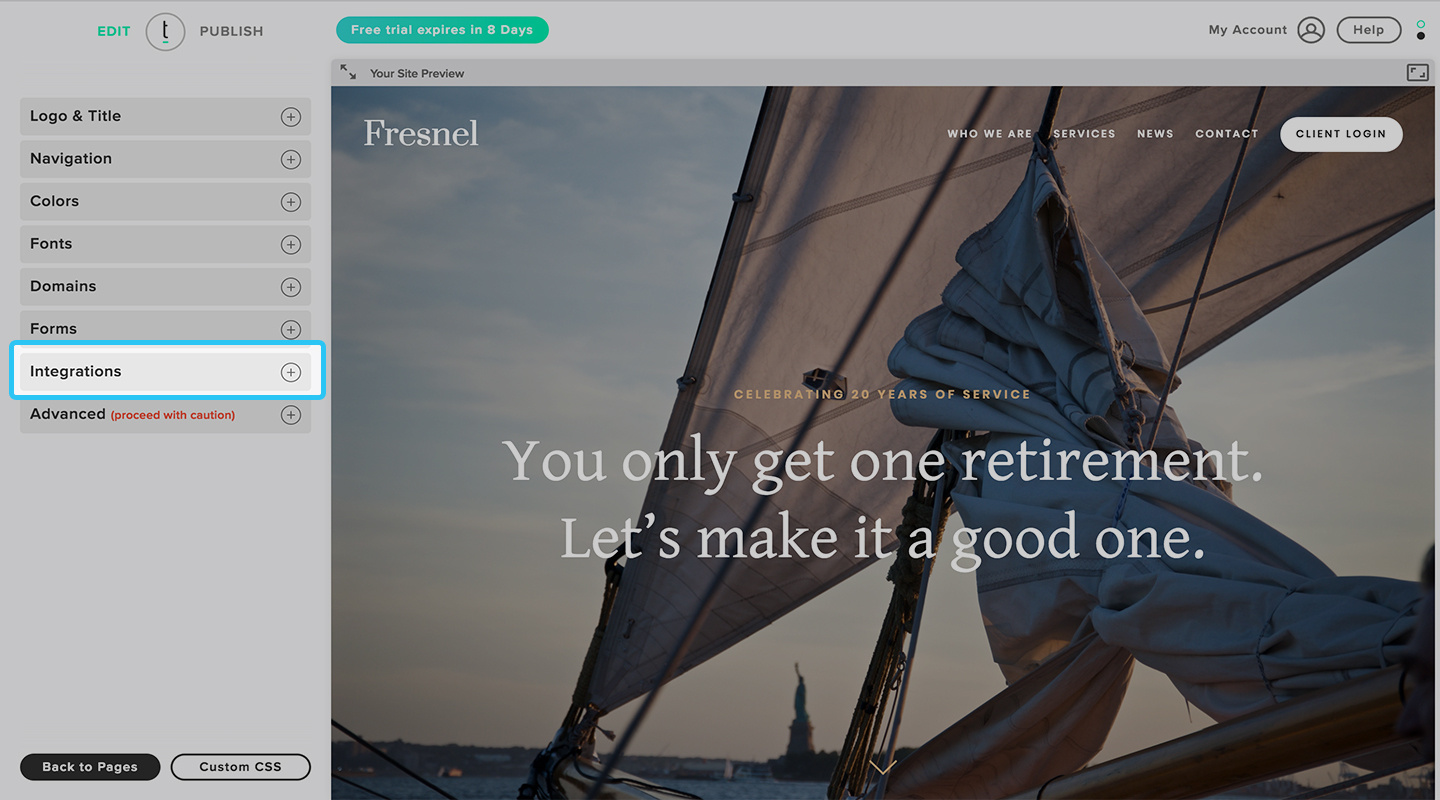
Click on the “Integrations” tab.
Step 6
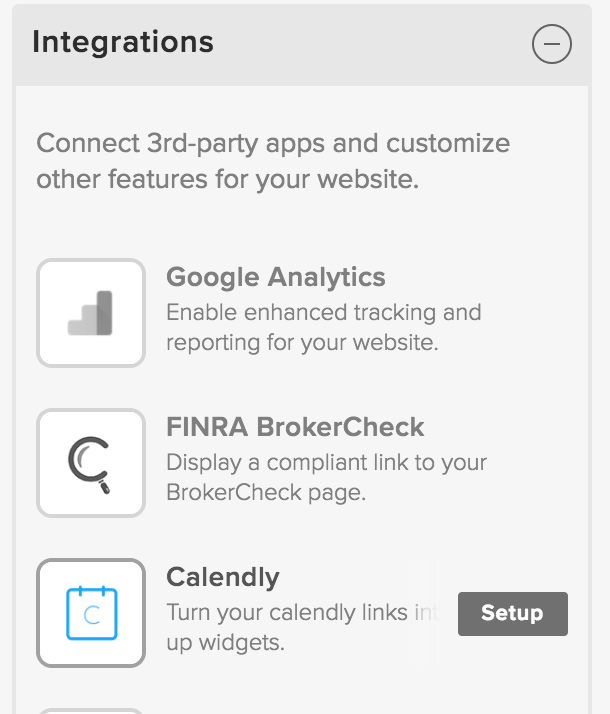
Hover over the Calendly section and click on the “Setup” button.
Step 7
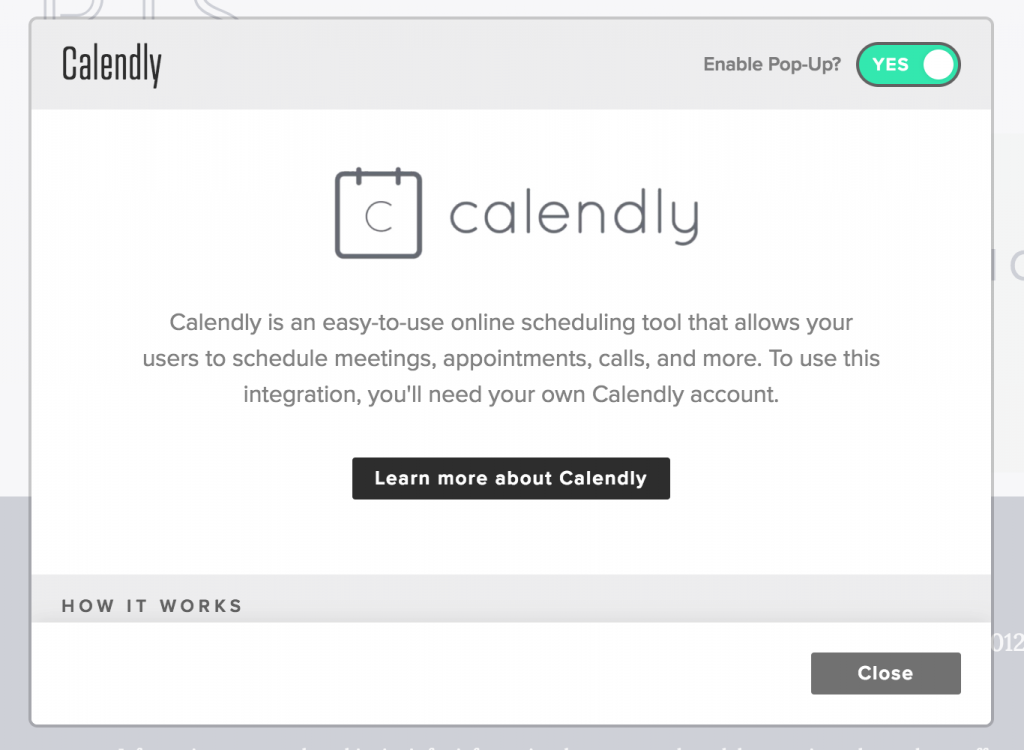
Click the “Enable Pop-up” button in the top right so that it reads “YES.” Close the overlay window.
The Calendly pop-up cannot be previewed on your staging site, so you will need to publish your site and access your live URL to view the pop-up in action. Just click the Calendly links you entered in Step 1 and admire your new scheduler pop-up!
In the future, if you no longer want your Calendly links to appear as pop-ups on your site, you can come back to the integrations tab, access your Calendly settings, and toggle the integration to “NO.”