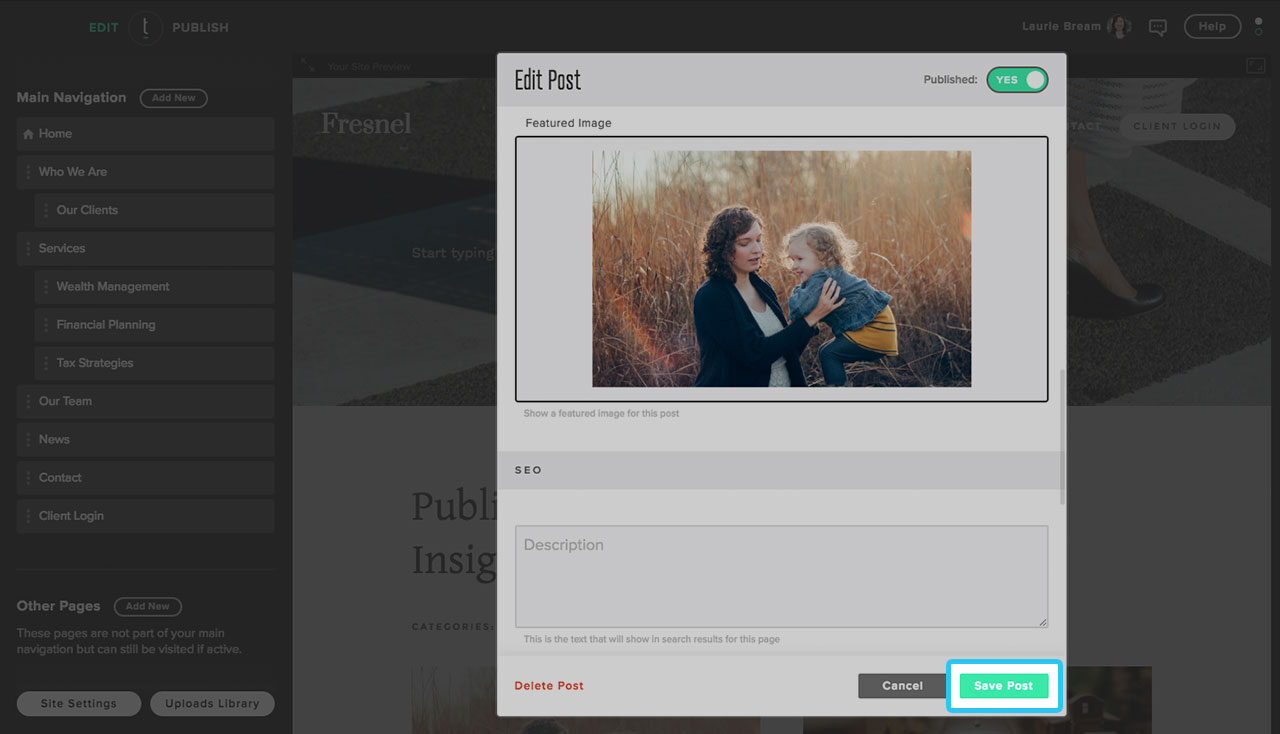
Adding a Featured Image to Your Blog Post
Step 1
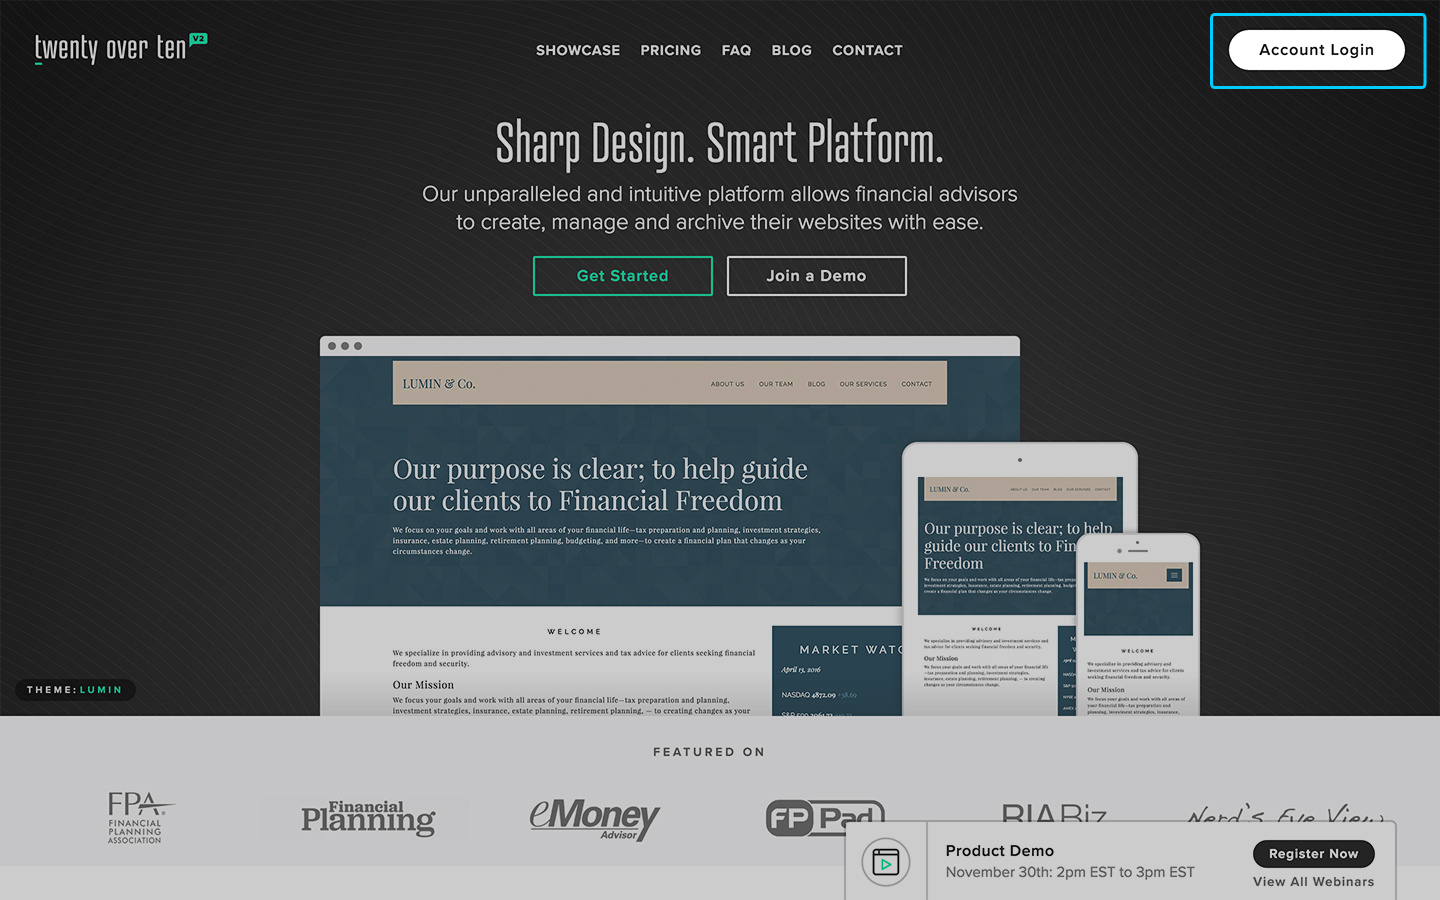
From the homepage, click “account login” from the top right or access our login page directly here.
Step 2
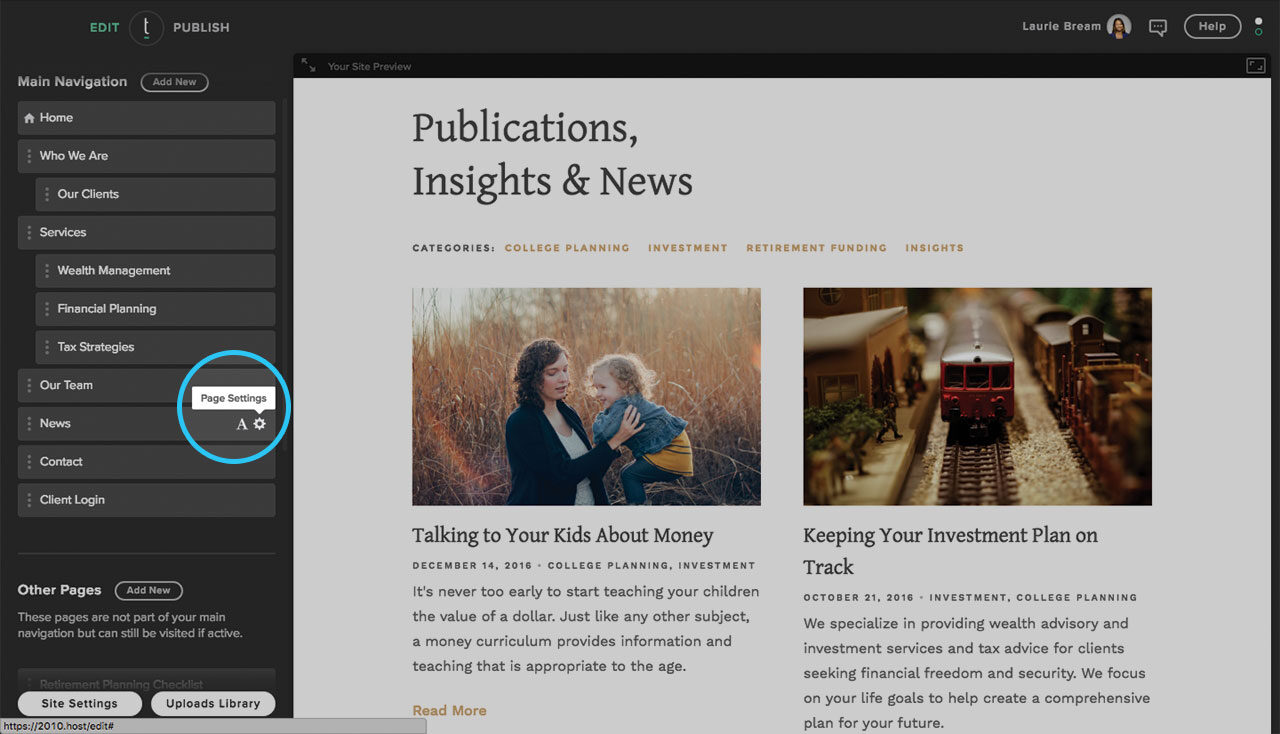
To add more categories for your blog posts, you need to first access the Page Settings window. Hover over the page that contains your blog. Two icons will appear for ‘Post Settings’ (a capital ‘A’) and ‘Page Settings’ (a cog icon). Click on Page Settings (the ‘cog’ icon).
Step 3
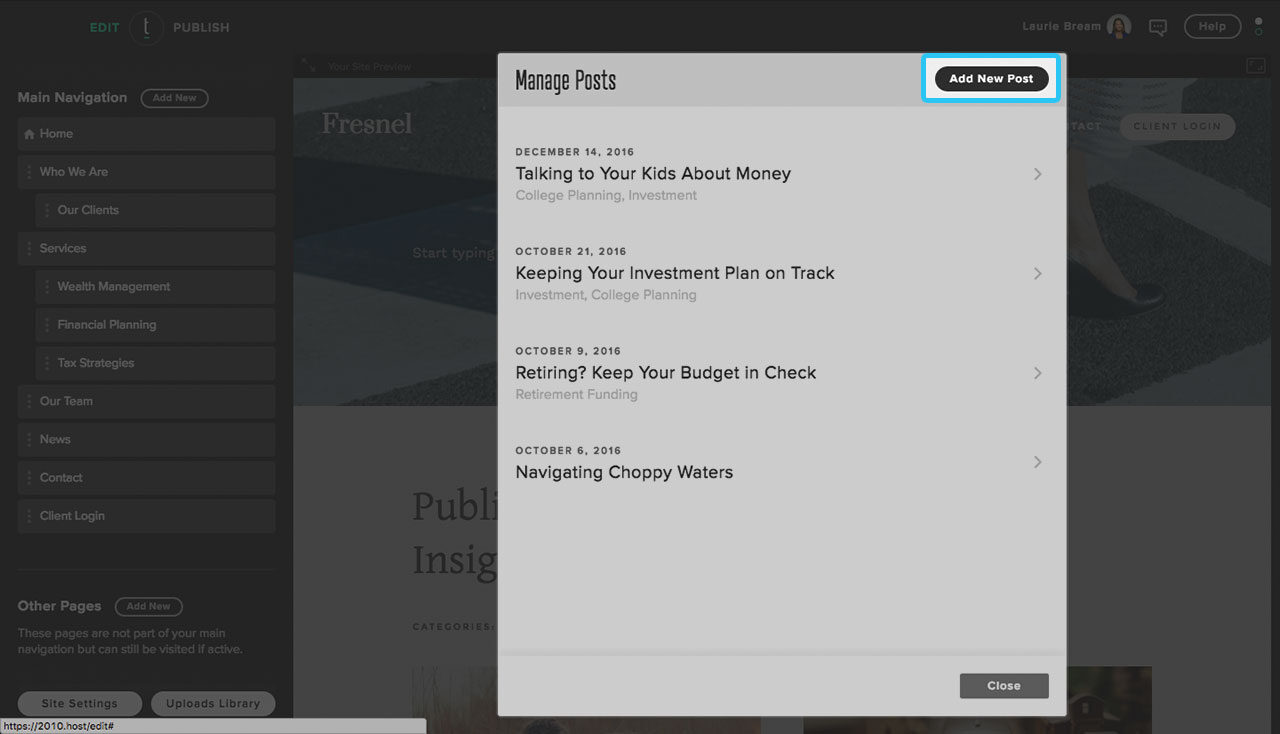
The Manage Posts window will appear. Proceed to click on the blog post you wish to edit or create a new post.
Step 4
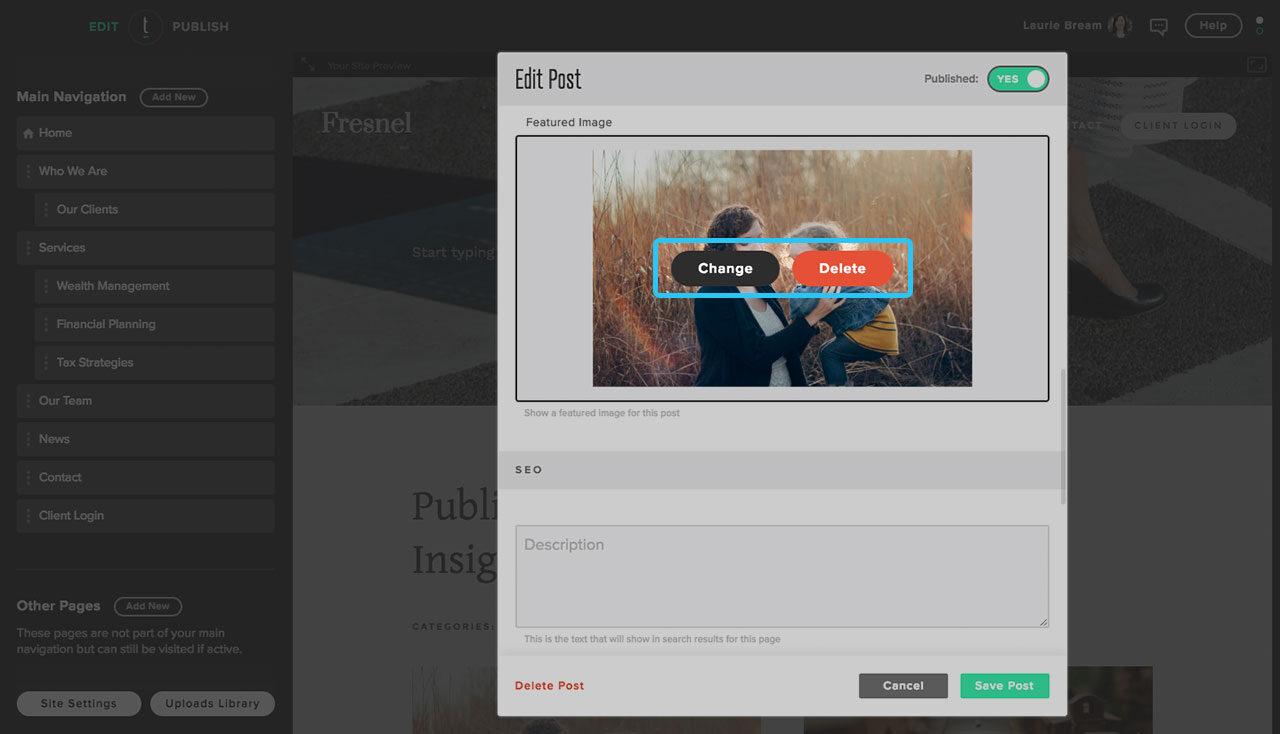
Scroll down until you see Featured Image. If you hover over the image, two buttons will appear, giving you the option of either deleting the image or changing the image.
Step 5
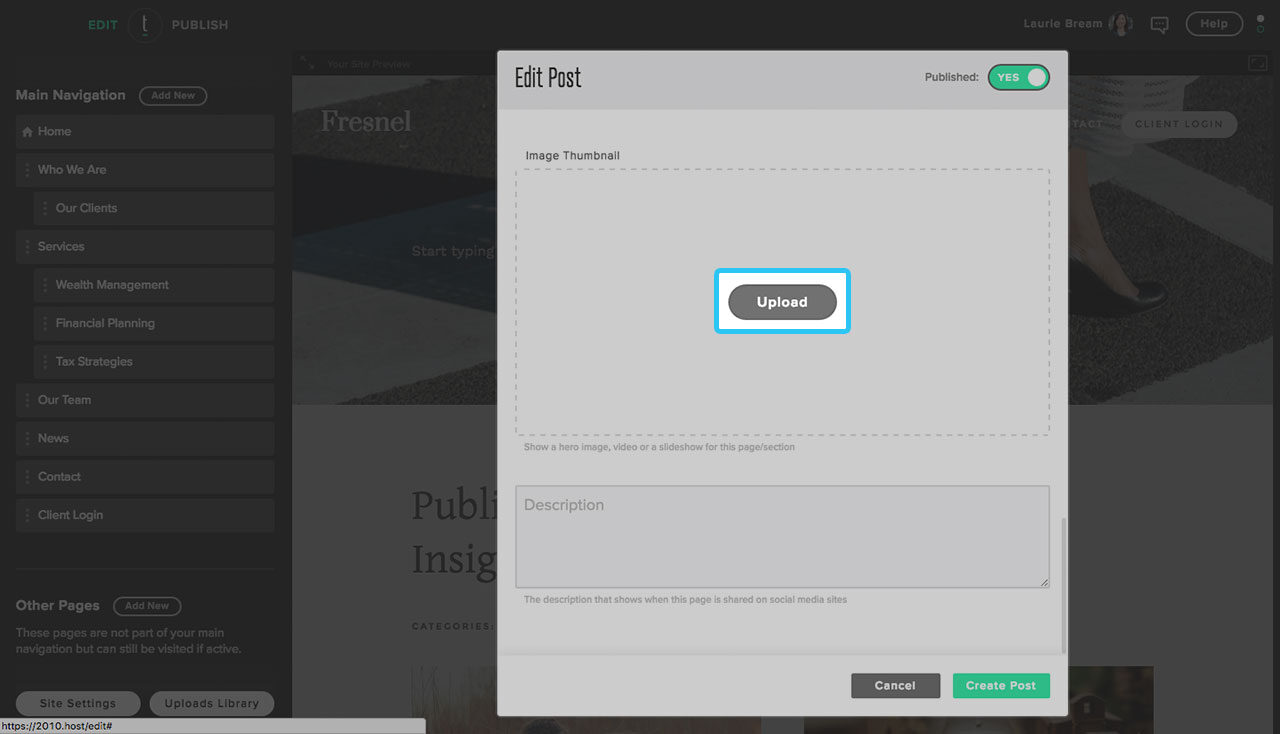
If there is no image, the the box will be blank with an Upload button in the middle. Click this button to upload an image.
Step 6
Once you are finished changing the image or uploading a new one, click Save Post.
