Overview of general page settings Updated over 9 months ago
Accessing Your Page Settings
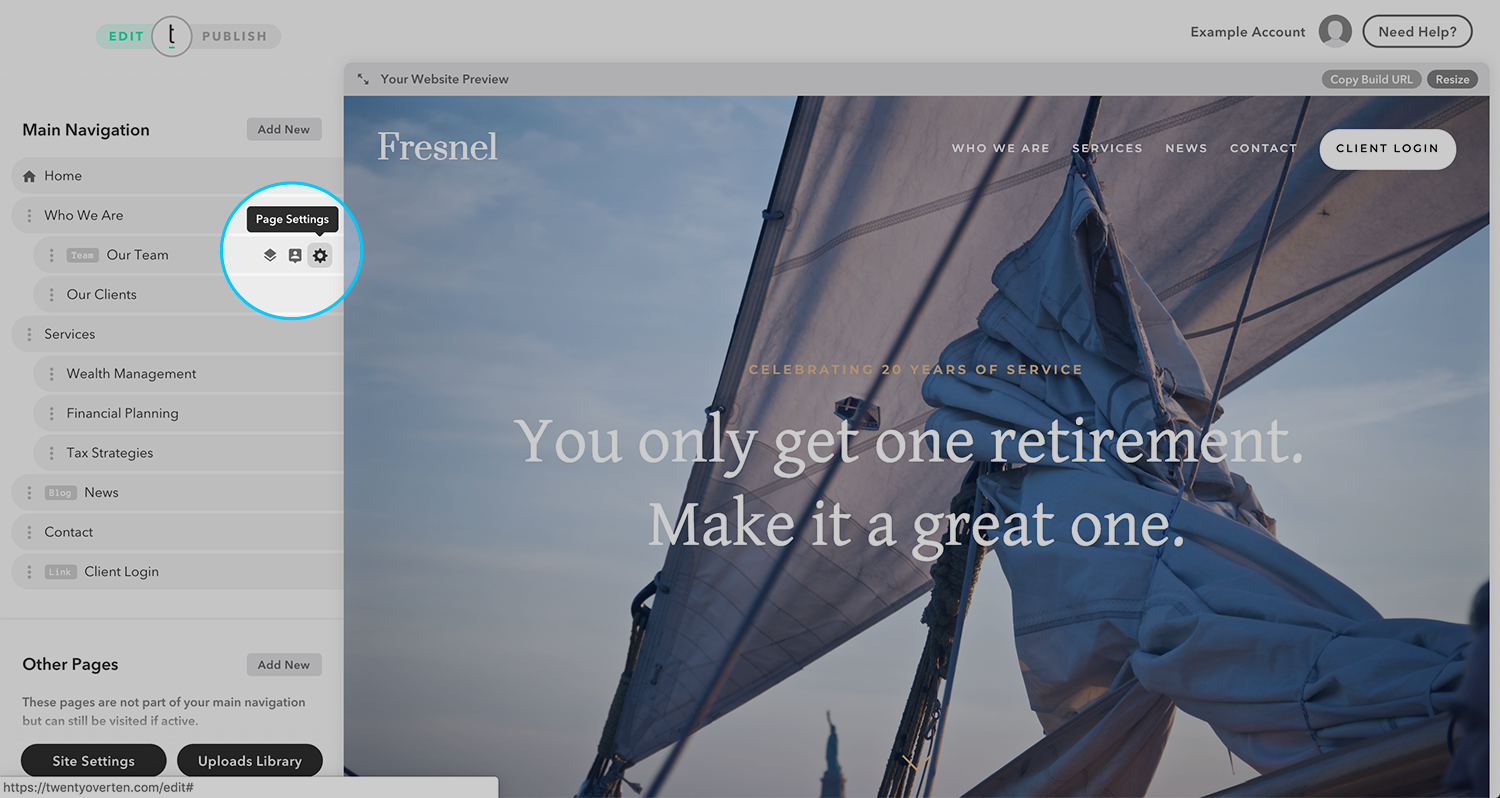
To access your page settings, hover over the page in your navigation list and click on the ‘page settings’ icon (the cog).
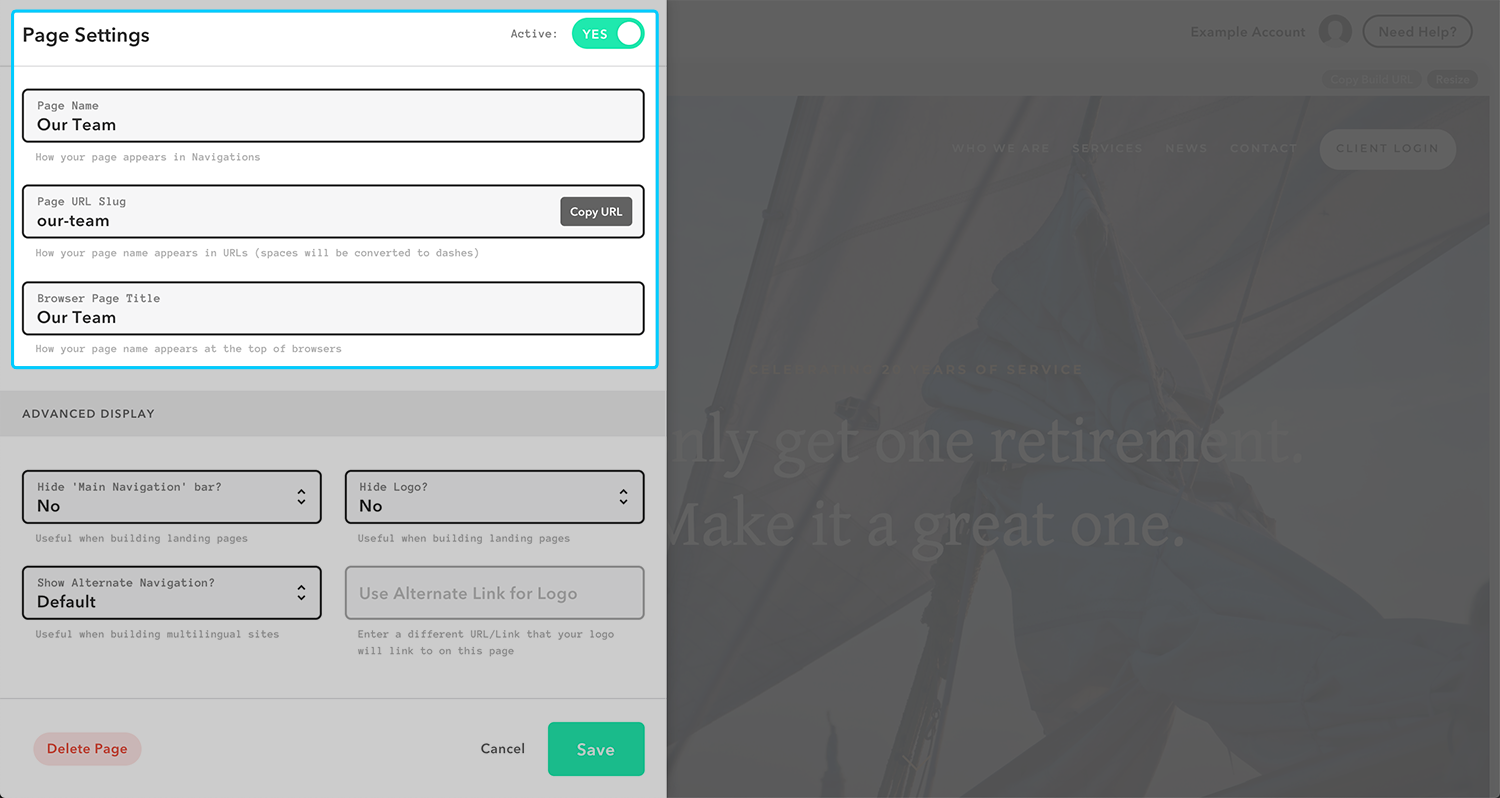
Page Name / Page URL / Page Title
Once you are on the page settings, you can change the page name, change the page’s URL slug, and change the title that appears on the top of web browsers.
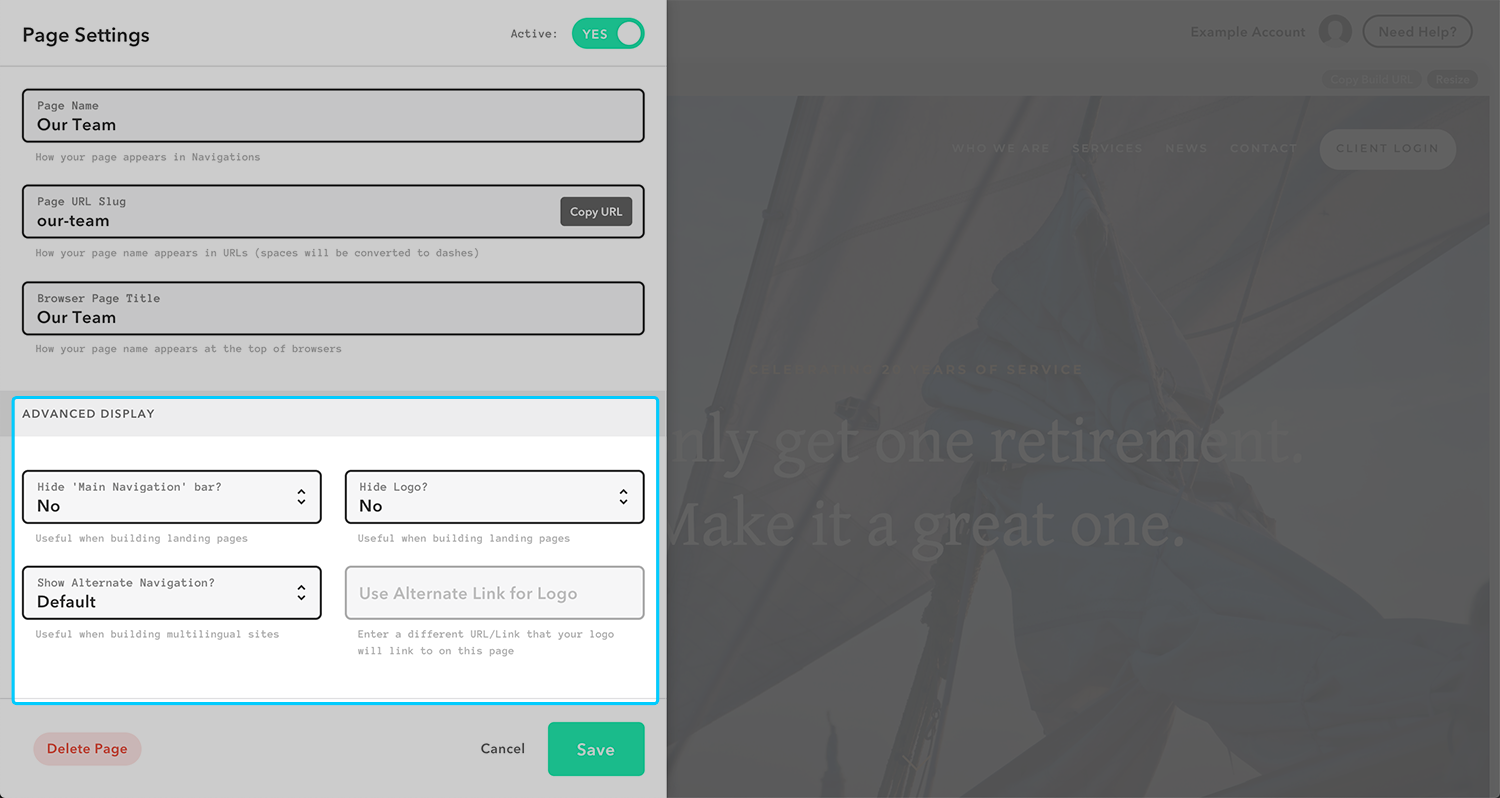
Advanced Display
Below the page settings, you’ll see the advanced display settings. Many of these settings are intended primarily for landing pages, such as hiding the main navigation bar and hiding the logo. You can also select to show alternate navigation, which is useful when building a multilingual site, or to use an alternate link for your logo.
Hero Image
If you scroll further down, the option to change the background/divider appears. If you hover over the image, two buttons will appear, giving you the option of either adding/changing an image or deleting the image.
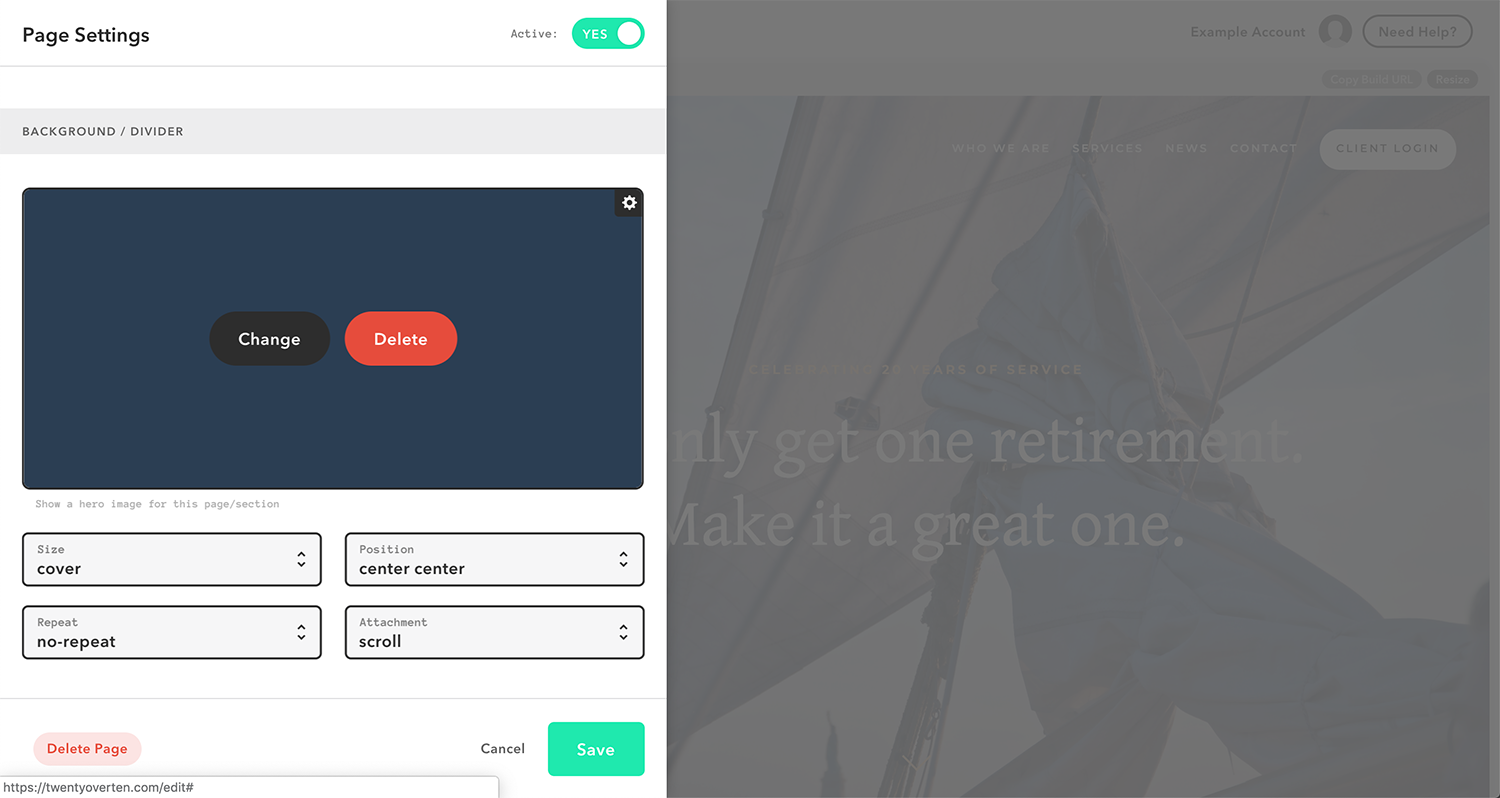
You can also click the gear icon in the top right of the hero image box to open up the photo editing and cropping tool.
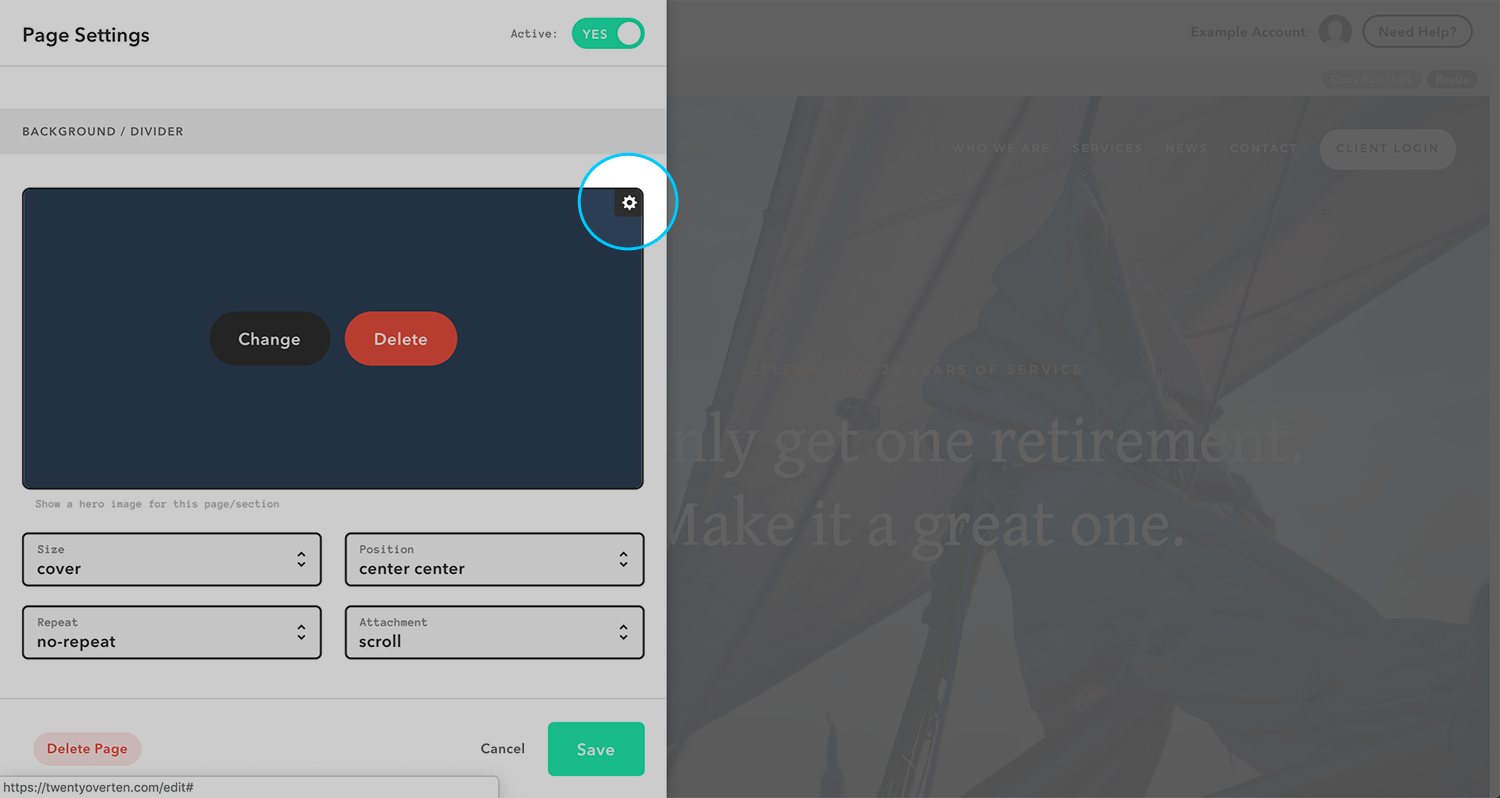
Page background options
Use these options to change the location and behavior of your background image.
-
Position: This sets the starting position of the background/divider image
-
Size: The ‘cover’ option corrects the image to fit the container, while the ‘auto’ option uses the original image size
-
Repeat: This decides whether or not the image will be repeated, and if so, how it repeats
-
Attachment: This determines if the image is fixed or scrolls with the page
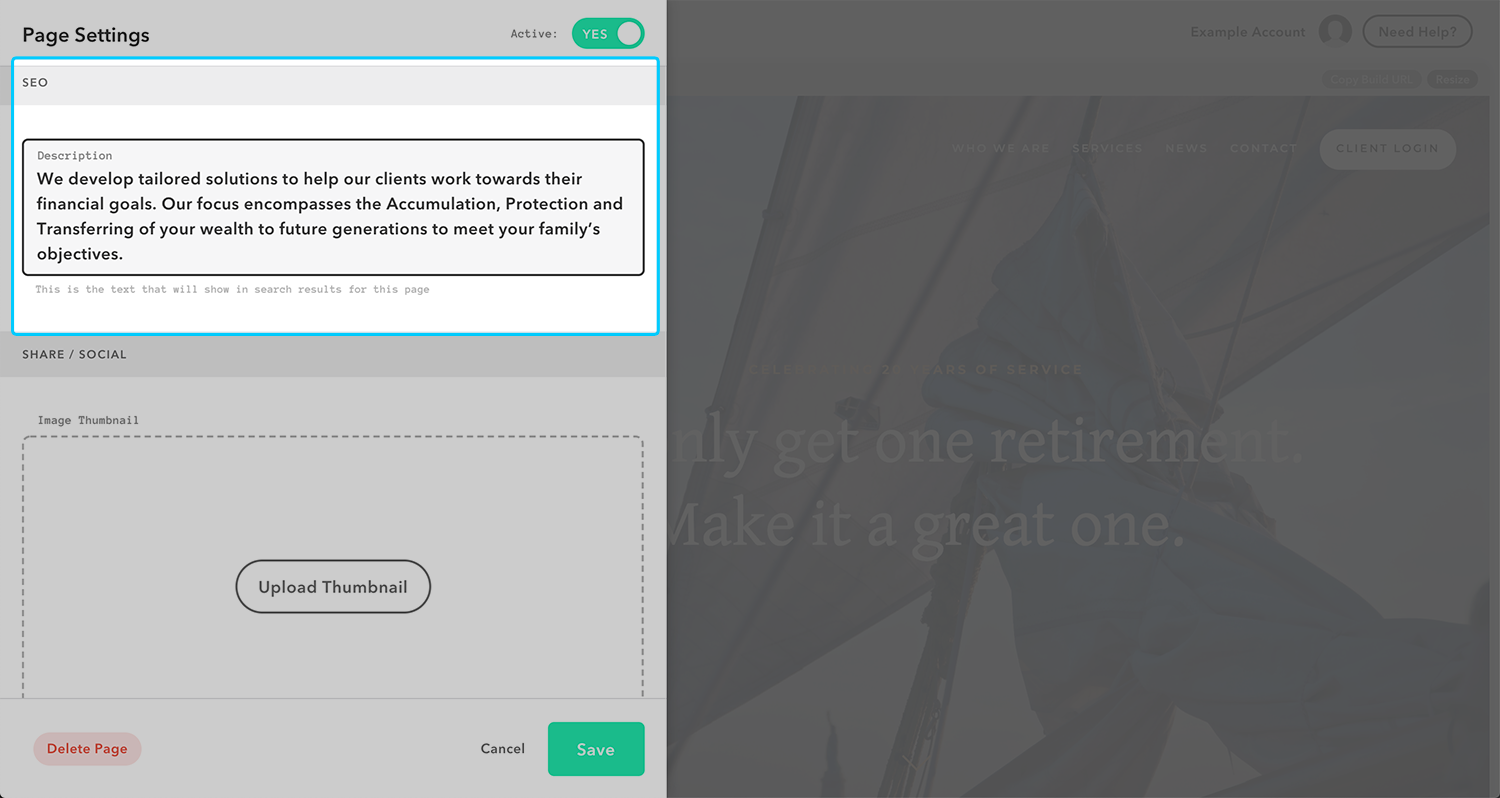
SEO (Search Engine Optimization)
The SEO Description is the text that will show below your URL in search engine listings or if you share your page to a social media site.
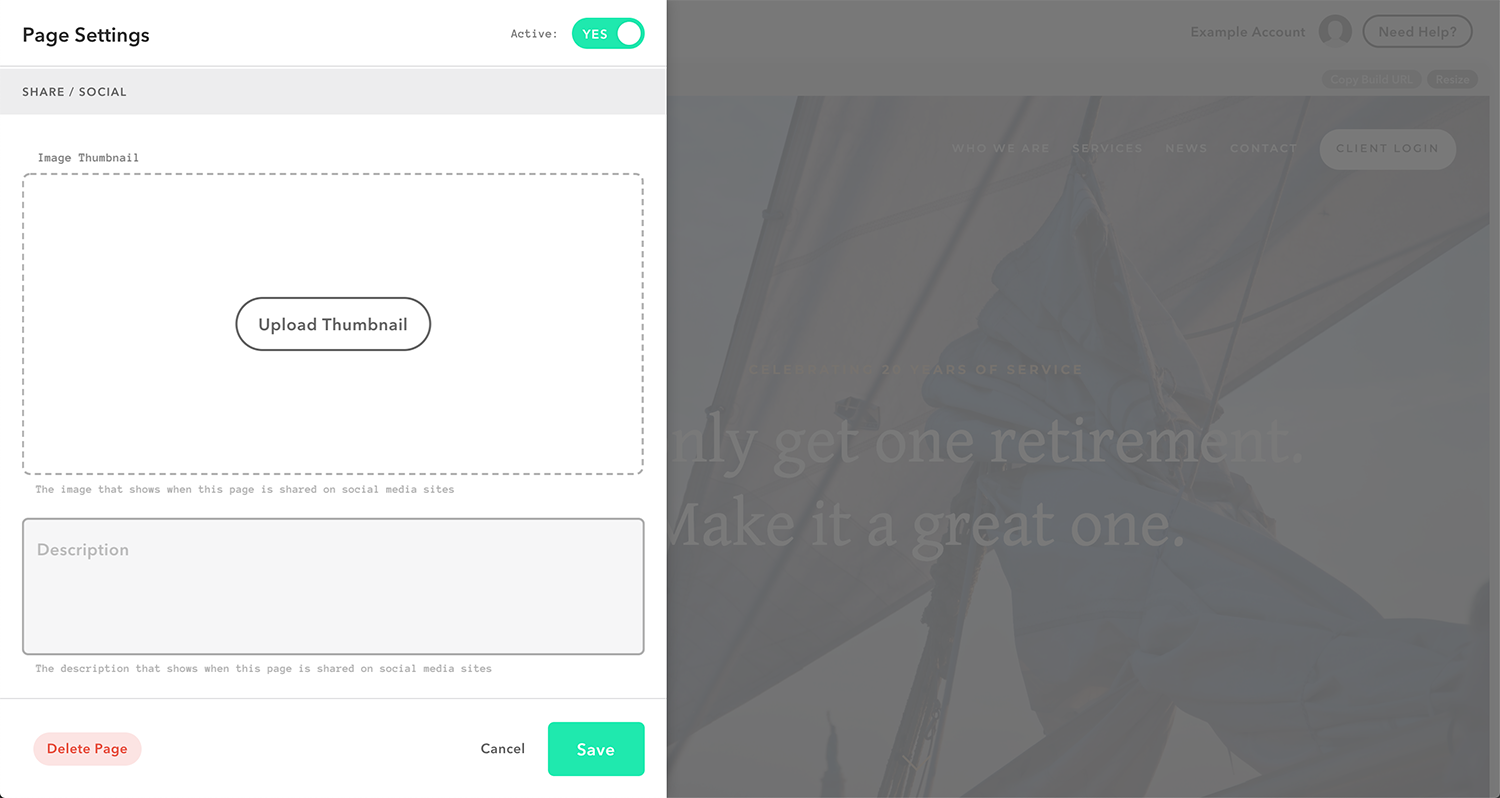
Social Media Image Thumbnails and Descriptions
Towards the bottom of the Page Settings window, there will be options to upload an image thumbnail (the image that shows when the page is shared on social media sites) and to edit a description (the description that shows when the page is shared on social media sites).
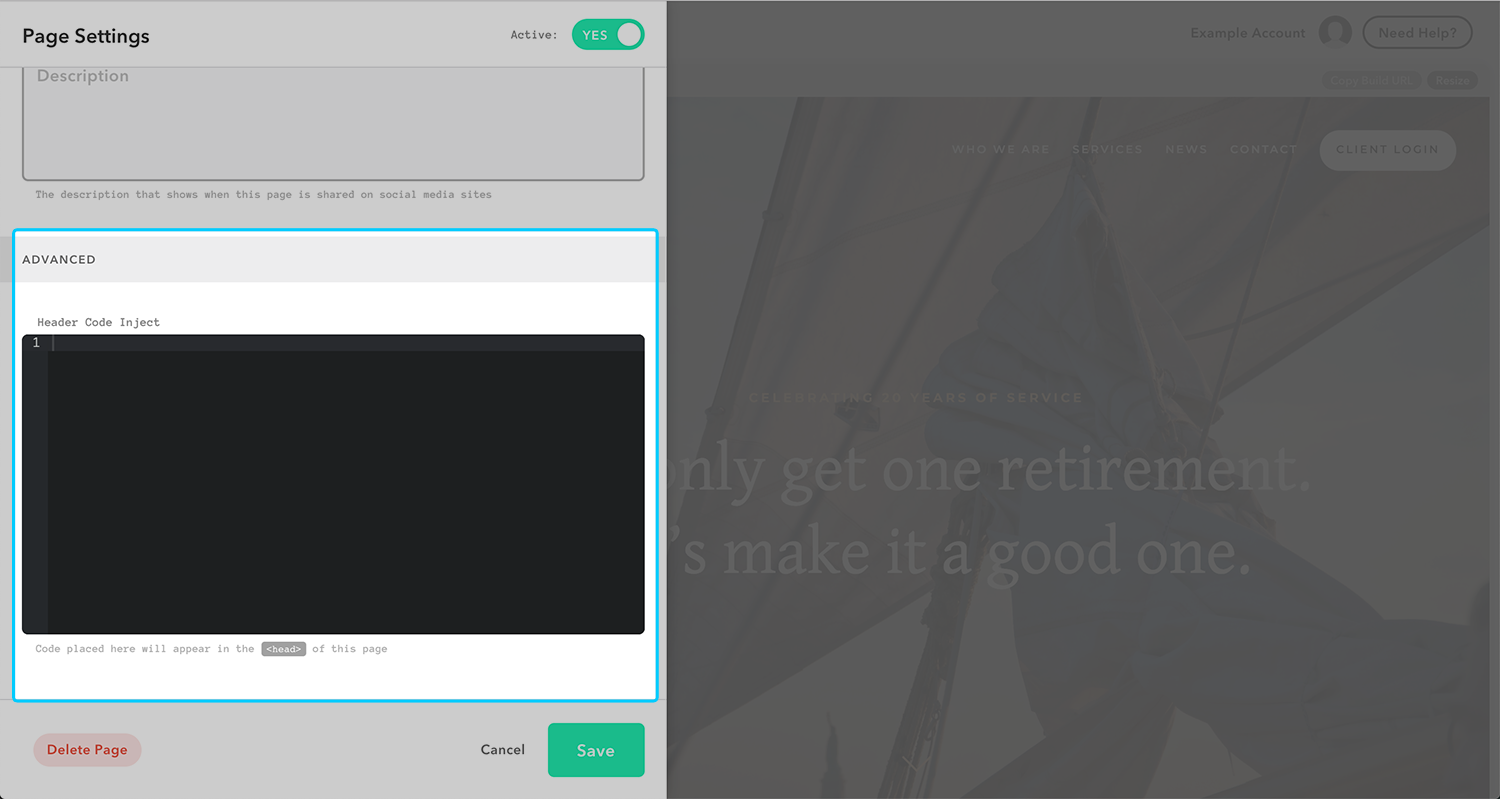
Header Code Inject Box
Each page will have its own header code inject box. You can use this box to inject Javascript and other meta-data onto that specific page instead of site-wide.
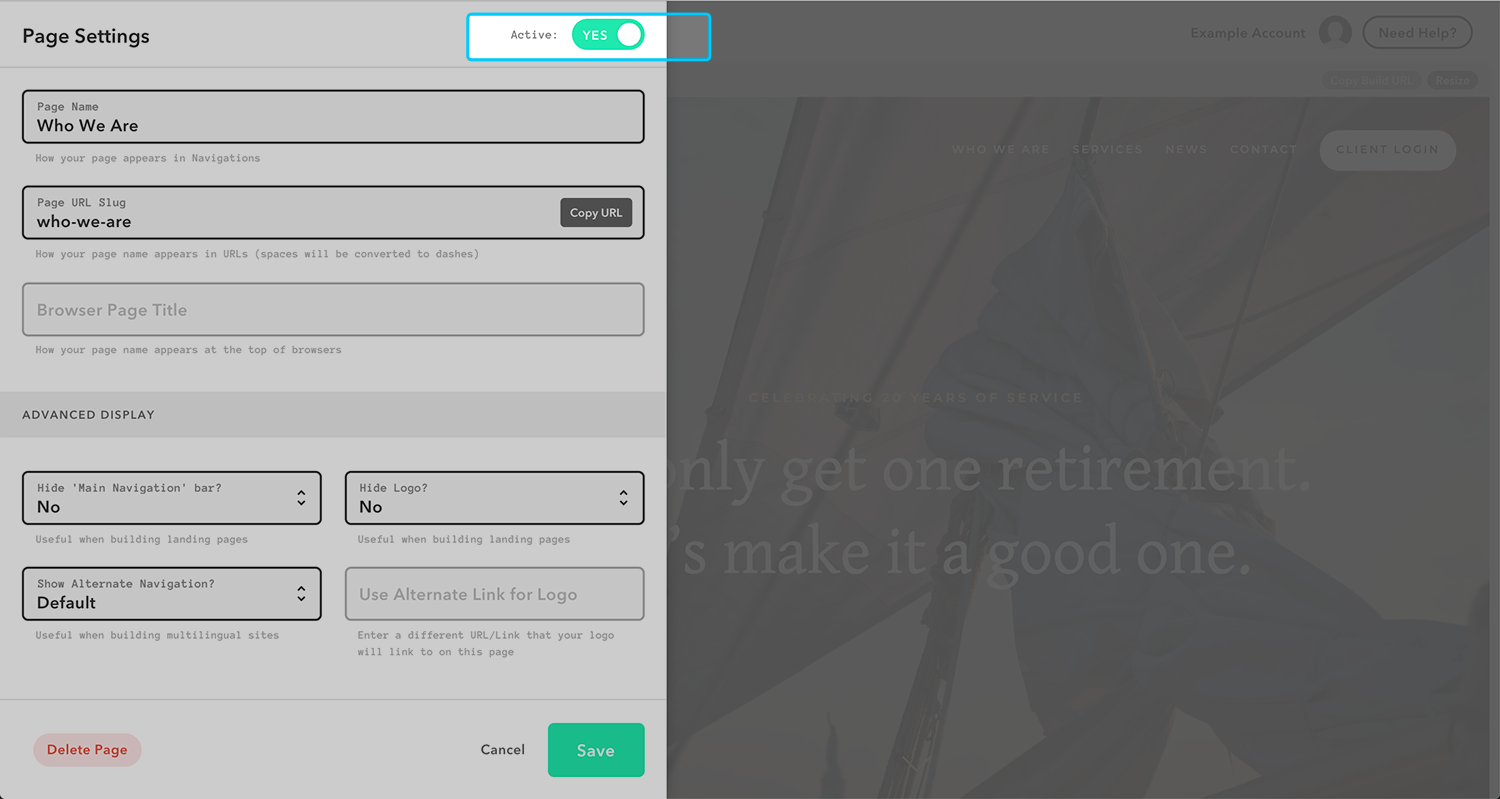
Turning a Page to Inactive
Rather than deleting a page, you can make a page inactive (to keep it hidden from public view after publishing the change). You can easily return to the page and make it active again when you deem it necessary.
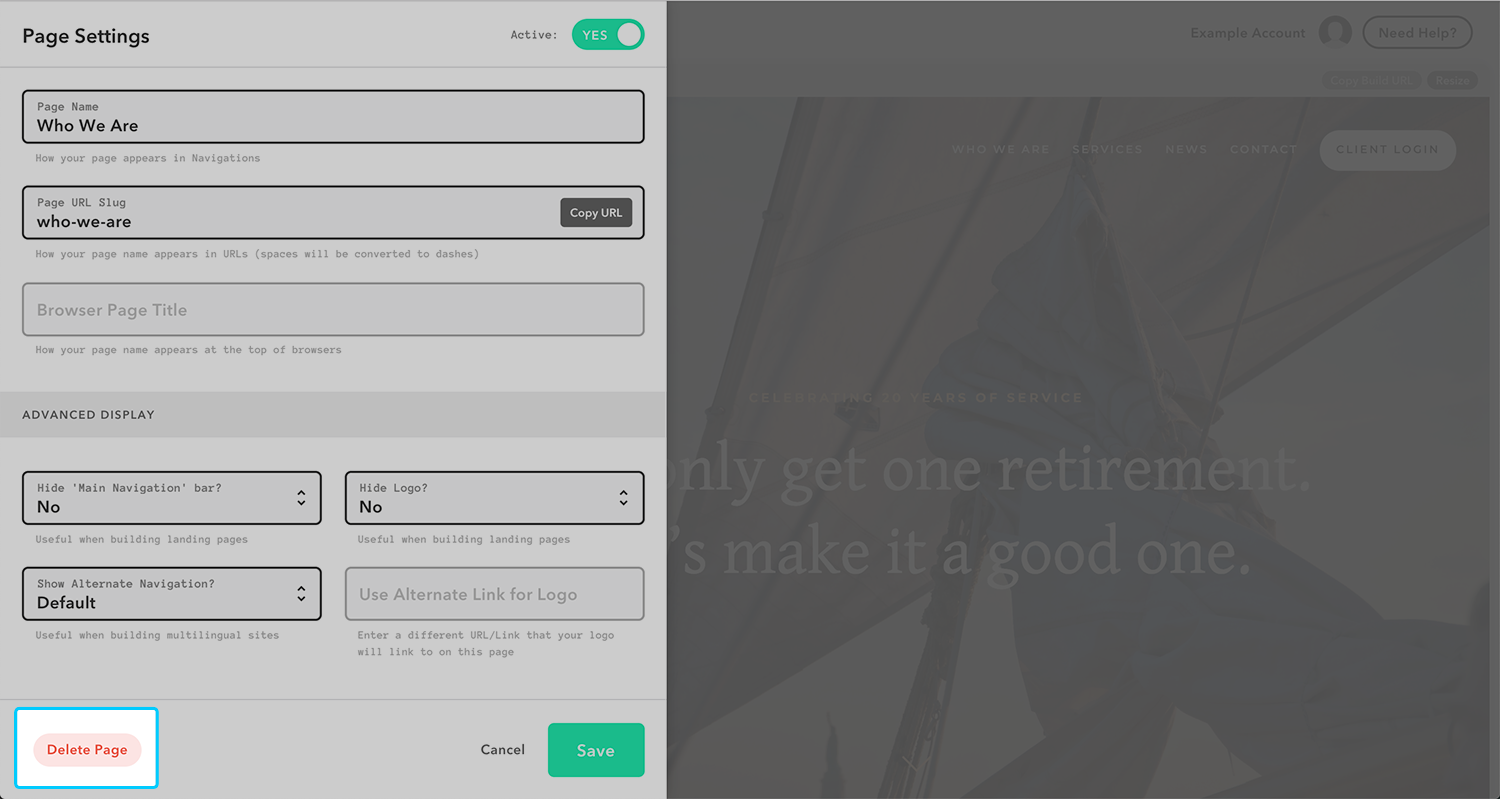
Deleting Your Page
If you would like to delete the page altogether, you can click on the ‘Delete Page’ button at the bottom, left-hand side of the window. A confirmation window will pop up. Click ‘Confirm’.
Important: If you delete your page, all information associated with this page will be permanently deleted. We strongly encourage you to consider the impact of this before deleting any page
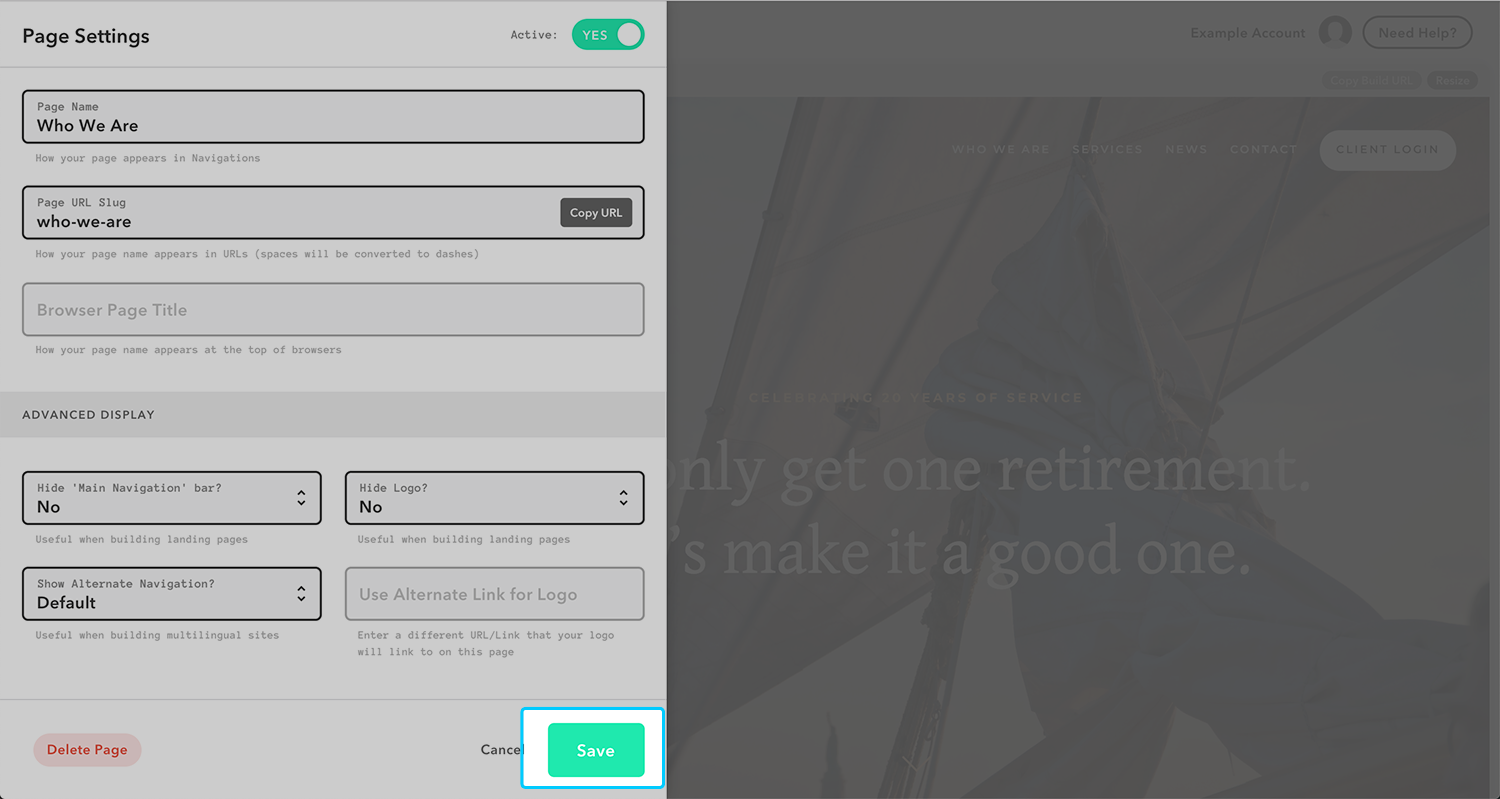
Saving Changes
Once you are finished changing your Page Settings, click Save.
