
Note: Whoever is installing the tracking code will have to log in to HubSpot to complete the steps, so you need to create a HubSpot user account for them. For a refresher on creating a new HubSpot user account, click here.
STEP 1
Visit http://www.hubspot.com/ to log in to your account.
STEP 2
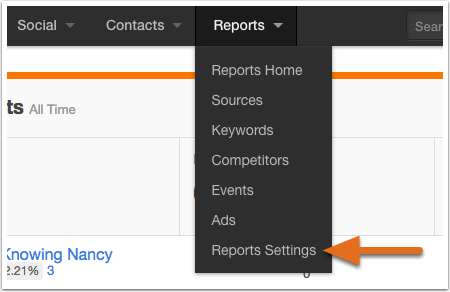
From your HubSpot Dashboard, navigate to Reports > Reports Settings.
STEP 3
Copy the tracking code provided in your account by using the Copy to clipboard button or by highlighting the code and using the copy function of your keyboard.
Log into your Twenty Over Ten account.
STEP 4
Access your “site settings”.

STEP 5
Click the advanced tab to expand and see all your advanced setting details.

STEP 6
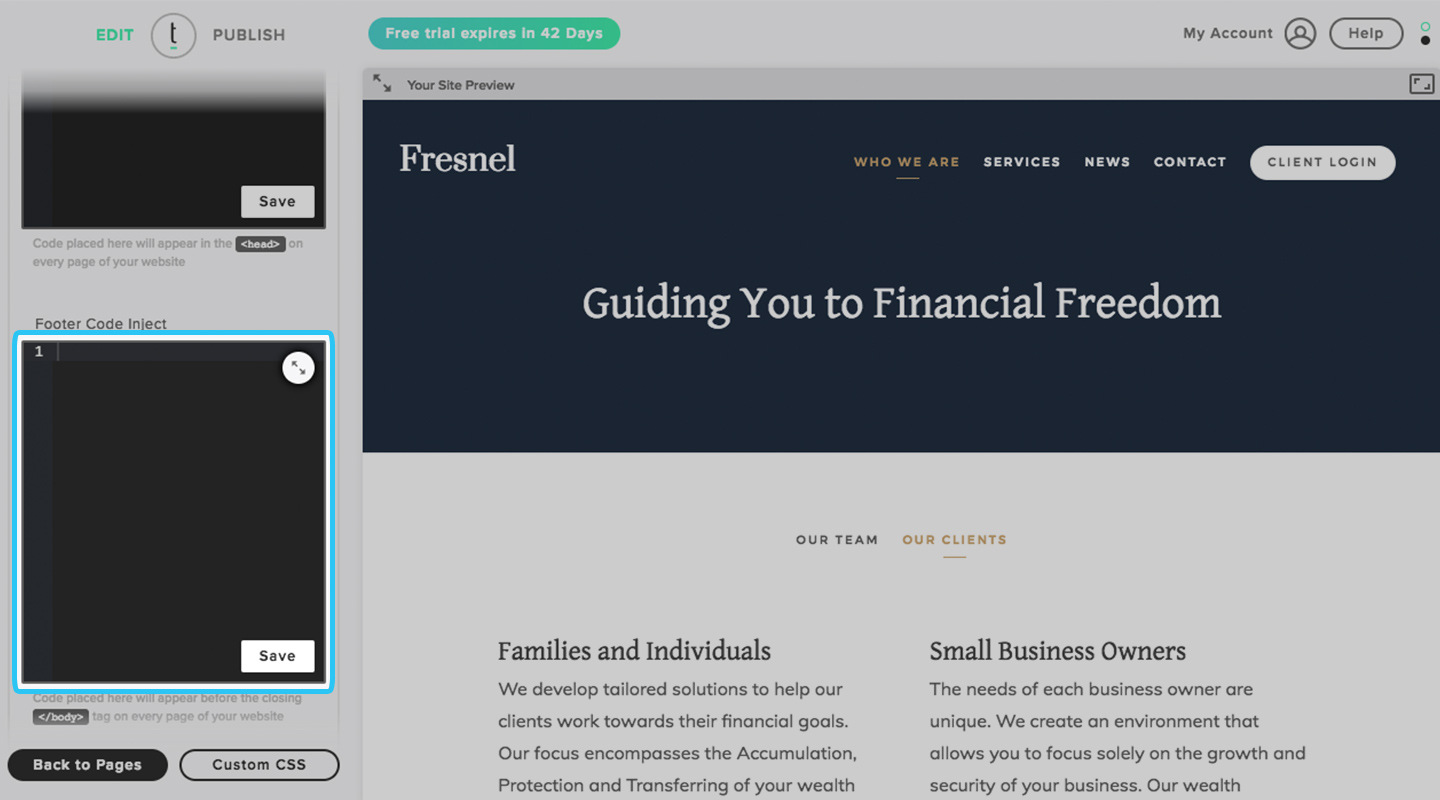
After you have pasted the Javascript into the footer inject, click the save button.
Important: To verify your tracking code is working, please follow the instructions listed here.