Building, scheduling, and updating campaigns
Users have the ability to schedule content in advance in the form of a campaign. To learn more, please watch the following video and refer to the steps below:
To create a campaign
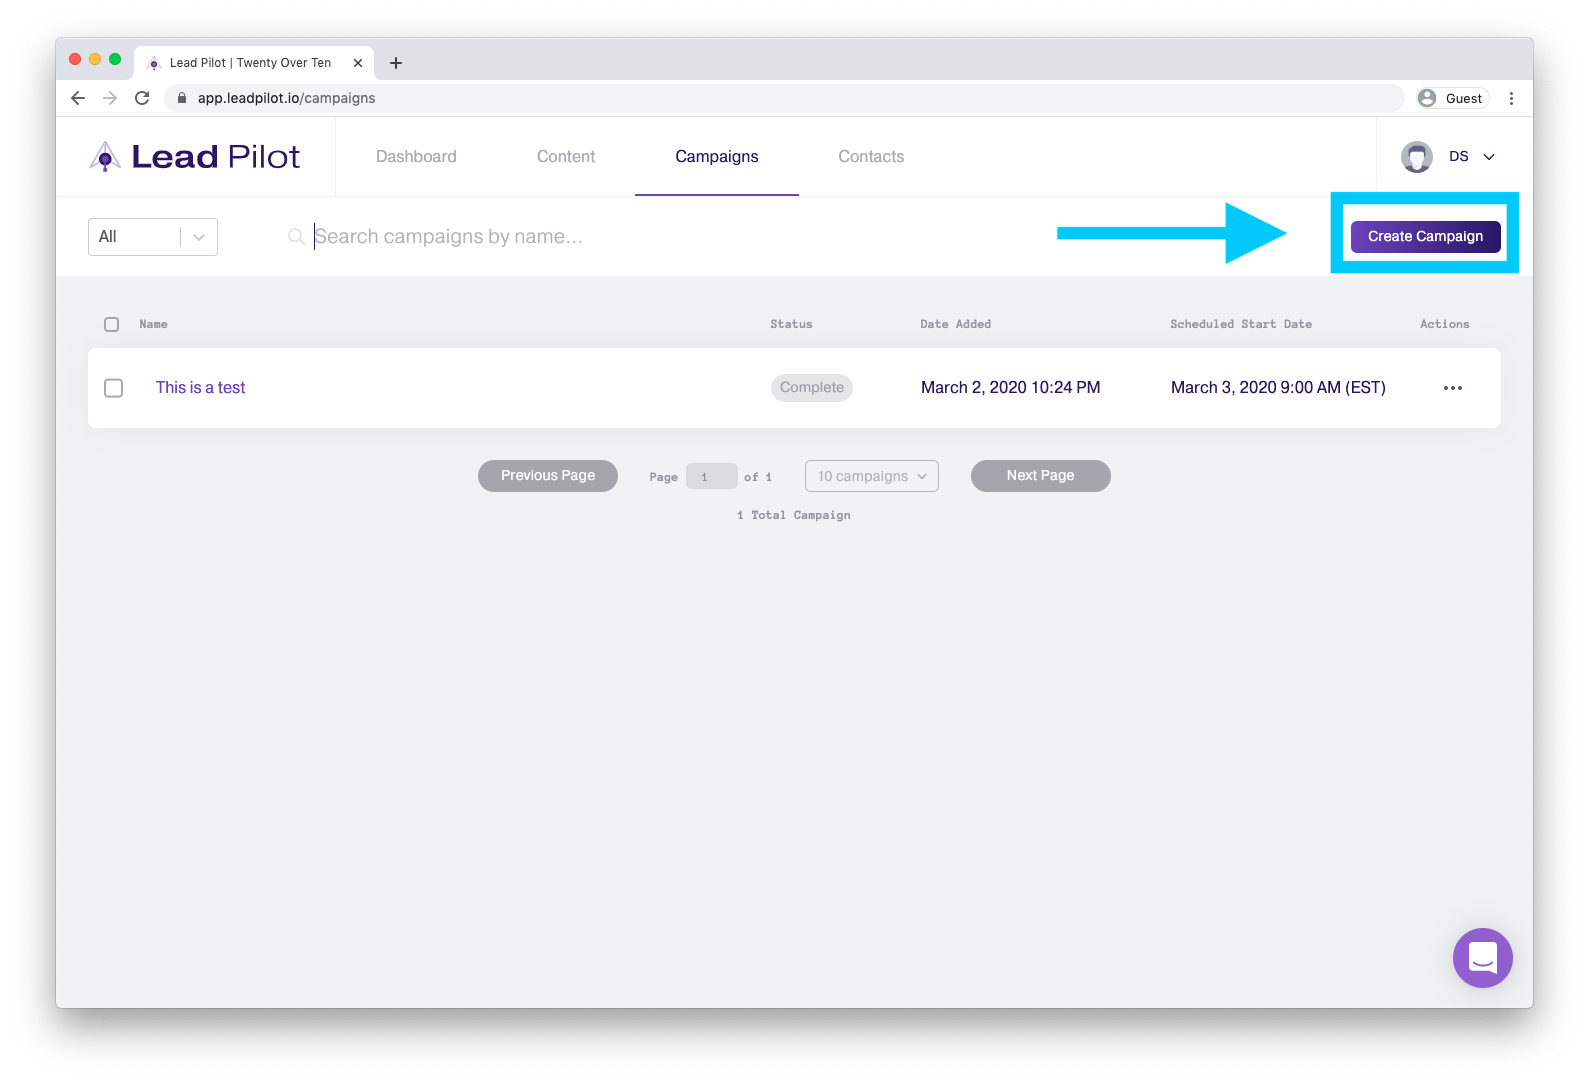
1. Click "Campaigns" at the top of your screen or visit the "Campaigns" page.
2. Click the "Create Campaign" button in the top right corner:
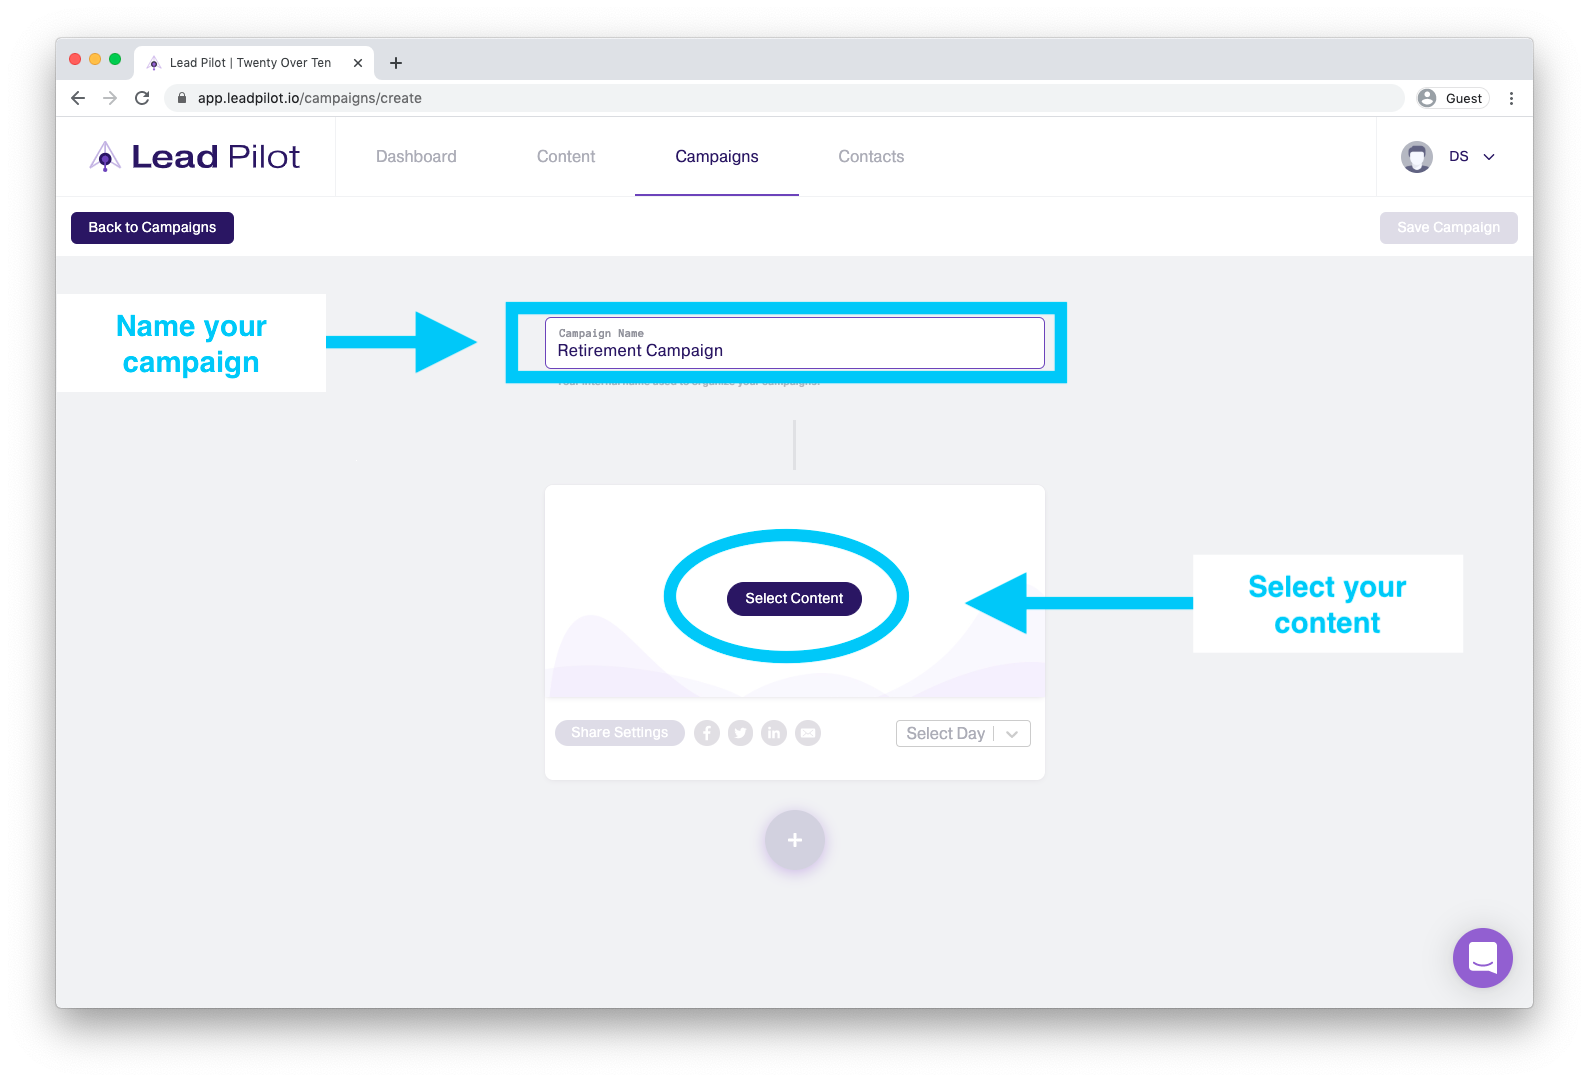
3. Name your campaign and then click "Select Content":
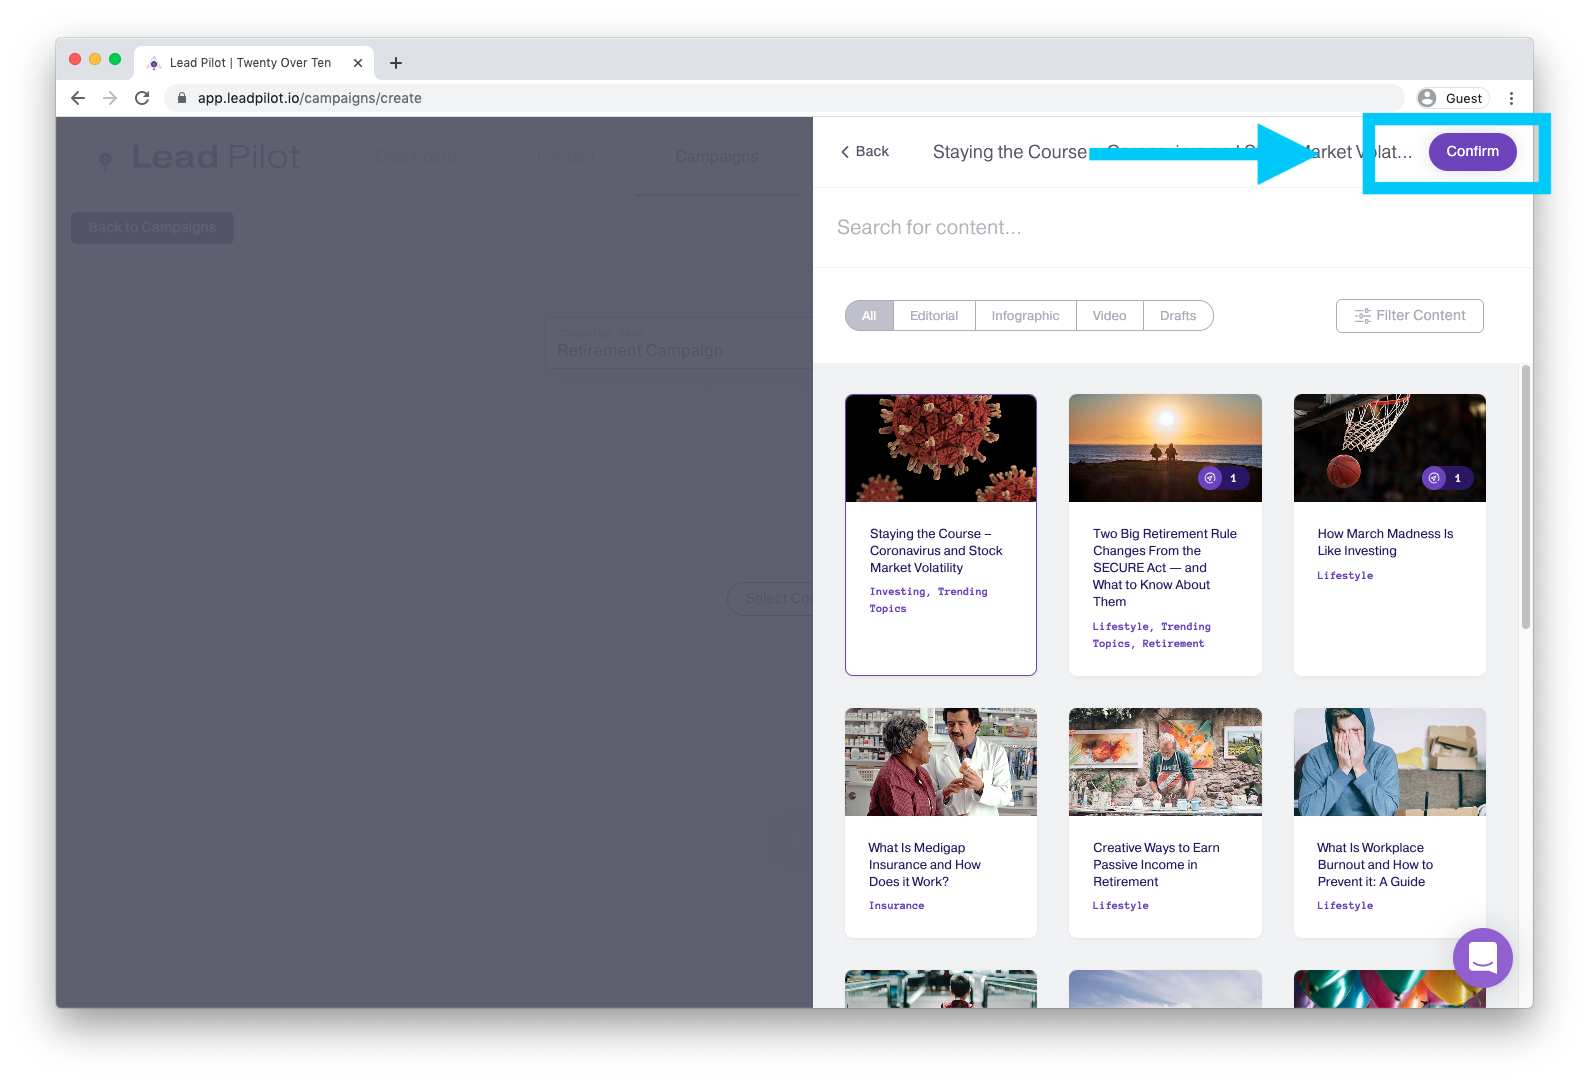
4. A side-window will open, allowing you to choose content from our library or from your drafts folder:
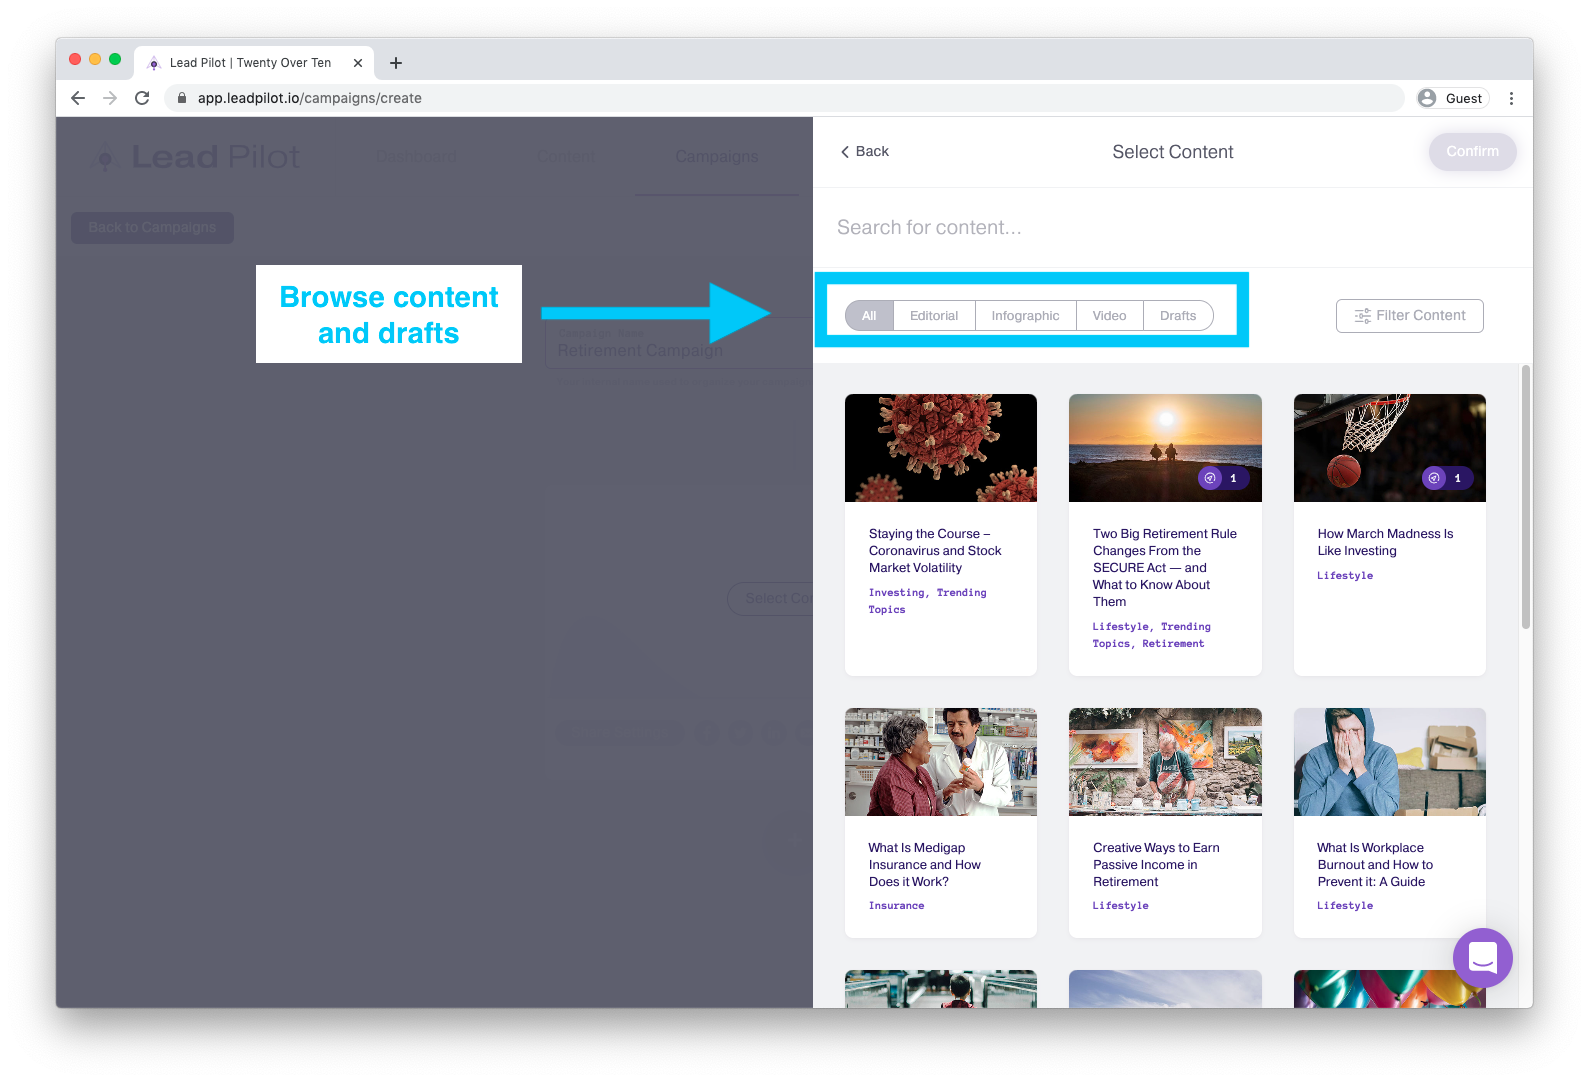
5. Select your content and then click the "Confirm" button:
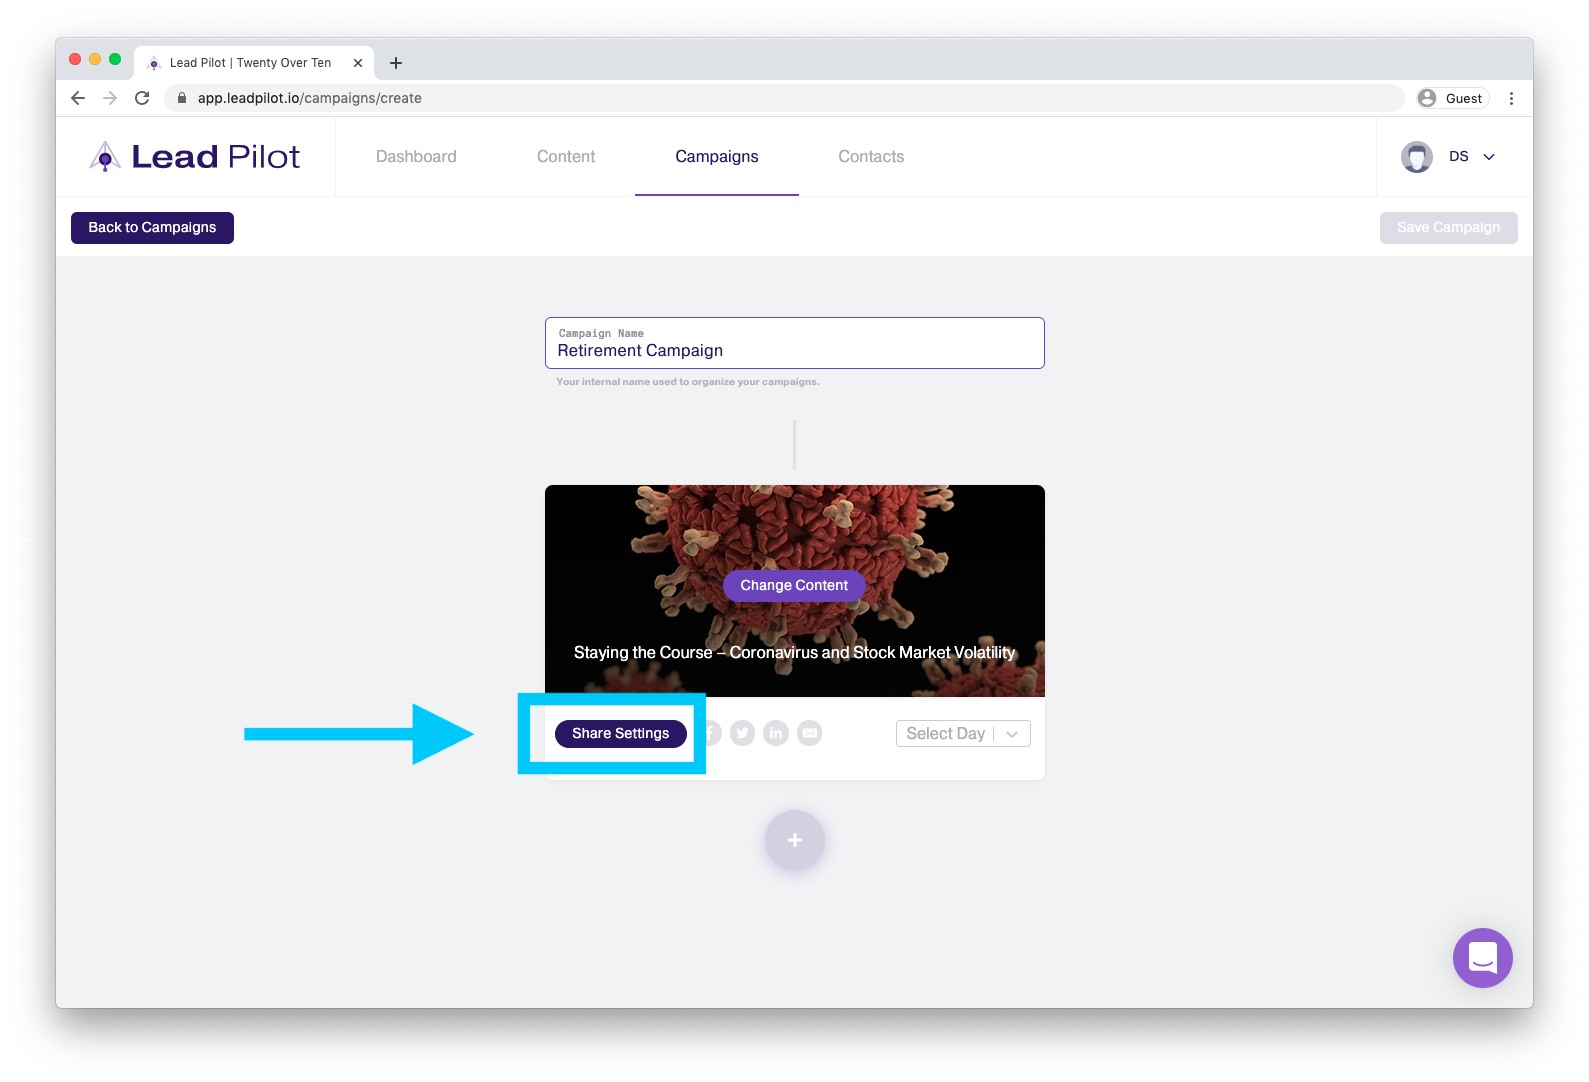
6. Click the "'Share Settings" button beneath the content:
7. Select your platforms to share to and customize your social content and select your email recipients.
8. Select which day you want the content to be shared at:
All campaign content will be shared at 9 am EST
9. Click the "+" button to add more content and repeat the above steps to schedule another piece of content.
10. Click the "Save Campaign" button in the right corner to save your campaign.
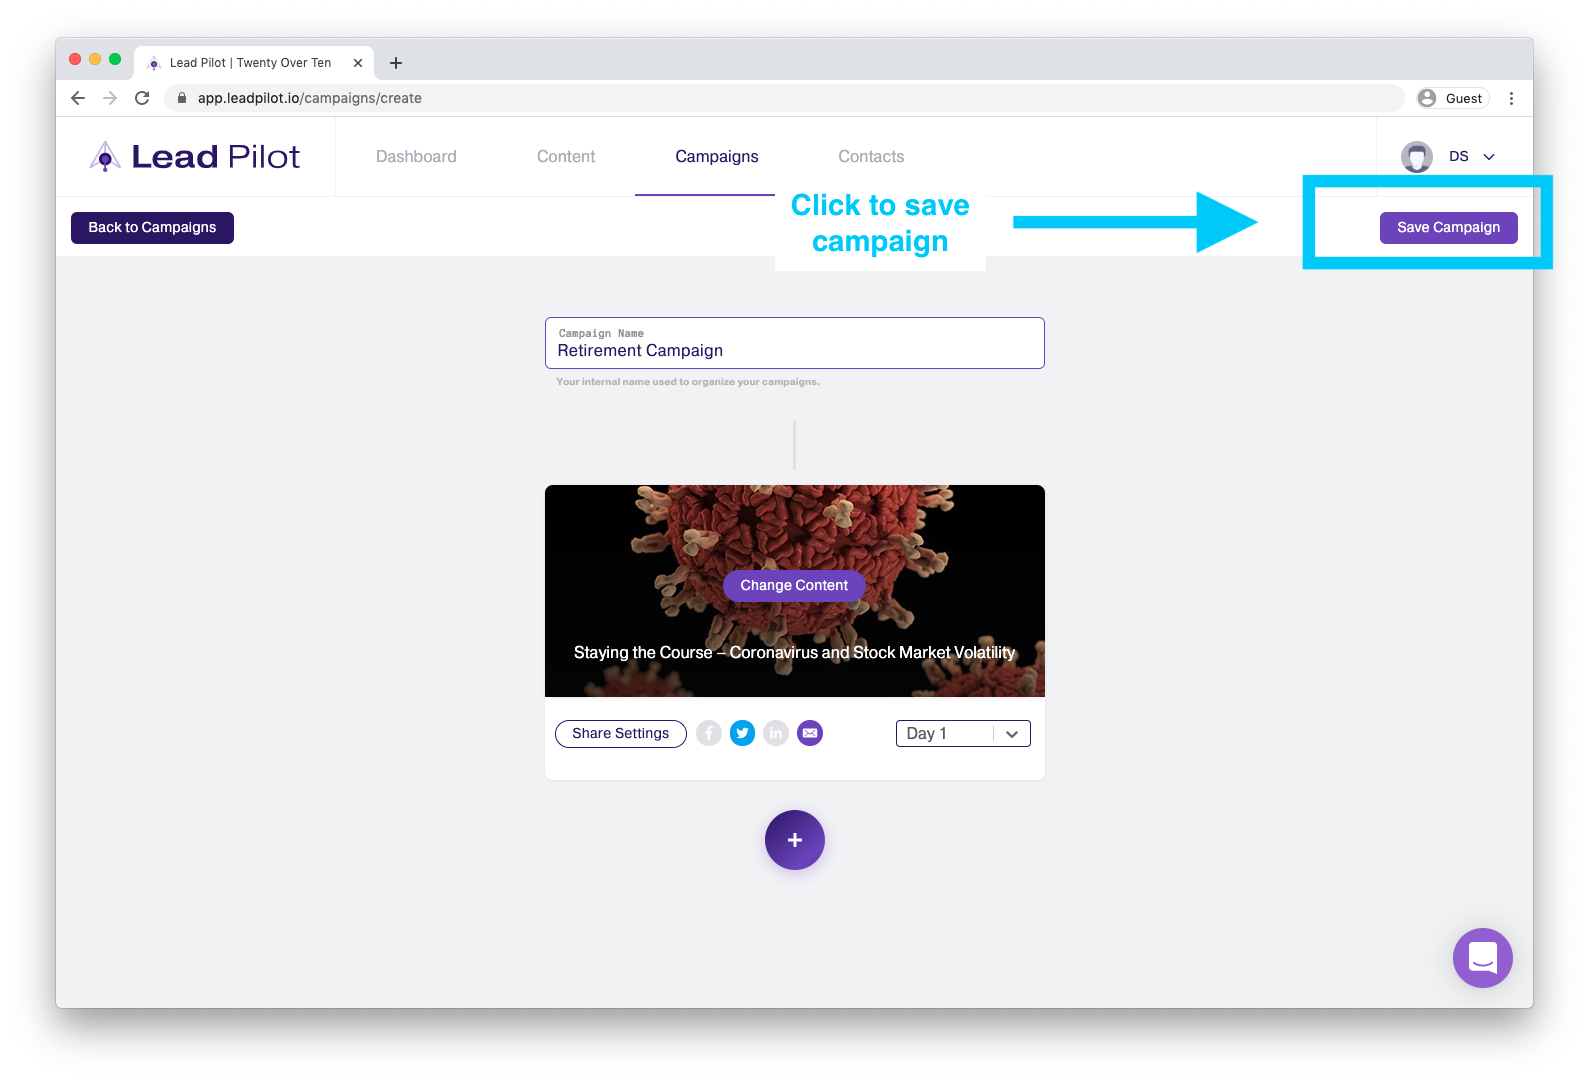
Please note that this won't start your campaign; it will only save it
To start or schedule a campaign
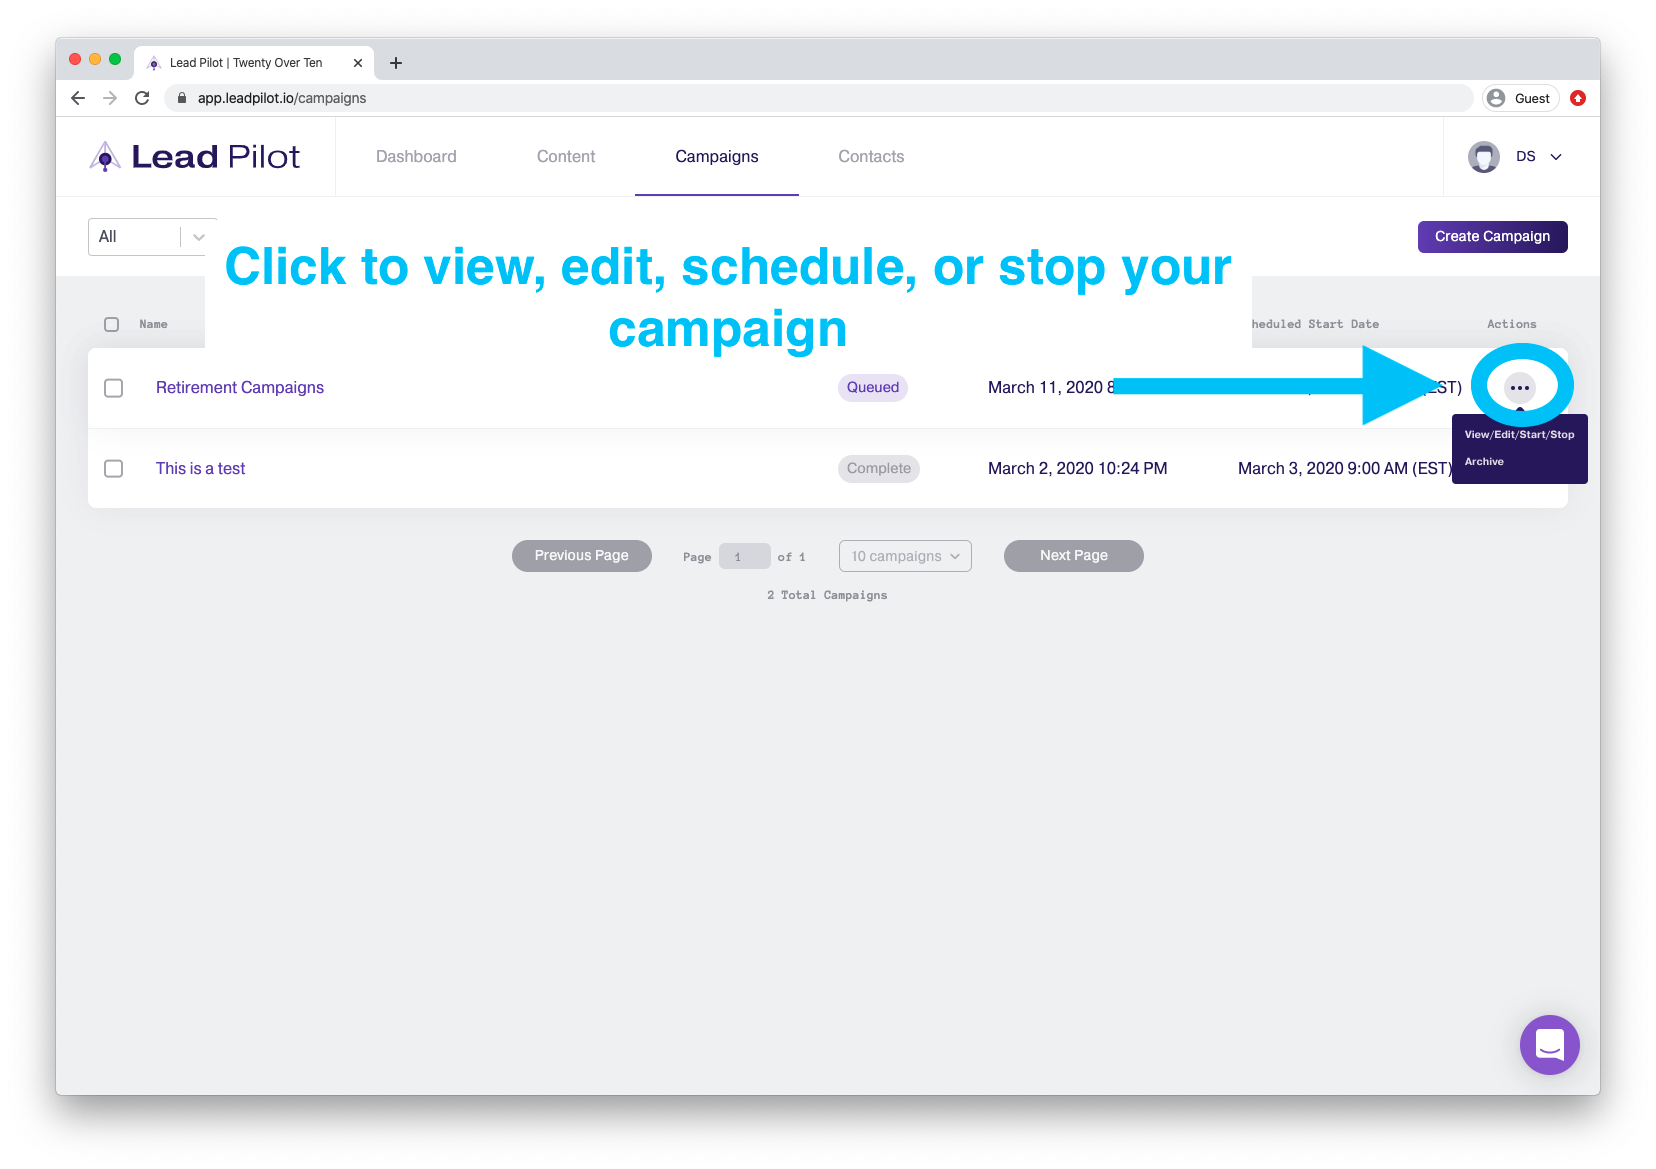
1. Click "Campaigns" at the top of your screen or visit the "Campaigns" page.
2. Click the "..." to the right of your campaign to select "View/Edit/Start/Stop":
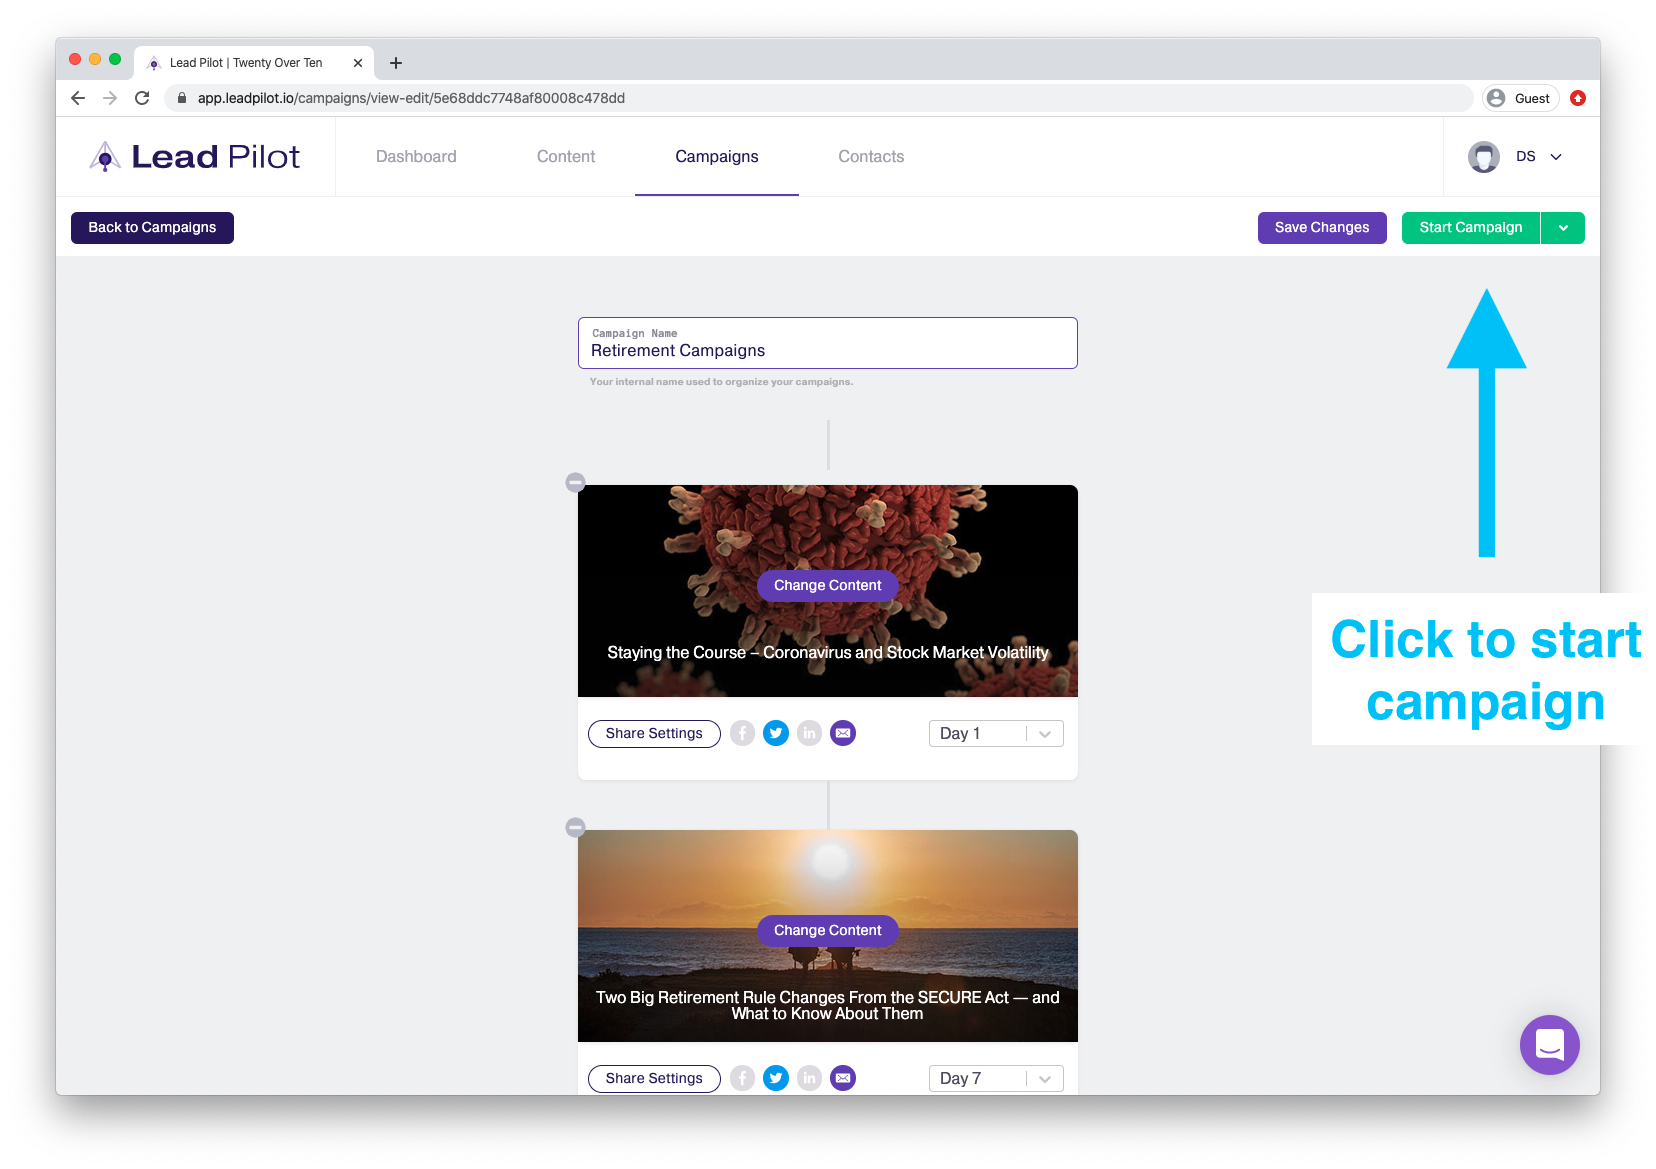
3. Click "Start Campaign" in the top right corner to start your campaign at 9 am EST:
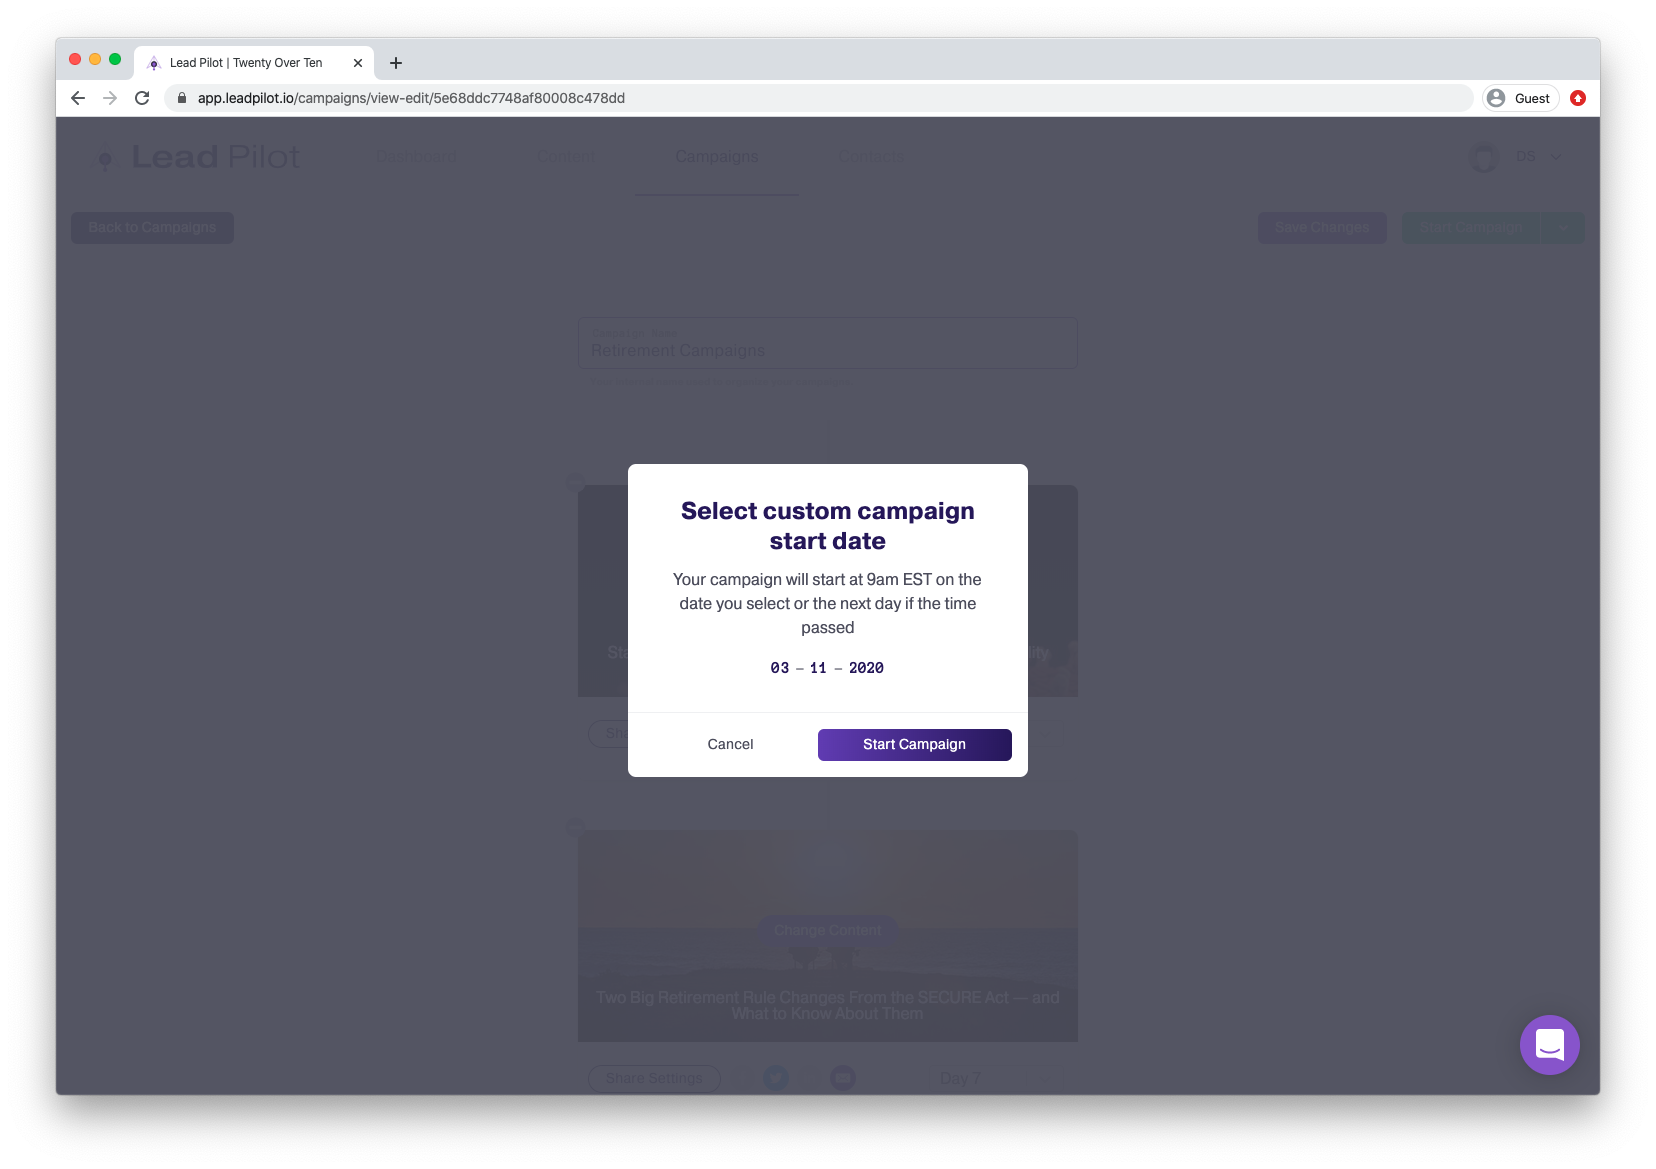
4. Click the arrow next to "Start Campaign" to select "Custom Start Date" from the dropdown:
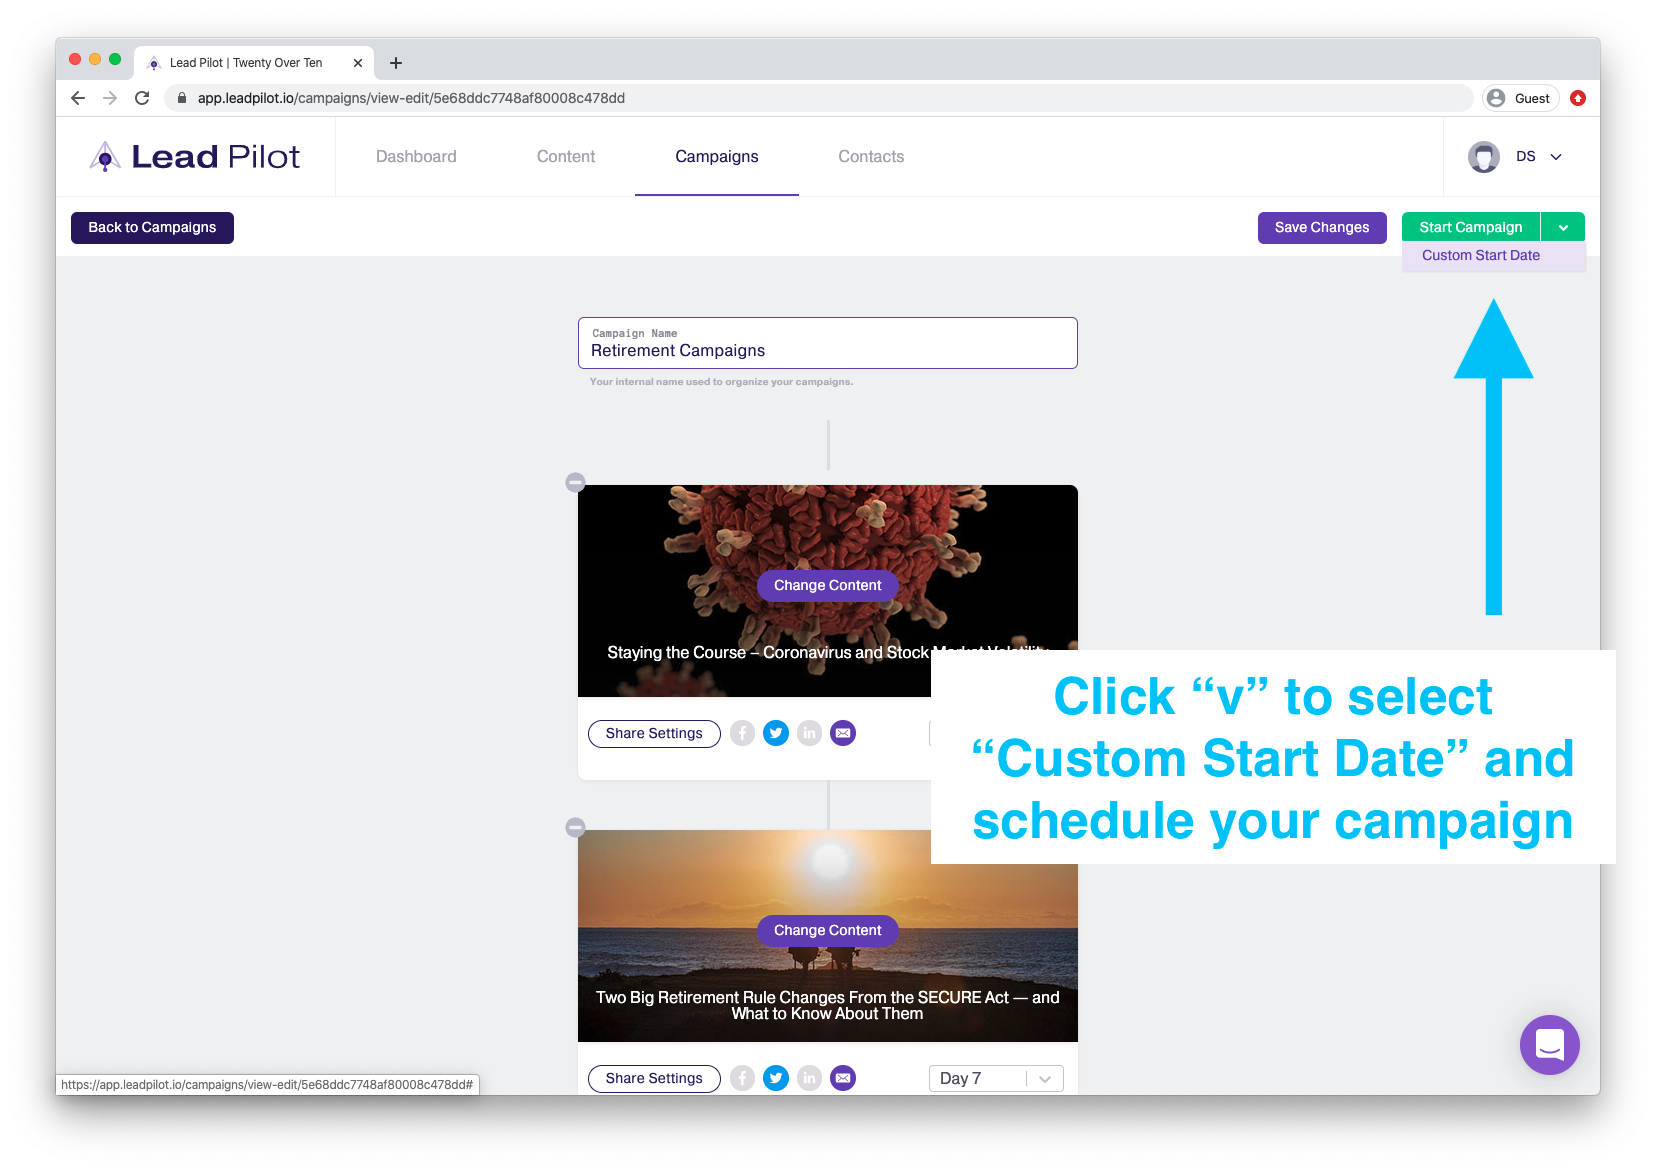
5. Select a date to begin your campaign: