If you need to create a bilingual or multilingual website, Twenty Over Ten has unique, easy-to-use features to make your website content accessible in multiple languages.
In this guide, we'll review these features and the build process of creating a bilingual website.
Before we begin, you can preview the bilingual website we'll be building here:
Before you begin
When building a multilingual website, please note the following:
-
You'll create duplicate pages for each language and manage the content for those pages separately.
-
Your website's built-in text, like dates, form field labels, search results text, and other auto-generated helper text, will still be in English.
-
The Twenty Over Ten dashboard, where you manage your website and its content, will always be in English.
Basic Structure
Twenty Over Ten websites are generally structured using pages, either featured as part of what we call the "Main Navigation," which are pages linked from the persistent header navigation throughout your website, or as "Other Pages," which are often used for Landing pages, which can be linked to from other places on your website, or directly in other marketing materials.
When building a multilingual website, the page layout of your website will follow a different structure entirely:
-
All content pages, for all languages, outside of your default language's homepage, will exist in the "Other Pages" section.
-
Each language will also have a dedicated set of links referencing your content pages, set up in the "Main Navigation" section.
-
All content pages will use an "Alternative Navigation" to show their language's corresponding links for the header navigation.
Step 1: Setup default language pages
To build your bilingual or multilingual website, we'll start by creating your default language pages. In this example, we'll be using English as our default language. The homepage of your website will always exist at the root of your domain, meaning it's what visitors will see when they enter just your domain name. This page will always exist at the top of your "Main Navigation" area and is not movable. All other pages should be moved to or created in the "Other Pages" section:
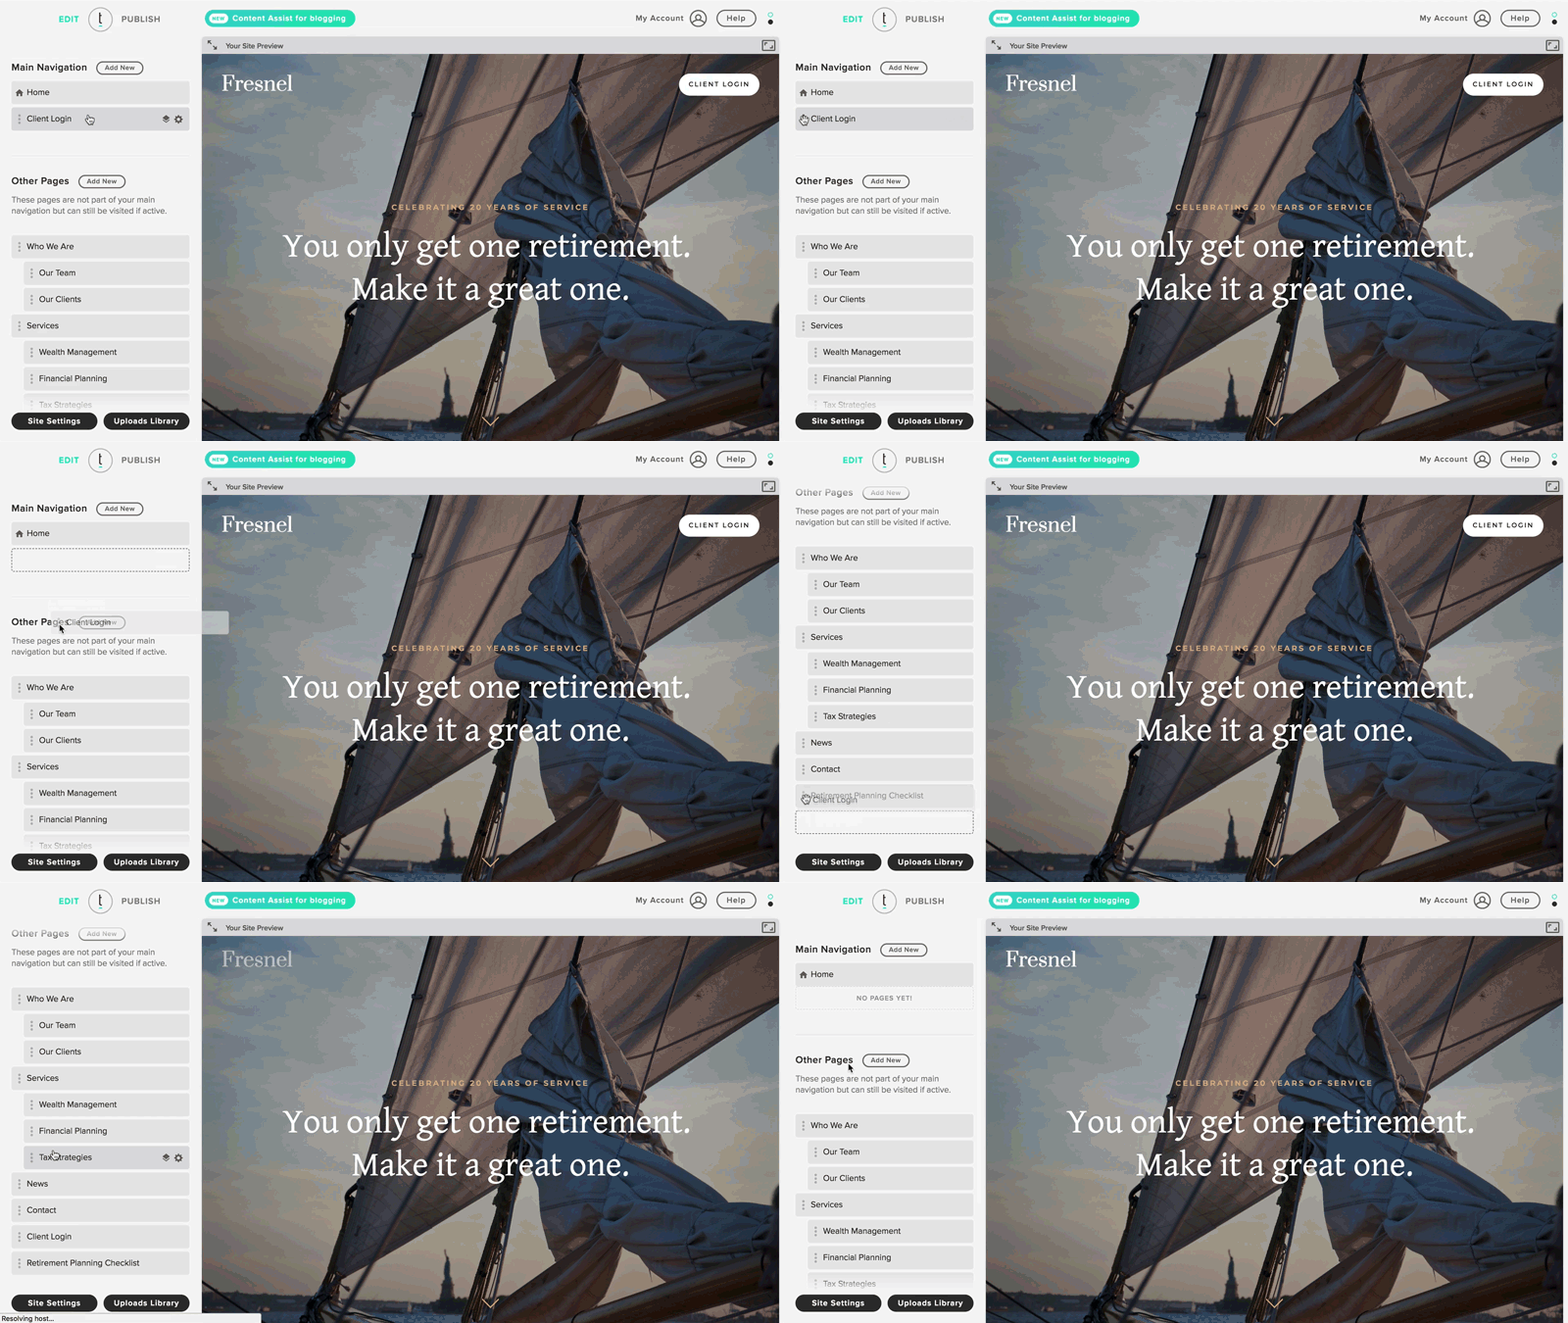
Just drag & drop!
👍 Tip: Set up your pages in the same order you'd like them to appear in your website navigation. This will make navigating your pages easier in the future.
Once you've finished setting up your default language pages, you shouldn't see any links in the header of your website preview, and your "Main Navigation" and "Other Pages" structure should look similar to the following:
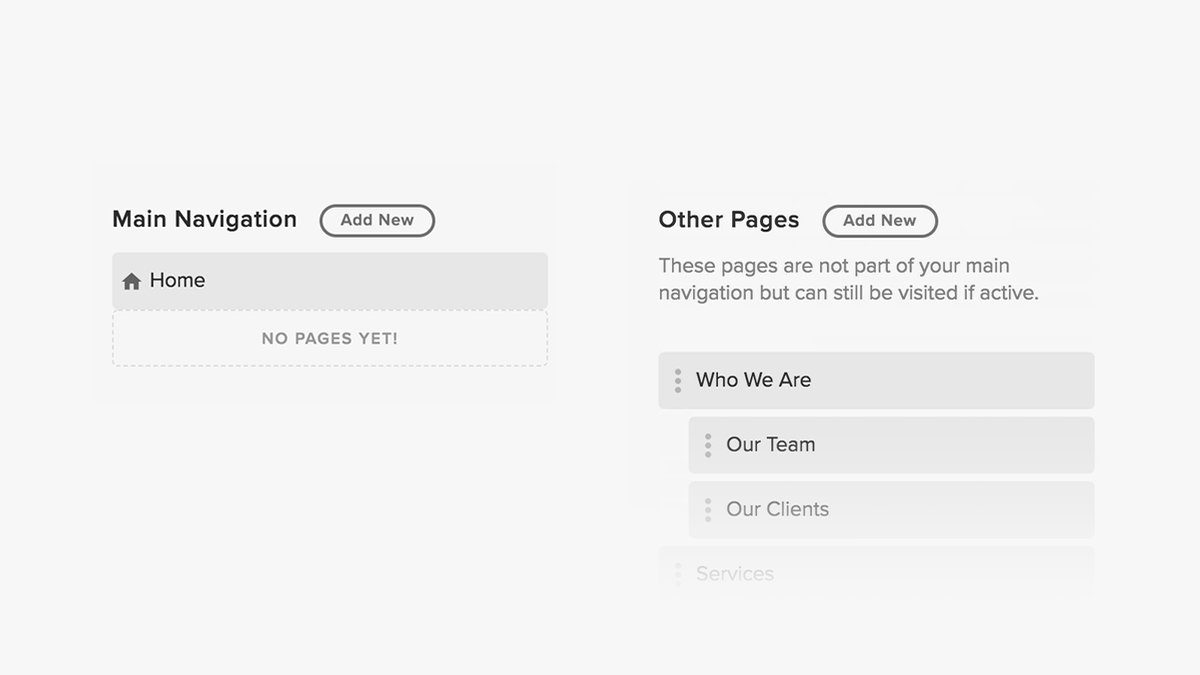
Remember: Your homepage is immovable, so plan your primary language properly.
Step 2: Create secondary language pages
Next, we will create the pages for the other language. In this example, we will be building pages in French. Like the pages for our primary language, we'll want to create these in the "Other Pages" section.
So that you know – the homepage will be the first page you will want to set up. To mimic the style of your primary homepage, you can create what is known as "Index" pages. These pages have the same features and style as your homepage, perfect for creating multiple homepages in different languages.
You can use the "Duplicate" option for the rest of your pages to create a copy of that page and then translate the page title, slug, and content to your desired language.

Example of where the Duplicate option.
👍 Tip: Group your pages by language in the same order you expect them to appear in your website navigation. This will make navigating your pages easier in the future.
Step 3: Build language navigations
You should notice that you won't have any navigation items in the header when viewing any of your pages. This is because we set up all pages within the "Other Pages" section. Don't be alarmed! This is important because we want to set up additional navigation for each language. By default, any page within the "Main Navigation" area will be displayed in the header of every page on your website. Since we are building a bilingual website, we'll want to show different links depending on the language being viewed.
To do this, we'll first want to create "placeholder" pages for each language within the "Main Navigation" area. While these will appear as "pages" in the dashboard, we'll use them more like folders for the links we want to show in the header for each language. In this example, we'll create two pages, one titled "English" and one titled "French":
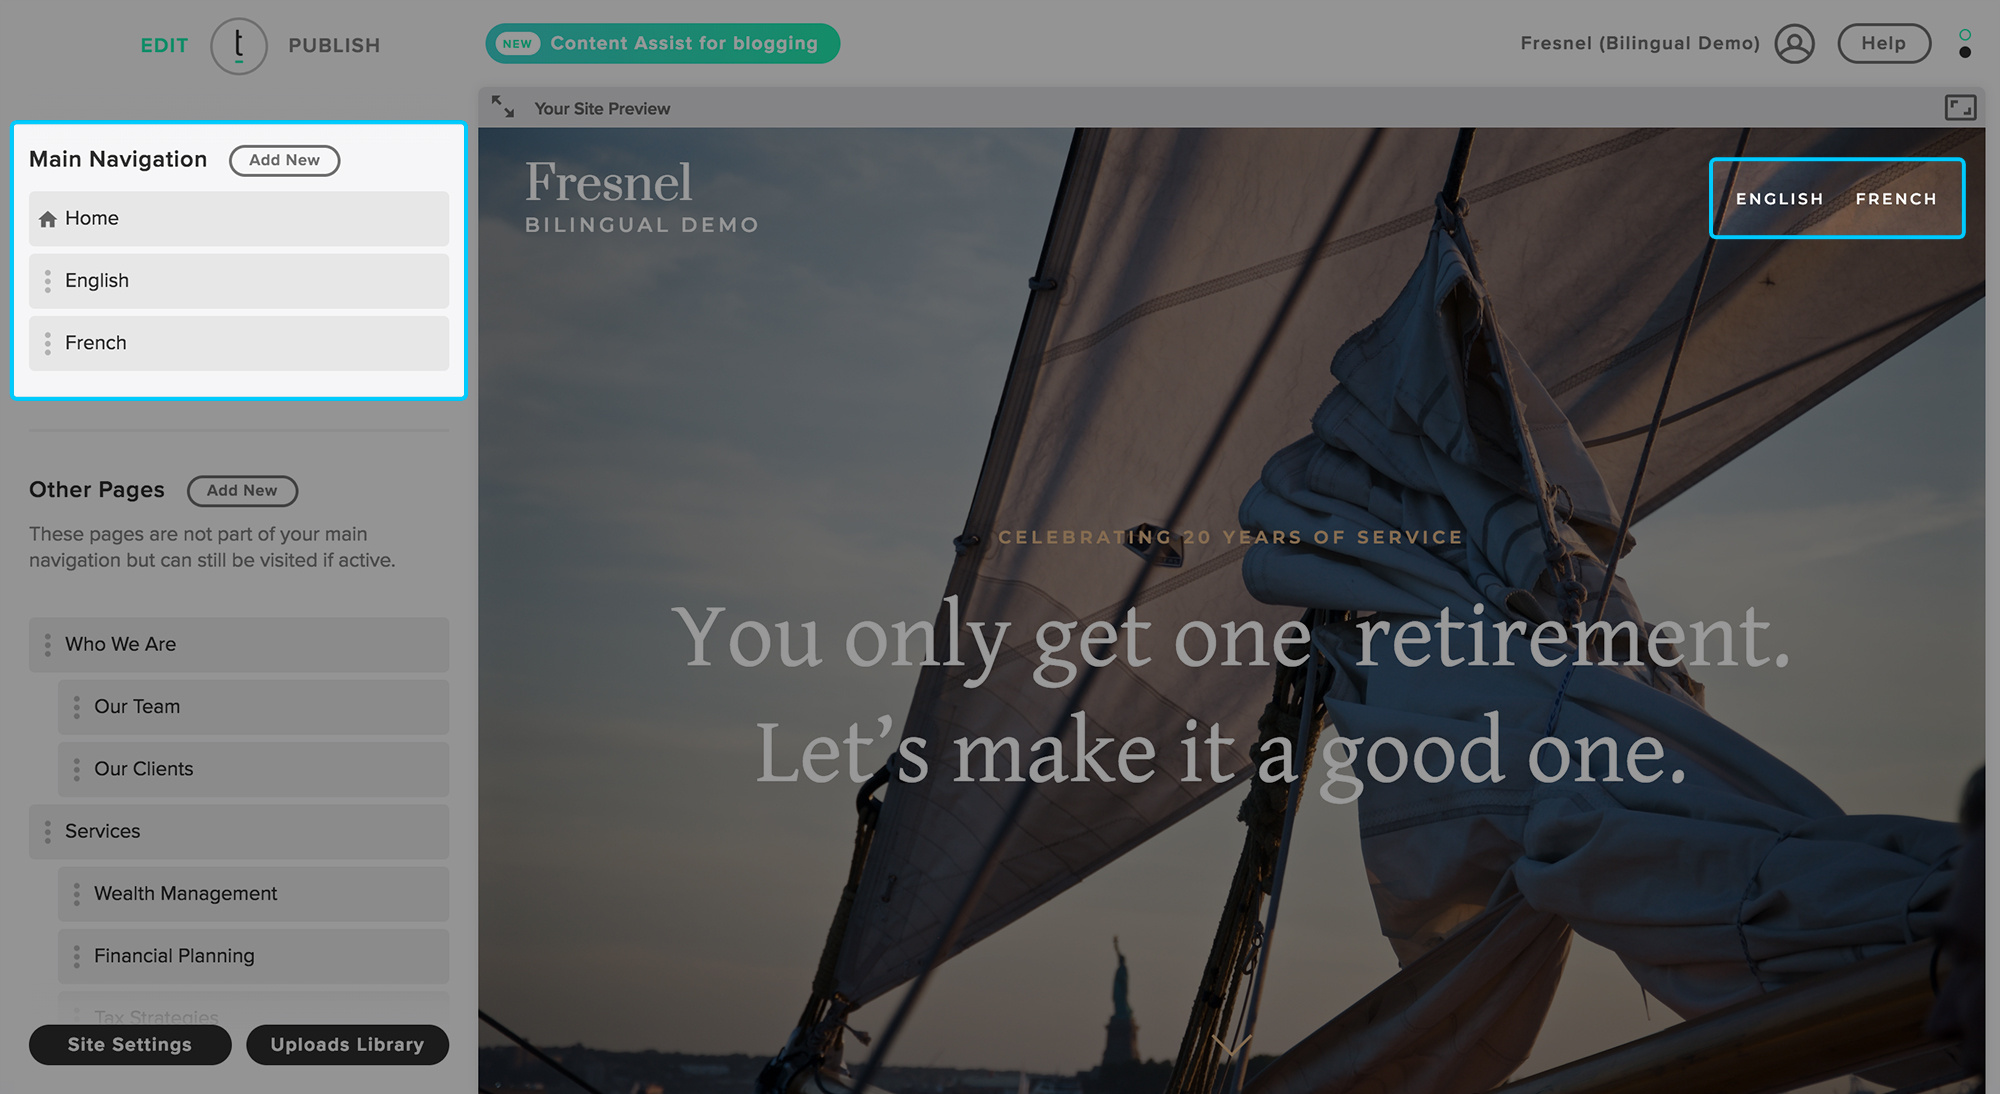
Your page structure and website header should look like this if done correctly.
Once we have added two placeholders, you'll see them in your header navigation on every page. You can ignore this for now, as we'll be fixing this in the next step. Let's continue recreating the navigation for each language by creating links as subpages within these placeholder pages.
First, we'll grab the link for each page we want to be listed in our English navigation by accessing the page settings and clicking the "Copy URL" button in the Page URL Slug field:
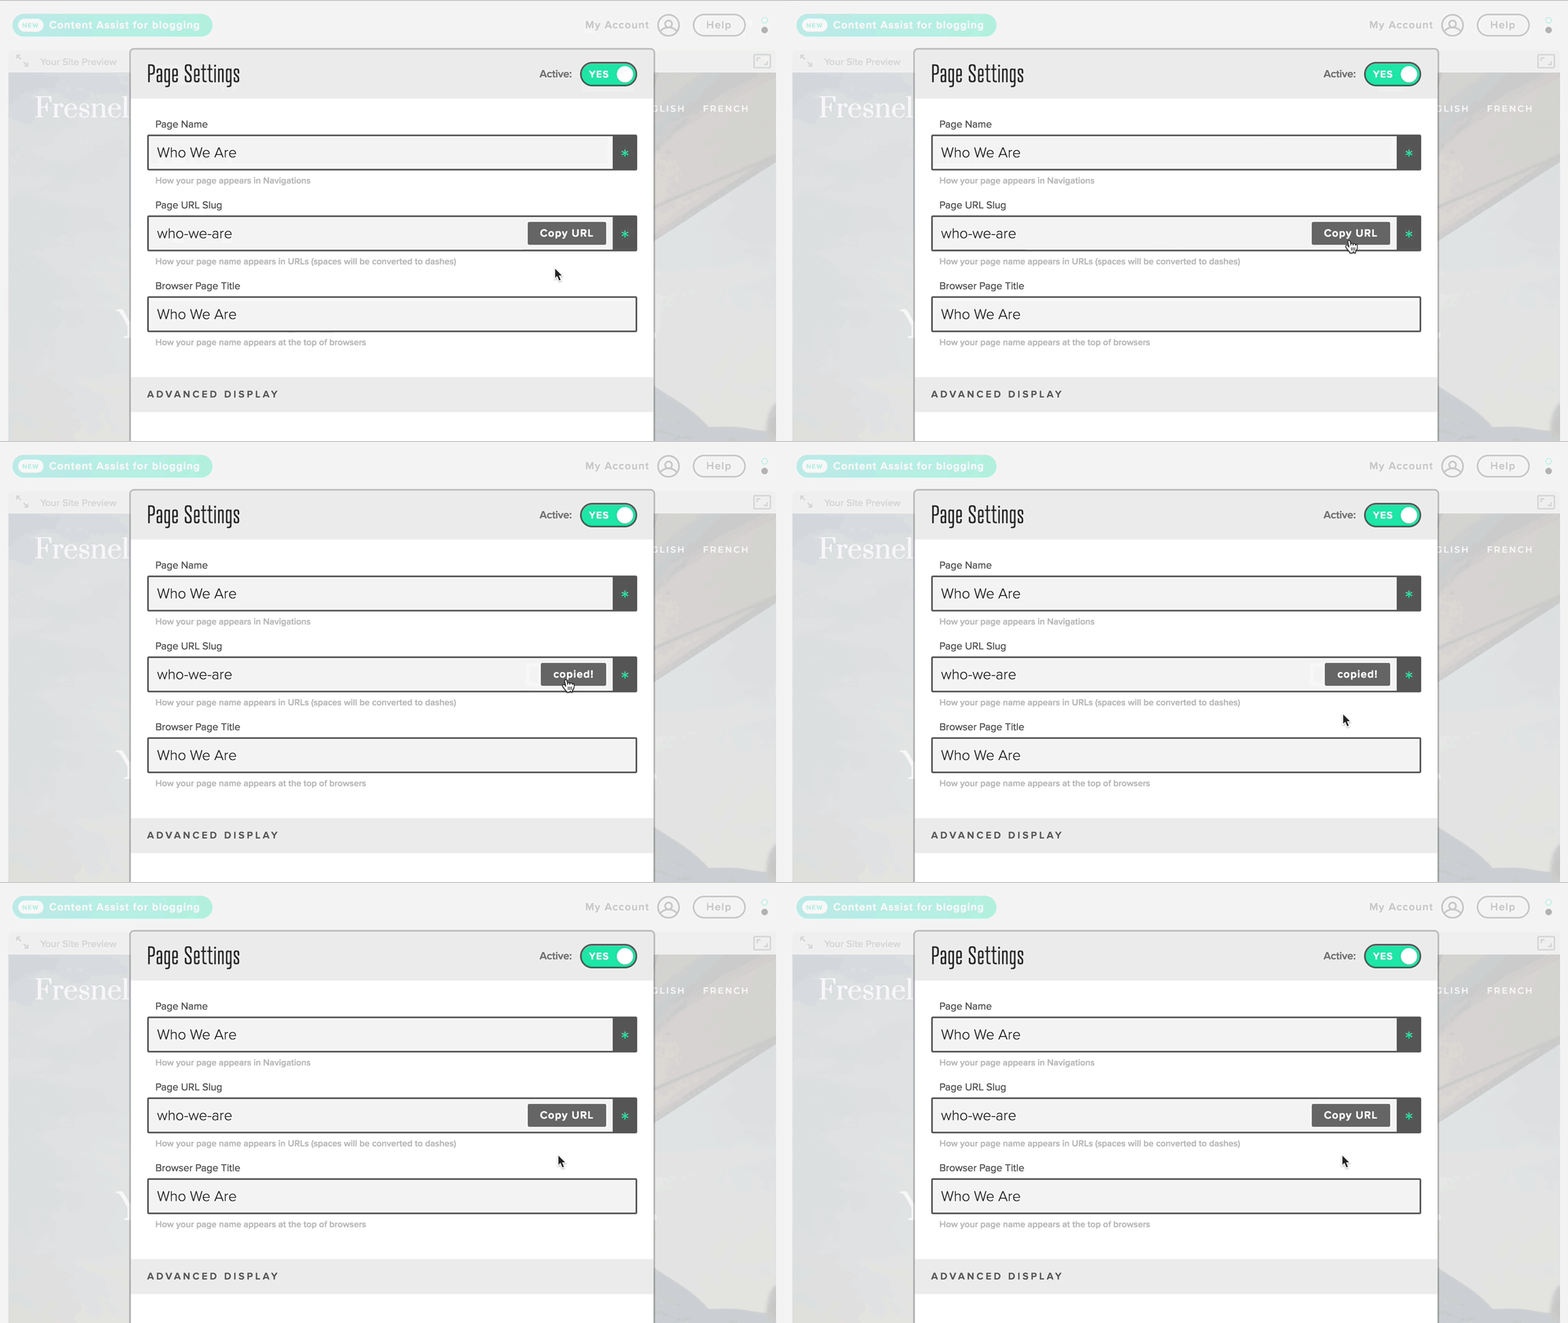
Quickly grab the URL to any page.
Then, we'll add a "Link" to the "Main Navigation" area. Paste the copied URL into the "Link URL" field, and fill out the title to match the page name from which we copied the URL. Set the "Open in a new window?" option to "no" and the "Link Style" option to "normal":

Here's how easy it is to set your link styles
Finally, click "Save" and then drag this page to appear as a subpage under the language placeholder it is part of. Repeat this step for the rest of the pages you want to appear in your website's header navigation for each language. In the end, it should look something like this:
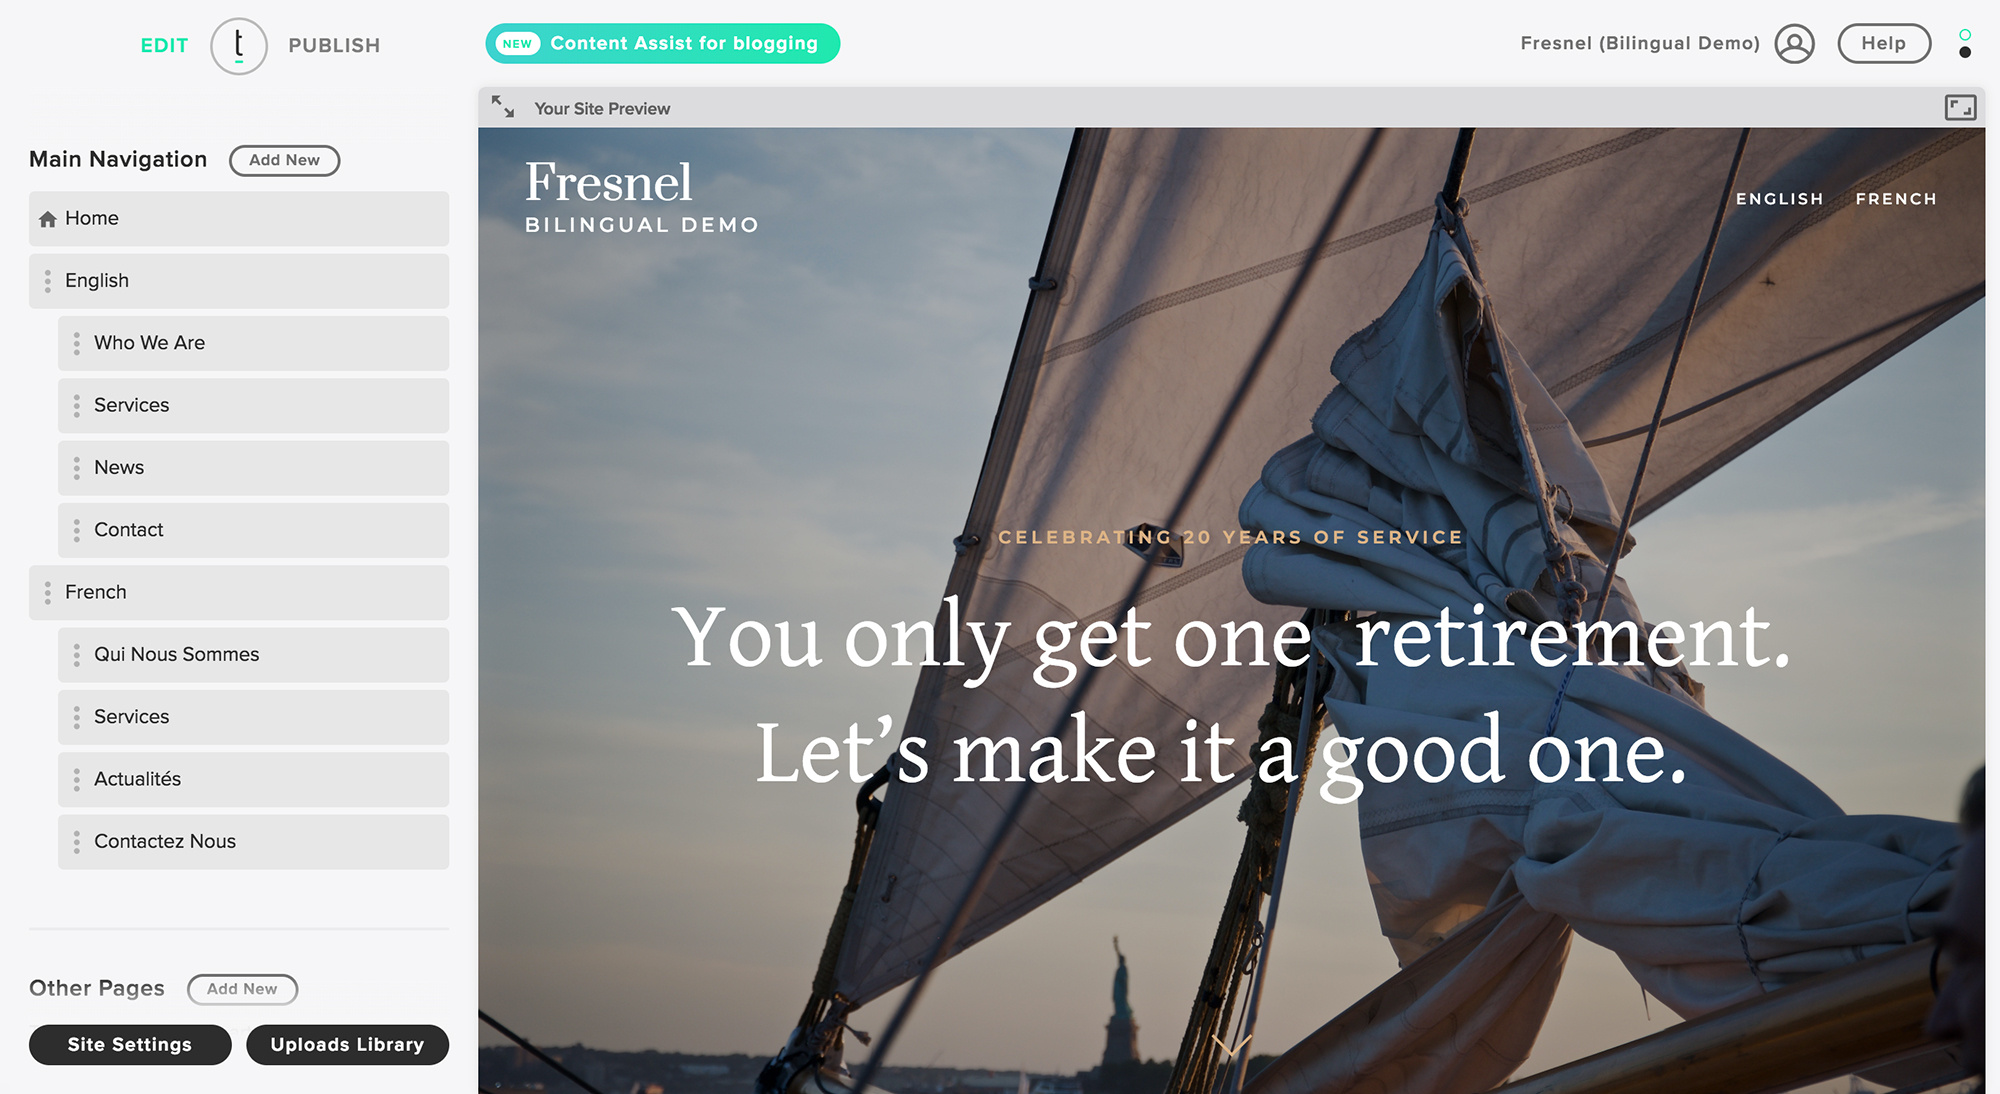
Make sure they are subpages of the language placeholders!
Step 4: Change navigation for pages
As we've pointed out, the navigation showing in your website header doesn't look great as-is. It simply shows the two language pages we created to house the links we'd like to offer each language. Luckily, the Twenty Over Ten platform has some unique features that allow you to manipulate the navigation that shows for your pages.
We have to edit the Page Settings for each content page (located in the "Other Pages" area). From here, scroll to the section titled: "Advanced Display":
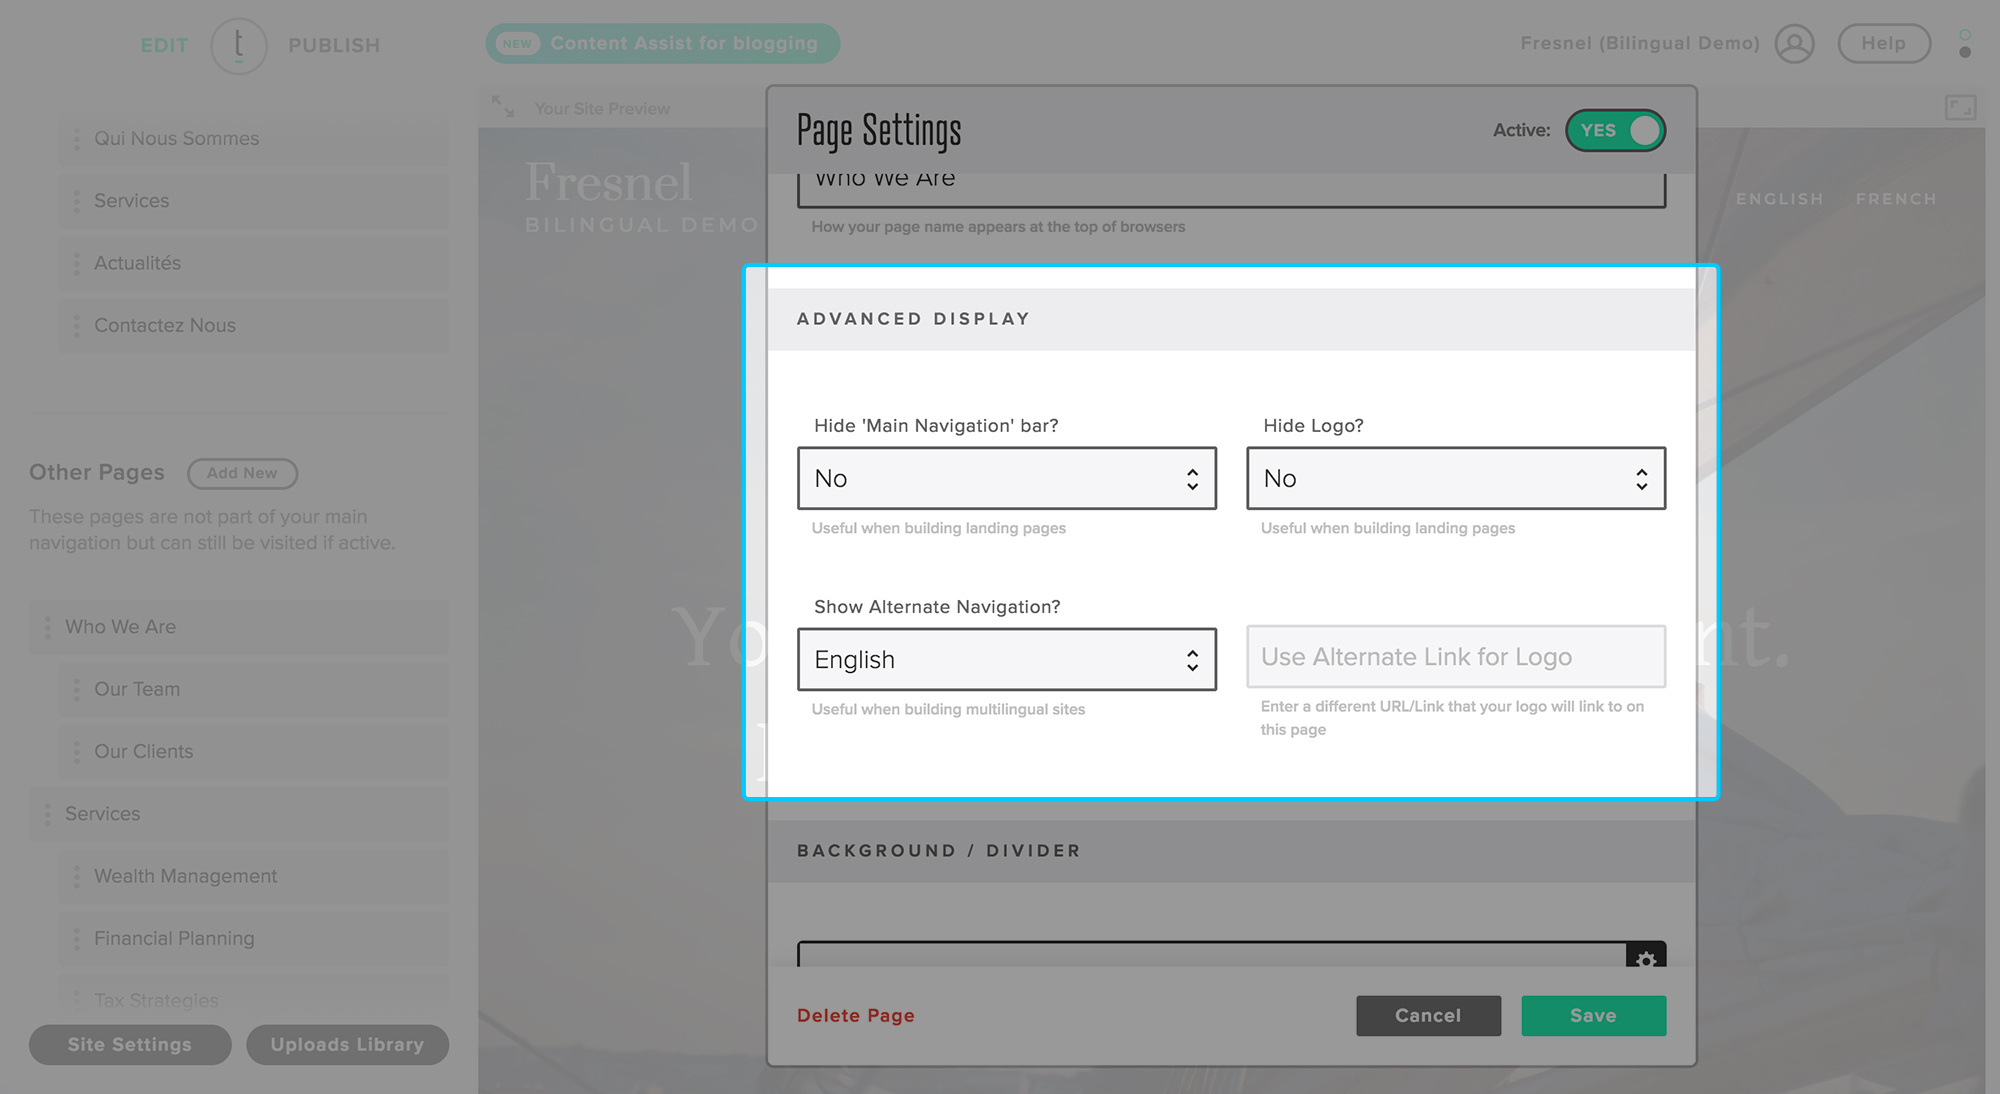
Don't forget; you'll need to do this for every page (including subpages)
You'll see a few options that give you more control over your website's header for this page. The option we're looking for is "Show Alternate Navigation?" By default, all pages show whatever links you have in your "Main Navigation" area; this is why we see "English" and "French" listed on the website header. Using the dropdown, if we select "English" from the list of available pages, it will instead show the subpages of the "English" page for the header navigation, specifically when viewing this page.
Once all set, hit "Save" and repeat this for every page listed in your "Other Pages" area. In our case, we will want to select "French" for our respective French pages.
👍 Tip: For your secondary language pages, in our case, the French pages, you will also want to set the "Use Alternate Link for Logo" option; paste the URL of the Index page we created for the French homepage.
Once completed, you'll see the magic of this feature as your website header navigation comes to life:
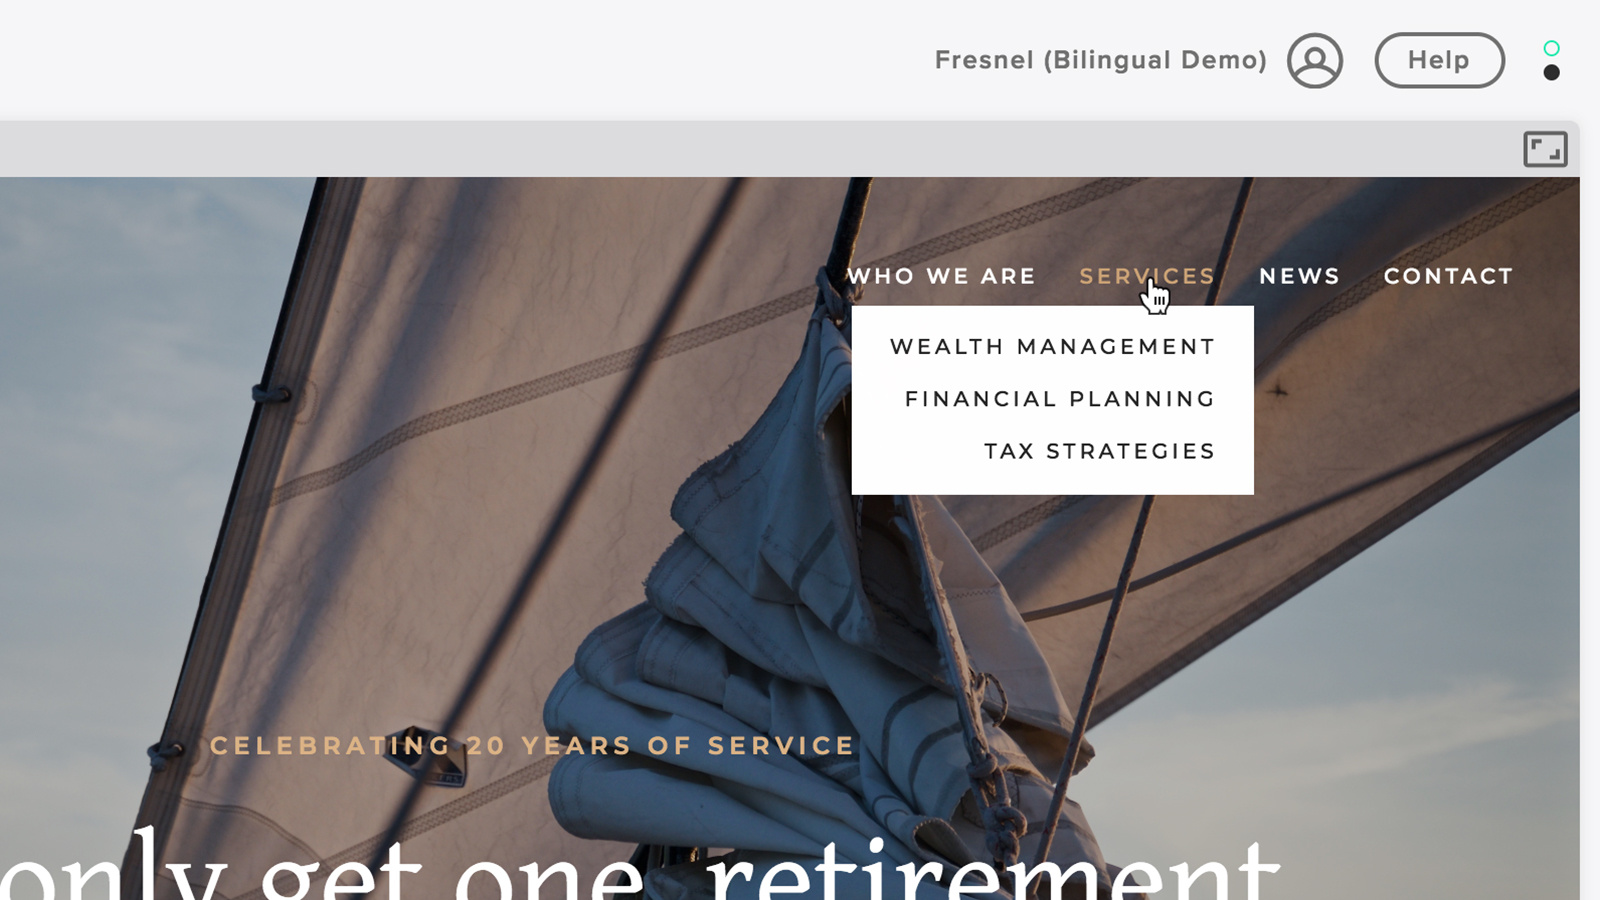
That's right; even subpages show up correctly for properly referenced links!
Step 5: Add Language links
Now that we've set up our header navigations for both languages, you should add a link to switch between the two languages. This is important if someone navigates to your domain name, which will show your default language's homepage, and wants to view your website in another language.
There are several ways you could do this, including adding links in the footer of your website. Still, in our case, since there are only two languages, we will add "button" style links to the header navigation giving the visitor the option to toggle to the other language.
Add another "Link" style page to the "Main Navigation" area to do this. We'll start by adding the link to the French homepage, giving it the title FR, and making it a subpage of the "English" placeholder page. We'll leave the "Link Style" set as "button," but we'll change the "Open in a new window?" option to "no." Next, we'll repeat this step to create a link to the English homepage, using the title EN and adding it as a subpage to the "French" placeholder page.
In the end, you should have something like this, which creates a straightforward and obvious way for our visitors to toggle between the available languages:

Simple and unobtrusive!
And that's it! You can see what we created here:
🌟 Bonus: Add redirects for placeholders
We here at Twenty Over Ten like to cover our bases, so we wanted to provide an extra layer of awesome to your bilingual or multilingual websites. If you recall, we set up a few "placeholder" pages for creating our navigations for each language.
If you were to navigate to these pages, you'd see a dummy page, which isn't very attractive. Now, since this page isn't being linked to anywhere within your website, no one should find it. But it is there, so let's do something about it!
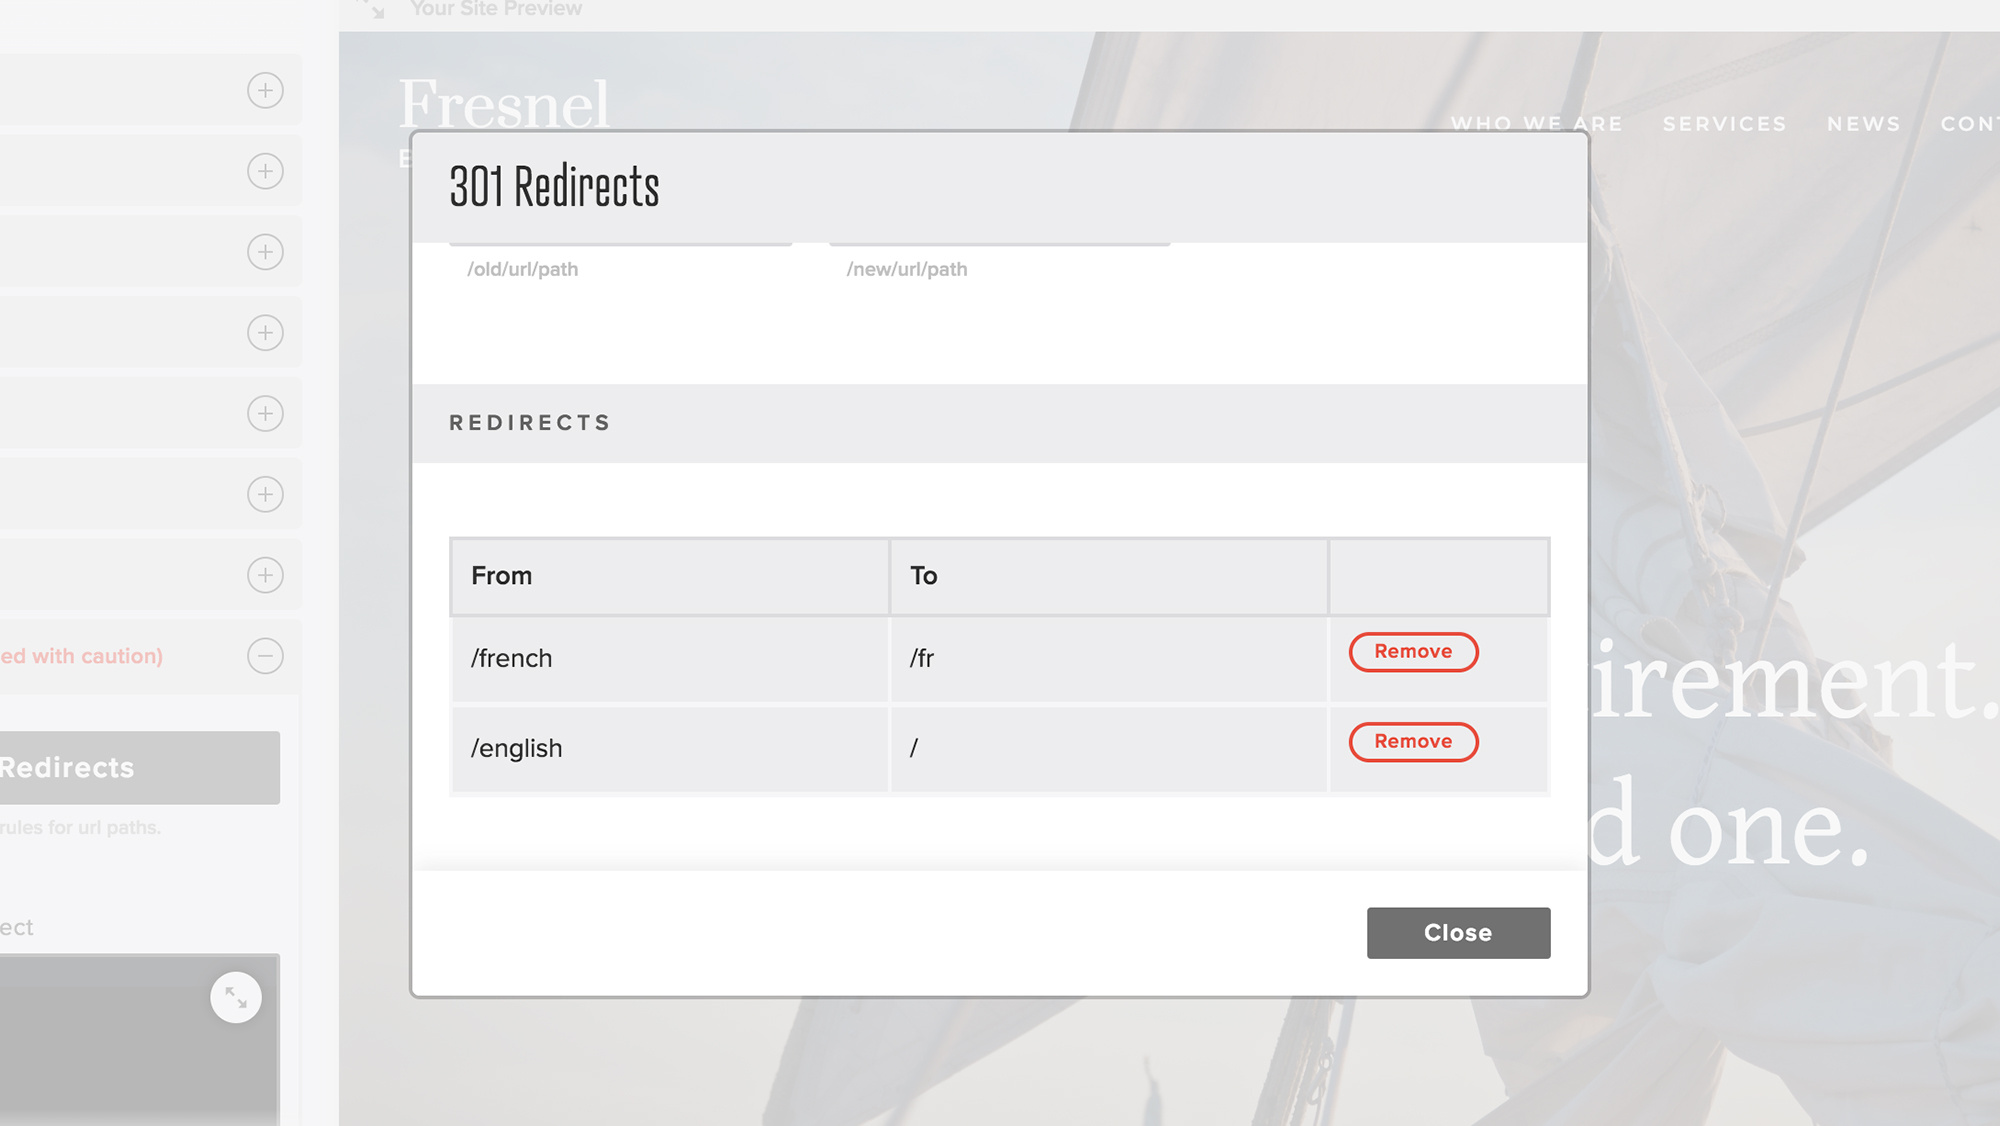
Since these pages don't serve any purpose on their own, the best course of action would be to treat these as redirects to actual pages. Luckily, the Twenty Over Ten platform makes this super easy! Let's start by copying the URL to these pages (the same as we outlined in Step 3), then navigate to your "Site Settings" panel and open up the "Advanced" section. You'll see a big button titled 301 redirects. Click this, add a redirect rule using the copied URL as the "from" address, and then set the homepage of that language as the "to" address.
In our example, it would look like the following:
